The pot lid rattles and you know dinner is almost ready. That gentle clatter is like a little promise of the cozy flavors that gonna fill your kitchen real soon. You already feel that warmth creeping up, and dang it just feels good after a long day.
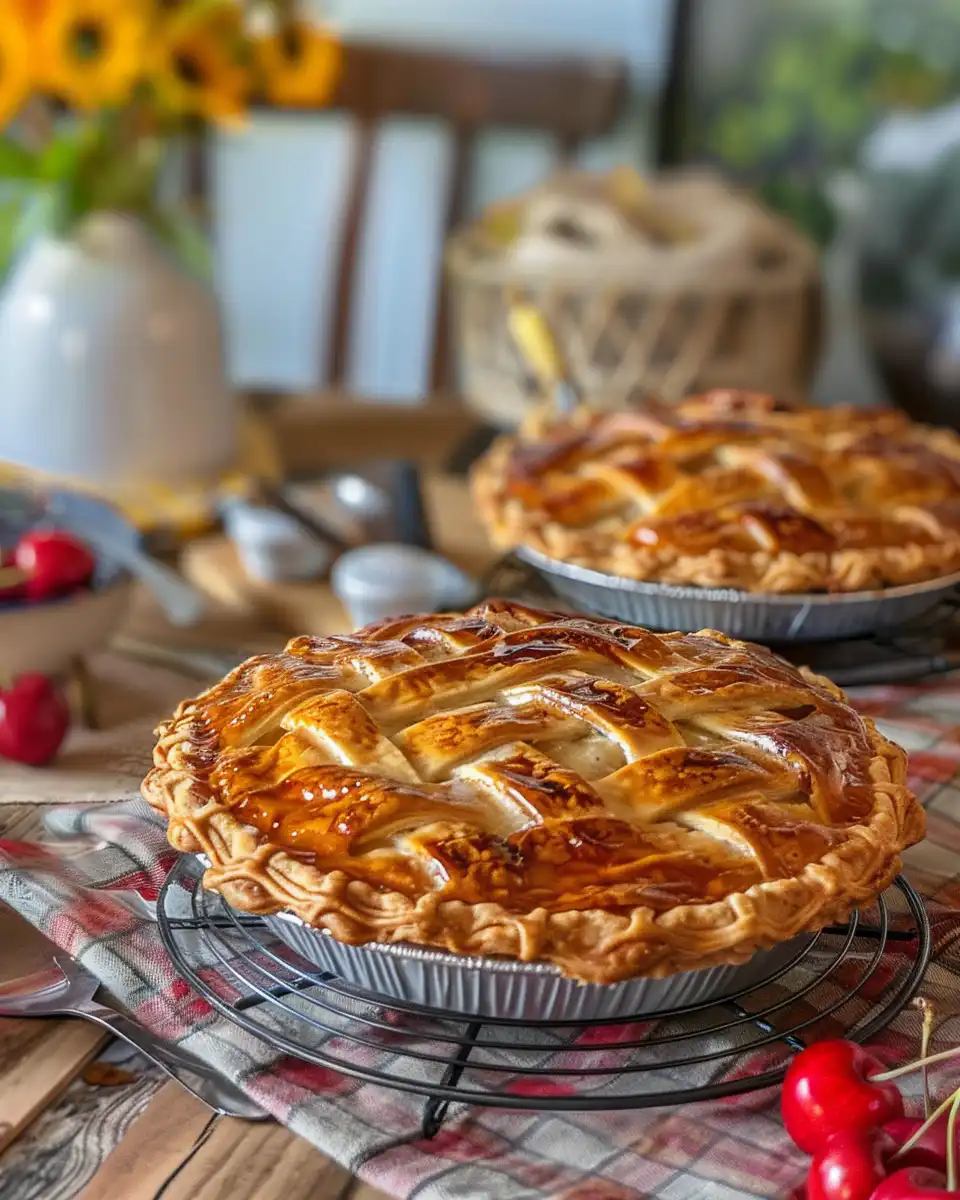
You watch the steam swirl up, kinda like a curtain slowly lifting on dinner's grand debut. You notice how the smell starts pulling you closer. Sweet cherries start mingling with buttery crust in the air and you get that hungry kinda sigh. It’s the kind of thing you wanna savor just with your eyes.
And as the pressure cooker gets its perfect tender pull, you recall how fast this treat comes together. It’s far from the usual pie waiting game. Plus, no mess of a full oven to clean up when it’s done. That’s the charm of these cherry hand pies; small packets of pure joy wrapped in golden crust, ready before you even blink.
The Truth About Fast Tender Results
- Pressure build happens super quick, so you save time without rushing texture.
- You get that soft, tender pull on every bite; fruit and crust melt good together.
- Using natural release helps keep juices in, no splashy mess.
- The broth depth of steam inside your cooker keeps pies moist, not soggy.
- A slow release avoids sudden texture changes that can toughen dough.
- Hand pies stay perfect sized and don’t dry out like bigger pies might.
Your Simple Ingredient Checklist
- Pie crust for a 9-inch double-crust pie — you can buy it or make your own.
- 2 cups homemade cherry pie filling — fresh or from a jar, your call.
- Coarse sugar or turbinado sugar — for sprinkling that extra crunch.
- 1 large egg — for that egg wash gloss and seal.
- 1 tablespoon water — mixes with the egg for easy brushing.
- Flour for dusting the work surface — gotta keep dough from sticking.
- Parchment paper — helps prevent your pies from sticking on the baking sheet.
- Optional spices like cinnamon or nutmeg if you wanna spice things up a bit.
How It All Comes Together Step by Step
Step one, preheat your oven to 400°F and line a baking sheet with parchment or a silicone mat. This keeps pies from sticking and cleanup easier.
Next, on a lightly floured surface, roll out your pie crust into a 12 by 20-inch rectangle. You wanna cut the dough into 8 rectangles or circles of about 5 by 6 inches each. This sizing works real good for hand pies.
Then place around 2 tablespoons of that sweet cherry filling smack in the center of half your dough pieces. Don't overfill or it will ooze out when cooking.
Brush the edges of the dough with your egg wash. This helps glue the dough pieces together so they don't come apart.
Fold each piece over the filling to form a packet. If you cut rectangles, fold so the short ends meet, making a 5 by 3-inch pocket. Use a fork to crimp the edges tight and seal all around.
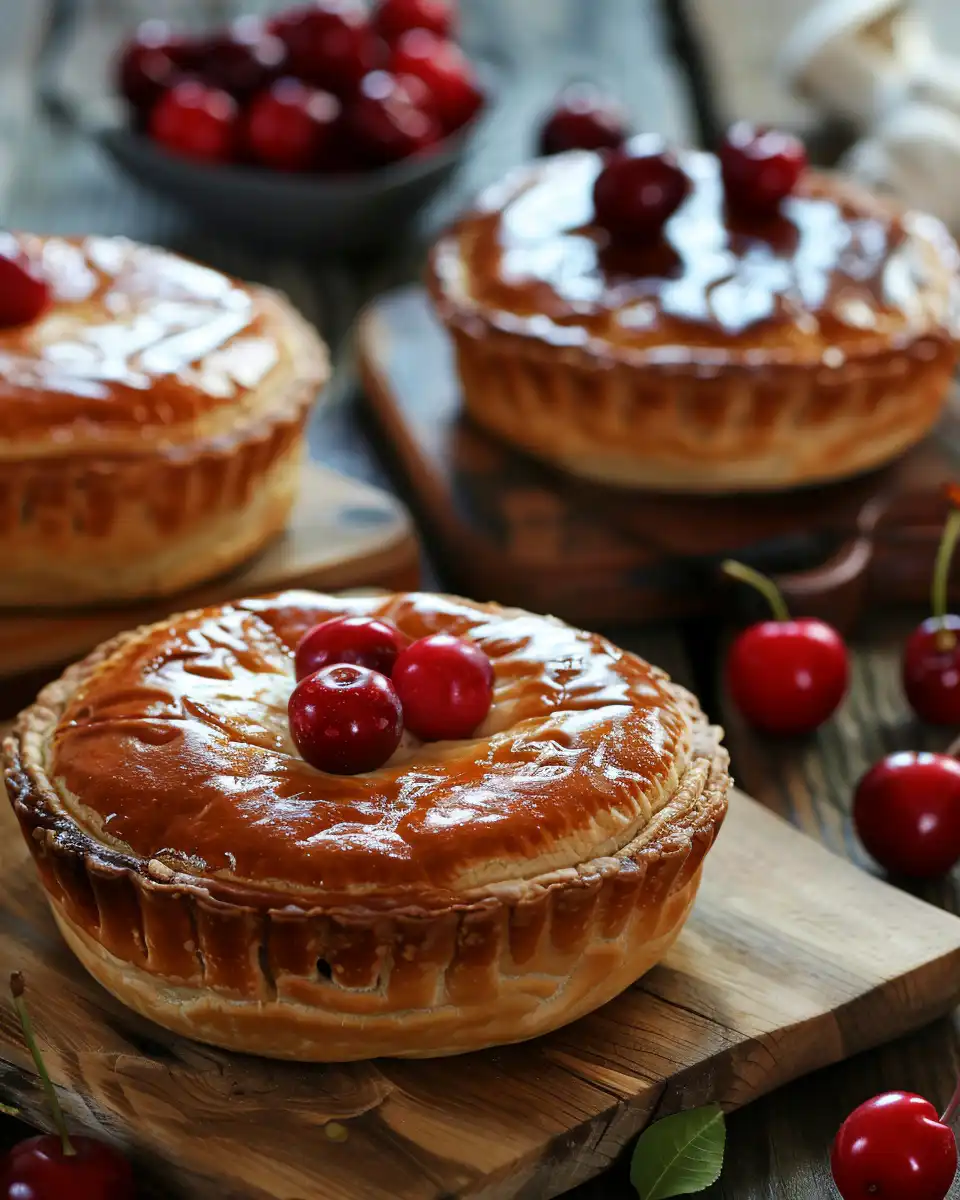
Lay the pies carefully on your baking sheet. Use a sharp knife to make three slits on top so steam escapes during baking. Brush over the tops with egg wash and sprinkle coarse sugar for extra crunch and color.
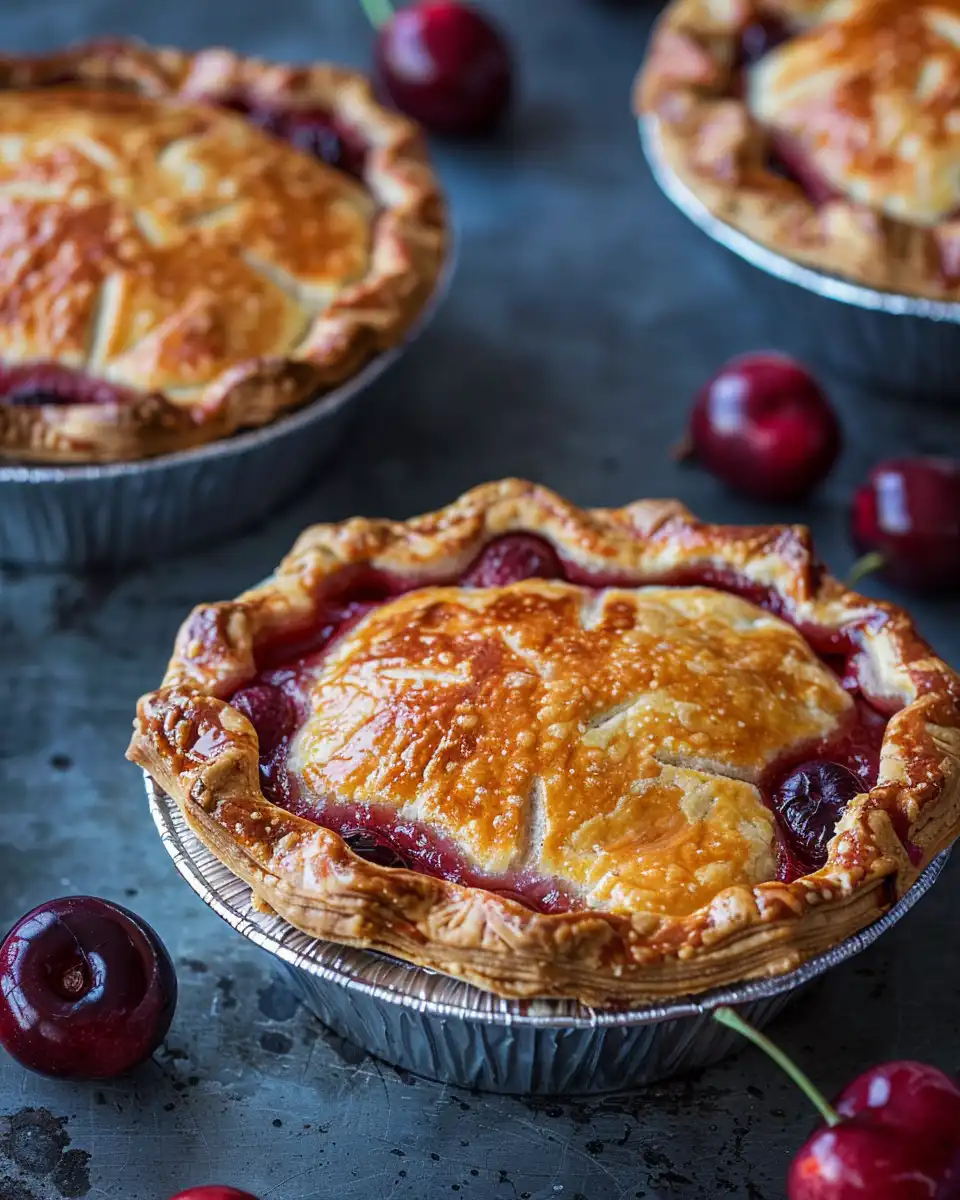
Bake for 20 minutes or until golden brown and the cherry filling bubbles up enticingly. Let cool for about 5 minutes on the sheet before moving them to a wire rack to finish cooling — gotta let that filling settle for a proper first bite.
Valve Hacks You Need to Know
- If your pressure cooker has a slow release option, use it to prevent dough getting tough from sudden pressure drops.
- Natural release is best for tender pulls. Just let the cooker chill on its own after cooking for best results.
- Use quick release to speed things up only if pressed for time, but watch the crust as it might turn dryer.
That First Bite Moment
When you finally sink your teeth into one of these cherry hand pies, you notice the crust is that perfect balance of flaky and tender. It kinda melts just right with the sweet cherry surprise inside.
The warm filling bursts gently, releasing that bright cherry tang mingled with a hint of sugar and maybe some hidden cinnamon love. Your taste buds do a happy dance from all that flavor.
You sense how each bite stays moist and rich, not drying out even after cooling a bit. It’s almost like each pie keeps telling you to go for one more.
And that fine crunch from the coarse sugar is that little dang detail you didn’t know you needed until right now, making every bite kinda irresistible.
Smart Storage That Actually Works
- Wrap cooled pies individually in plastic wrap to keep them fresh if you plan on eating within a day or two.
- Use an airtight container when stacking pies so crusts don't get soggy from moisture.
- You can freeze unbaked pies by placing them on a baking sheet lined with parchment. Freeze solid then transfer to zip-top bags for up to 3 months.
- When reheating, bake frozen pies at 400°F for 20-25 minutes, optionally brushing with egg wash and coarse sugar first to freshen that crunch.
Common Questions and Real Answers
- Can I use store-bought cherry pie filling? Totally, it works just fine and saves prep time.
- What if I don’t have pie crust ready? You can use puff pastry or even make a quick dough, but it changes texture.
- How do I avoid soggy bottoms? Brushing edges with egg wash to seal and making slits on top helps steam escape and crust stays crisp.
- Is it okay to freeze after baking? Yes, just wrap well and reheat in a warm oven to bring back crispiness.
- Do I have to use coarse sugar on top? No, it’s just for extra crunch and pretty look; plain sugar works too.
- How long can I store these pies at room temp? Up to 2 days if covered, but better in fridge wrapped to keep fresh.
Related Recipes You Might Enjoy
Our Healthy Chicken Noodle Soup is a comforting dish that also benefits from pressure cooker magic.
For a cheesy, creamy fix, try the Pumpkin Mac and Cheese Recipe, perfect for cozy nights.
Looking for tips on pressure cooker care? Check out our Pressure Cooker Tips post to keep your kitchen gear in top shape and cooking better every time.
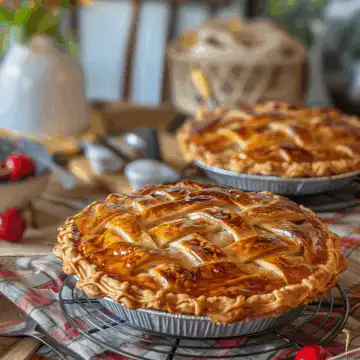
Cherry Hand Pies in Your Pressure Cooker
Equipment
- 1 Baking sheet lined with parchment or silicone mat
- 1 Rolling pin for flattening dough
- 1 Fork to crimp edges
Ingredients
Main ingredients
- 1 Pie crust for 9-inch double-crust pie
- 2 cups Cherry pie filling homemade or jarred
- Coarse sugar or turbinado sugar for sprinkling
- 1 Egg large, for egg wash
- 1 tablespoon Water to mix with egg
- Flour for dusting work surface
- Parchment paper to line baking sheet
- Optional spices like cinnamon or nutmeg
Instructions
Instructions
- Preheat your oven to 400°F and line a baking sheet with parchment or a silicone mat.
- On a lightly floured surface, roll out your pie crust into a 12 by 20-inch rectangle. Cut into 8 rectangles or circles around 5 by 6 inches each.
- Place about 2 tablespoons of cherry filling in the center of half your dough pieces. Avoid overfilling.
- Brush edges with egg wash to help seal dough.
- Fold each piece to form a packet and crimp edges with a fork to seal.
- Lay pies on baking sheet, cut slits in tops for steam, brush with egg wash, and sprinkle with coarse sugar.
- Bake for 20 minutes or until golden brown and filling bubbles.
- Let cool 5 minutes on sheet before transferring to wire rack for cooling.