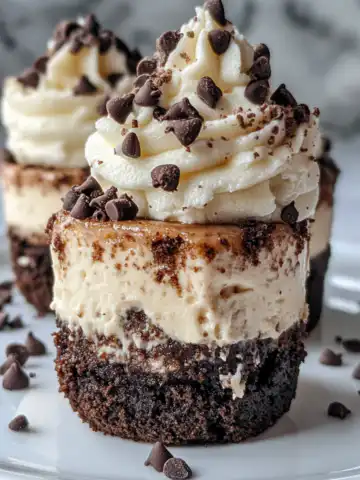
That first hiss from the cooker tells you something good is happening. You feel that warm vibe surround your kitchen when that valve hiss kicks in. It’s like your taste buds start waking up already, anticipating that soft fudgy bite coming soon.
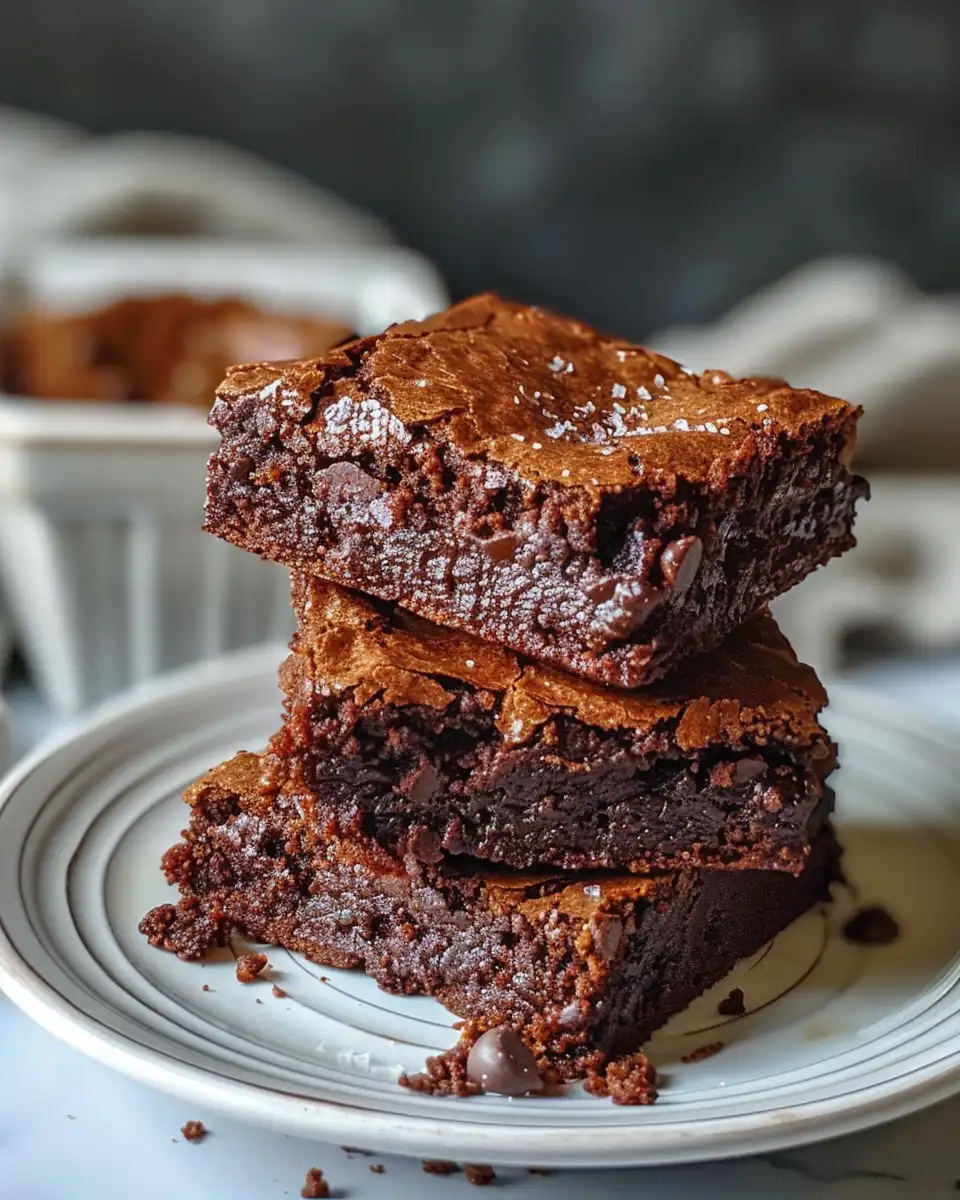
When you catch that hiss, it ain’t just noise. It’s a promise: your brownies are cooking and soon’re gonna have that cracking top you love. You sorta start daydreaming about how the taste will be, thick and rich and super comforting.
And when the slow release comes, you get this tender pull on the lid, like it’s teasing you to wait just a little longer. That wait makes it all worth it, seriously. You spot that shiny crackled surface and get ready for brownies heaven.
Why This Recipe Works Every Single Time
- The mix of butter and oil gives your brownies a great fudgy texture without drying out.
- Using yogurt adds moisture and keeps these brownies soft for days.
- The cocoa powder blends nicely for deep chocolate flavor without being bitter.
- Gentle folding means you won’t overwork the batter, making brownies dense but tender.
- The cornstarch and baking powder help get that crinkle top you’re after.
- Pressure cooker cooking locks moisture in so the brownies stay rich and chewy.
- Slow release lets the brownies finish cooking gently, avoiding cracks or dryness.
All the Pieces for This Meal
- 6 tablespoons salted butter (75 grams) — helps keep your brownies rich and soft.
- 1 tablespoon flavorless oil — locks in moisture and makes the texture fudgy.
- 2 tablespoons milk (30 ml) — just enough to bring everything together smoothly.
- 1 cup granulated sugar (224 grams) — adds sweetness but you can adjust it if you want.
- ½ cup unsweetened cocoa powder (40 grams) — for that intense chocolate taste you crave.
- ½ cup thick yogurt (110 ml) at room temperature — key to making these eggless brownies moist.
- 1 teaspoon pure vanilla extract — gives a nice warm vanilla undertone.
- ¾ cup all-purpose flour (100 grams), plus 1 tablespoon cornstarch and ¼ teaspoon baking powder — these combine to make that perfect crumb and crinkle top.
How It All Comes Together Step by Step
First, preheat your oven to 350°F (175°C) 'cause you wanna prep the pan early. Line an 8x8 inch square pan with parchment paper or lightly grease it so nothing sticks.
Next, melt your butter in the microwave safe bowl. While it’s warm, stir in the oil, milk, and sugar. Mix real good until the sugar starts dissolving just a bit — that’s how you get the sweetness evenly.
Now add in the cocoa powder. Whisk it until it’s smooth with no lumps. You want it dark and glossy like rich chocolate lava.
In goes the yogurt and vanilla extract. Stir until the mixture looks all shiny and nicely combined. This part makes it eggless but still super moist.
In another bowl, whisk your flour, cornstarch, and baking powder together so they’re all evenly blended. This helps get that tender crumb and crinkle top.
Slowly add the dry to the wet mix. Fold gently with a spatula until you don’t see streaks of flour. Don’t over mix or the brownies get tough.
Pour batter into your prepared pan and even it out smooth like a brownie canvas. Pop it into the oven and bake for 28 to 32 minutes. You know it’s ready when a toothpick poked in the center comes out with moist crumbs, not wet batter. Let it cool in the pan for 20 to 30 minutes to set up nice before slicing.
Time Savers That Actually Work
Got little time? Melt butter and mix wet ingredients right in a microwave-safe bowl to skip dirty dishes.
Use parchment paper that fits your pan already if you can find it — no cutting involved.
Whisk dry ingredients right away so you don’t have to do it last minute.
Let the brownies cool on a wire rack instead of waiting on the pan. Cooling gets quicker cause air hits every side.
Your First Taste After the Wait
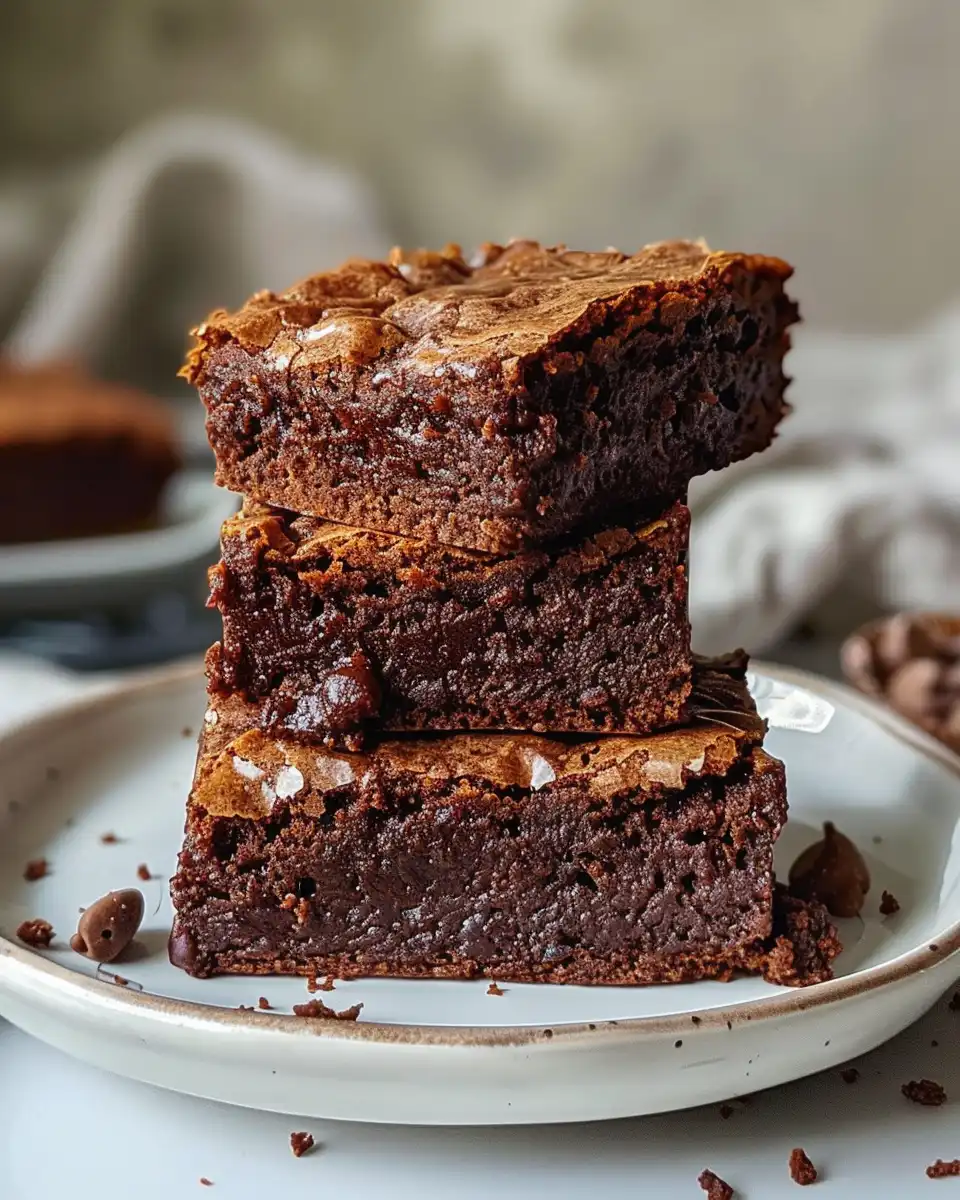
When you finally get to bite your brownies, you first notice that fudgy texture. It’s dense but melts smooth on your tongue — kind of like a tender pull of chocolaty joy.
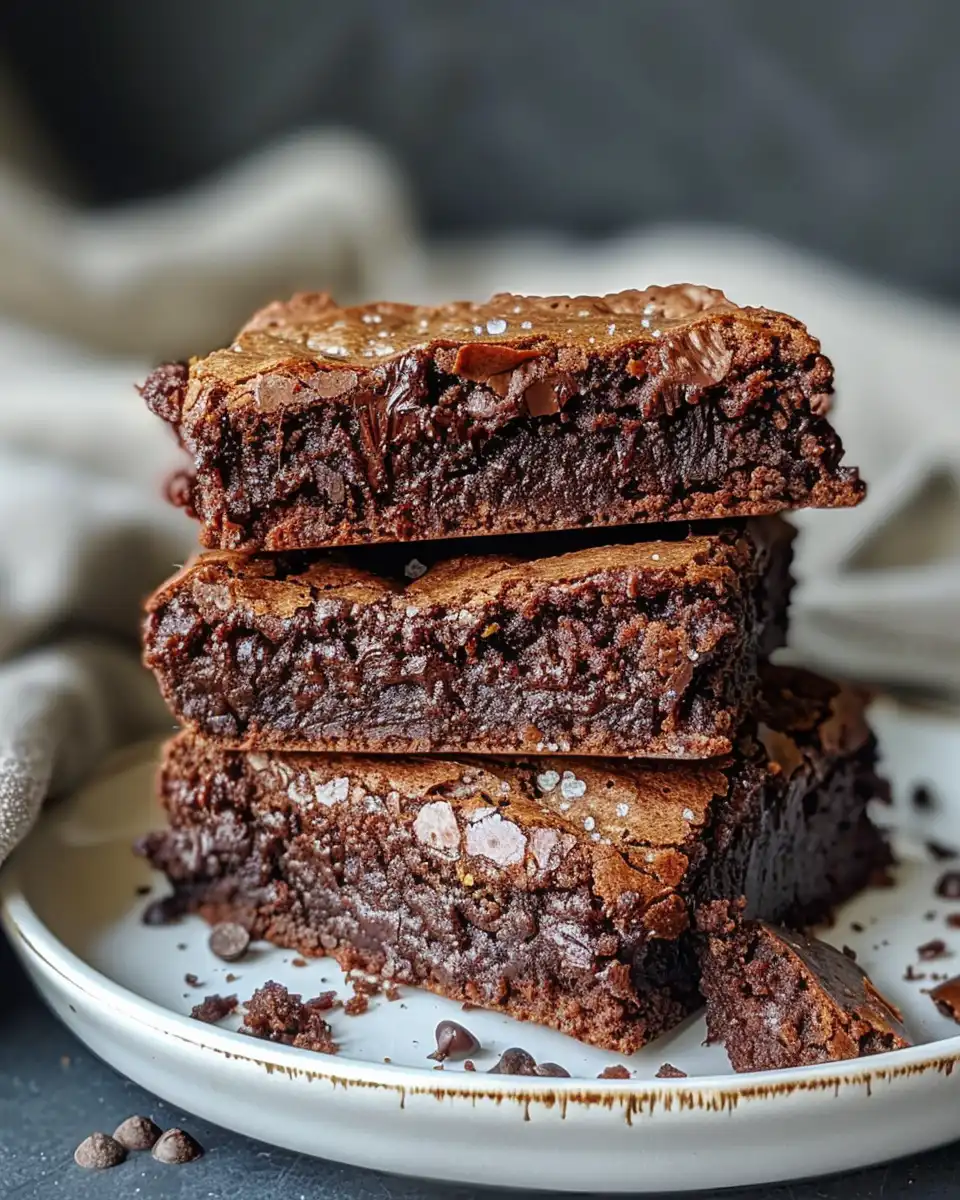
The crinkle top adds a little crispness upfront, giving that perfect contrast to the soft inside. You gotta love that little crackled crunch.
There’s this deep chocolate flavor lined with warm vanilla and a slightly sweet kick that sticks with you after each bite. It’s comfort hiding in chocolate form.
You might even find yourself sneaking a second piece before anyone’s looking. No shame, it works real good for cheering you up.
Keeping Leftovers Fresh and Ready
Wrap brownie slices tightly in plastic wrap to keep them from drying out in the fridge. They stay soft and fudgy for days.
If you want to keep them longer, pop them in an airtight container with a piece of bread. The bread helps keep moisture in so brownies don’t get tough.
For quick snacks later, cut into bite size pieces and freeze them in a bag. When you want a treat, just thaw 'em out a bit or pop in the microwave real quick.
Bring leftovers to room temp before eating or warm them slightly to get that gooey soft texture back. It’s like fresh brownies all over again.
What People Always Ask Me
- Can I use a different type of yogurt? Yeah, plain thick yogurt works best. Greek yogurt is great if it’s not too sour or runny.
- Do I really need to follow the slow release? Yup, slow release helps brownies cook all the way delicately so they keep soft edges and stay fudgy.
- Can I substitute the cocoa powder for melted chocolate? You can try, but cocoa powder gives that lightweight texture and stronger flavor. Melted chocolate might make them dense.
- What if I want walnuts or other nuts instead of mixed nuts? Sure, feel free to swap nuts. Just toss ‘em in or sprinkle on top before baking.
- Is it okay if the top cracks more than expected? Totally normal. That crinkle top is part of the charm, adding texture and personality to every brownie.
- Can I make these brownies dairy-free? You’d need to swap butter and yogurt for plant-based versions. The consistency might change a bit but worth a shot!
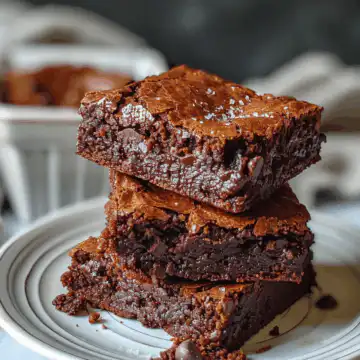
Carve Your Craving Eggless Brownies (Fudgy With Crinkle Top)
Equipment
- 1 Mixing bowl Heat-safe for double boiler
Ingredients
Main ingredients
- 6 tablespoon Salted butter 75 grams
- 1 tablespoon Flavorless oil
- 2 tablespoon Milk 30 ml
- 1 cup Granulated sugar 224 grams
- 0.5 cup Unsweetened cocoa powder 40 grams
- 0.5 cup Thick yogurt 110 ml, at room temperature
- 1 teaspoon Pure vanilla extract
- 0.75 cup All-purpose flour 100 grams
- 1 tablespoon Cornstarch
- 0.25 teaspoon Baking powder
- 0.75 cup Mixed nuts optional
- 0.5 cup Chocolate chips dark or semi-sweet, optional
- 2 teaspoon All-purpose flour for coating toppings
Instructions
Instructions
- Preheat your oven to 350°F (175°C) and line an 8x8 inch square pan with parchment paper or lightly grease it.
- In a heat-safe bowl using the double boiler method, melt the butter and stir in oil. Mix until well emulsified.
- Add sugar, cocoa powder, and milk to the butter-oil mixture. Stir until just combined. Remove from heat and let it cool slightly.
- When the mixture is lukewarm, add yogurt and vanilla extract. Stir until smooth.
- In a separate bowl, whisk together flour, cornstarch, and baking powder.
- Fold dry ingredients into wet ingredients using a spatula. Do not overmix.
- If using nuts or chocolate chips, coat them in flour and fold gently into the batter.
- Spread batter evenly in the prepared pan. Top with more nuts and chocolate if desired. Tap the pan gently to remove air bubbles.
- Bake for 28 minutes or until the top is set and crinkled and the sides begin to pull away. Cool completely before slicing.