










Steam curls up from the valve and your stomach starts talking back. You sense the sweet citrus aroma as it floats around your kitchen. It’s that kinda smell that makes you look twice at your pressure cooker and grin.
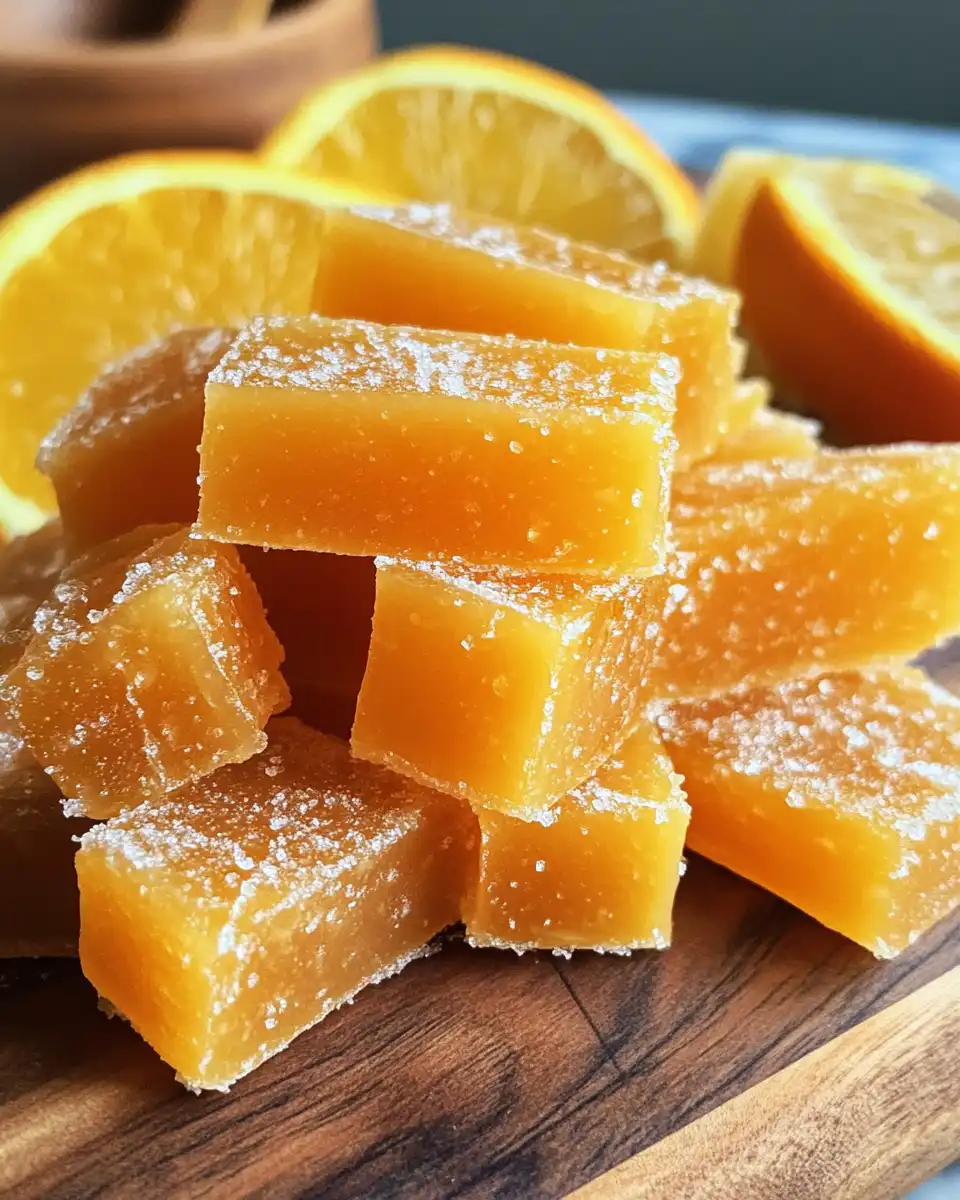
Orange slices tan and shine, getting all glossy and bright in the heat. You catch that broth depth of sugar and water swirling together. It’s kinda like the kitchen just got turned into a candy shop with not much fuss at all.
Then you spot the valve hiss slowly slipping out. That little sound means you’re close to having a batch of sticky, sweet, kinda tangy delights. You feel ready to plate up and enjoy some seriously good treats. Dang, y’all gonna love how easy these candied orange slices come together in your cooker.
Why Your Cooker Beats Every Other Pot
- It traps flavors real good, so those orange slices soak up sweetness quick. For other easy pressure cooker recipes, check our Pressure Cooker Cannoli Cheesecake Bars Recipe and Churro Crinkle Cookies Recipe.
- The pressure build inside cuts down cooking way faster than stove-top simmering.
- You get consistent heat all around, no burnt spots or uneven cooking.
- Quick release means you don’t wait too long, and the fruit stays fresh and nice.
- Natural release offers extra time for flavors to mingle gently, perfect for candies.
- The valve hiss lets you know it’s working, so you don’t gotta guess or peek too much.
- You don’t dirty a ton of dishes since it all happens in one pot.
What Goes Into the Pot Today
- 3 cups (600 grams) white granulated sugar - sweet angel of this dish, gives that glaze and crunch you want.
- 3 cups (709 ml/ 24 ounces) water - just enough to dissolve the sugar and let it simmer down.
- 3 small oranges or tangelos - your base fruit, washed good and sliced about ⅛-inch thin.
- Slices should number around 18 to 20, just right to lay flat in your pot.
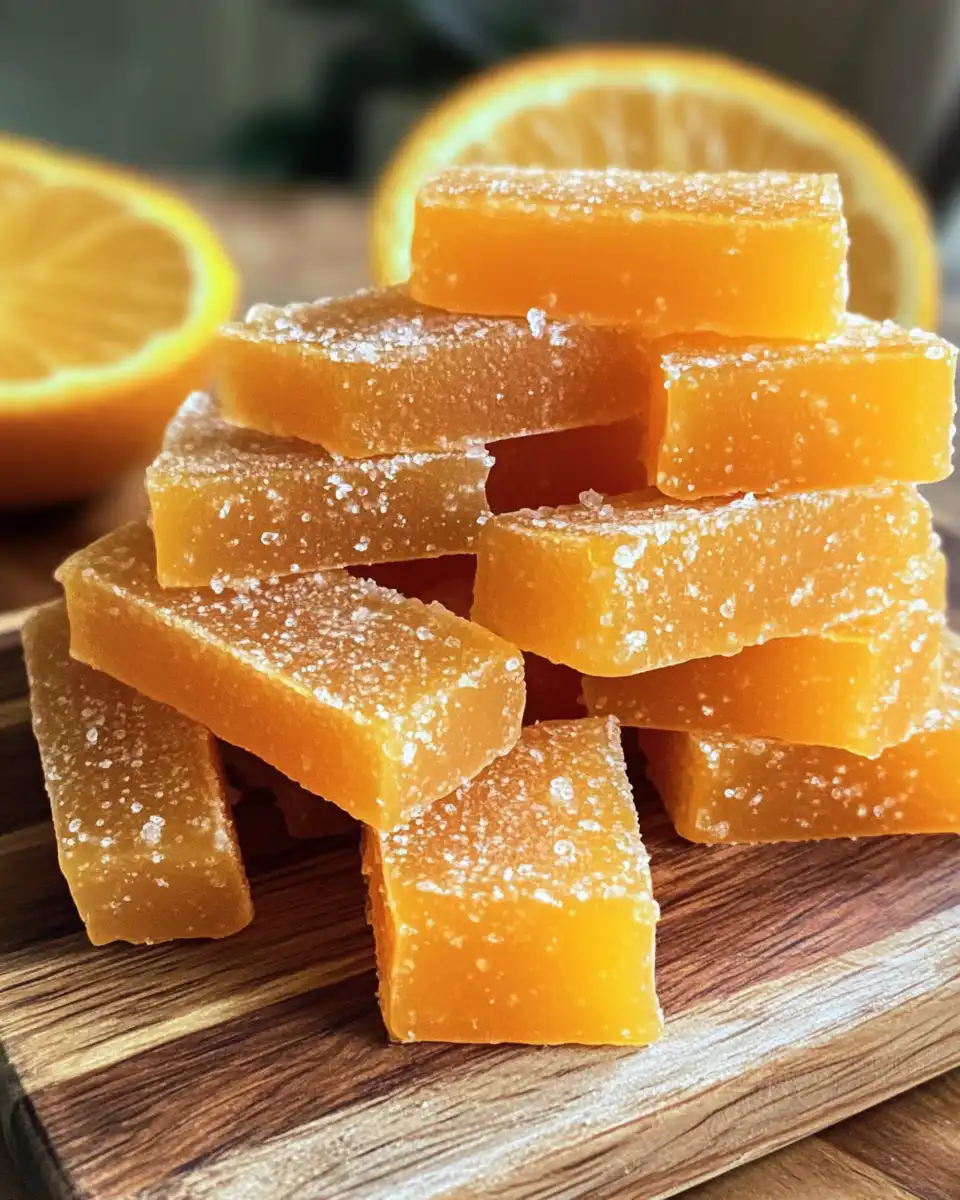
That’s really all you need to get started. No complicated extras or hard-to-find stuff. The fresh oranges bring that bright hit, balanced by the sugar that turns into the syrupy sweet broth. This simplicity is why it works so slick in the cooker.
Your Complete Cooking Timeline
- First wash up your oranges real good, cut them into thin rounds about one-eighth inch thick, and pick out any seeds you spot.
- Next, toss sugar and water into your pressure cooker pot, stir it gently and set your burner on medium heat to bring it up to a boil.
- Once sugar is dissolved and that broth depth feels just right, reduce heat to low and carefully place the orange slices in a single layer inside the pot.
- Simmer gently for about 30 minutes, turning slices every now and then with a pair of tongs so they cook evenly and get that translucent glow.
- When done, it’s time for the quick release to let out the steam. You’ll hear that valve hiss telling you it’s done.
- Safely take out the orange slices with tongs and lay ‘em on a wire rack set over parchment paper to dry.
- Let them sit at room temp for 4 to 6 hours or even overnight until they’re fully dry and perfectly chewy.
Smart Shortcuts for Busy Days
- Buy pre-sliced oranges if you want to skip the cutting step.
- Make the syrup in your cooker the night before and keep it covered in the fridge; next day just add the slices.
- Use parchment paper under the drying rack so cleanup’s a breeze and no sticky mess.
- Place drying rack near a fan or open window for faster drying if you’re in a rush.
- Feel free to double the recipe and store extras for snacking later, so you only do the work once.
When You Finally Get to Eat
You pick up a slice and feel that sticky, leathery surface. The orange peel glows a little translucent and the sugar coating gives a nice crunch. Your teeth sink easily into the chewy sweetness, and you taste the bright citrus tang shading through.
It’s kinda like sunshine wrapped in sugar, sweet and tart all at once. Each slice feels like a small treat, perfect to nibble on alongside your tea or as a topping for cakes or salads. You notice how it beats anything plain or store-bought.
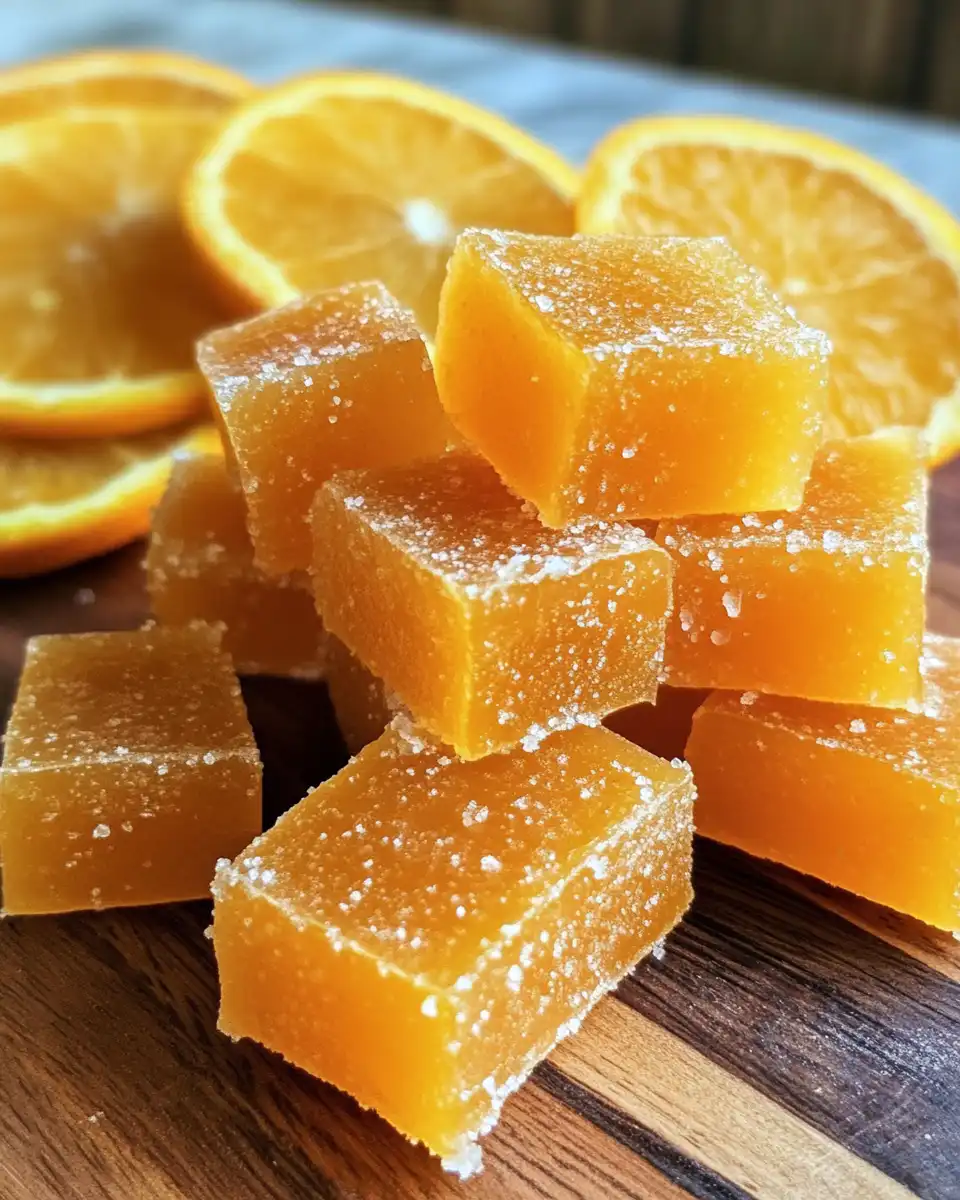
And the best part is knowing you made it in your own kitchen, fast and no fuss. These slices bring a little happiness with every bite and that’s just the kinda dessert you wanna gobble up in lazy or busy times alike.
Smart Storage That Actually Works
- Airtight container at room temp: Keep them dry and away from humidity for up to two weeks.
- In fridge: Use a sealed jar or box to keep them fresh for about three weeks, but they might lose some chewiness.
- Freezer for longer stash: Wrap slices individually in wax paper then place in a zip bag, good for months.
- Snack jars: Fill small glass jars for gift packs or easy grab-n-go treats, just make sure lids are tight.
The FAQ Section You Actually Need
- Can I use other citrus fruits? Totally! Lemons, limes, and even grapefruit work if you like mixing it up.
- Do I need to peel the oranges? Nope, the peel is key part of that chewy texture so leave it on.
- How thick should slices be? Around ⅛-inch thick works best; too thick won’t candy well, too thin might fall apart.
- What’s best way to dry slices? Room temp on a wire rack works great; use a fan if you want to speed it up.
- Can I sweeten with honey instead of sugar? Sugar gives the best syrupy texture but you can try honey for a different taste.
- Is the natural release better? For candies, natural release lets flavors blend smoother, but quick release is faster if you’re pressed.
Candied Orange Slices ~ Easy Recipe
Equipment
- 1 Mixing bowl for holding orange slices before placing in cooker
Ingredients
Main Ingredients
- 3 cups white granulated sugar about 600 grams
- 3 cups water 709 ml / 24 ounces
- 3 small oranges or tangelos washed well and sliced about ⅛-inch thin
Instructions
Instructions
- Wash oranges thoroughly. Slice into ⅛-inch rounds and remove any seeds.
- Add sugar and water to pressure cooker insert over medium heat. Stir gently until sugar dissolves and mixture simmers.
- Place orange slices in a single layer. Simmer for 60 minutes, flipping occasionally until slices look glossy and translucent.
- Use tongs to transfer slices to a parchment-lined rack. Let dry for 4–6 hours or overnight until chewy.



