










That first hiss from the cooker tells you something good is happening.
You catch that sudden steam cue and you know the pressure is building right. It’s kinda like a promise dang good things are goin' down inside that pot. You sense the float valve popping up, sealing your goodies in tight.
Now with these maple bars, you gotta wait but not too long. The tender pull of the dough is happening while the cooker does its thing on a whole new level. You feel that little impatient buzz, but you know it’s just a step closer to that sweet finish.
What Makes Pressure Cooking Win Every Round
- Cooks the dough up super fast compared to normal rise times
- Keeps moisture locked in so bars stay soft, not dried out
- Even heat all around means no hot spots messing up your fry or glaze
- Steam cues give you a clear sign when to move to the next step, no guesswork
- Less clean up since you’re using one pot for proofing and sometimes even for warming the glaze
What Goes Into the Pot Today
- ¾ cup milk
- 3 tablespoons butter (plus extra for melting and glaze)
- 3 ¼ cups all-purpose flour
- ⅓ cup granulated sugar
- ½ teaspoon salt
- 1 package quick-rise yeast (2 ½ teaspoons)
- 2 large eggs
- ½ teaspoon vanilla extract
- Oil (for frying)
- Glaze ingredients: ¼ cup unsalted butter, ½ cup brown sugar, 3 tablespoons milk, 1 tablespoon corn syrup, 2 teaspoons maple extract, and 2 cups powdered sugar
Your Complete Cooking Timeline
Step 1 You start by gently heating the milk and butter on medium heat till butter melts. Then you gotta let it cool till it’s just lukewarm so you don’t kill the yeast.
Step 2 Mix 2 cups of flour, sugar, salt, and yeast in a big bowl. Then pour in that warm milk mix with eggs and vanilla. Stir till it looks combined but don’t overwork it.
Step 3 Slowly add that remaining flour bit by bit till a soft dough forms. You want it just right to knead.
Step 4 Knead on floured surface for 5 to 7 minutes. You’re looking for that elastic feel, smooth texture—sometimes you gotta push through the dough to get there.
Step 5 Grease a bowl, toss the dough in, cover it with a damp cloth. Find a warm spot and let it rise about an hour till it doubles. That float valve sense is like your dough’s growin' signal.
Step 6 Punch down the dough, roll it out to half an inch thick, and cut rectangles. Set them on parchment and cover again for a 30-min second rise.
Step 7 Heat oil to 350°F (175°C) and fry the bars quick 1–2 minutes per side till golden brown. Drain on paper towels so they don’t get greasy.
Step 8 Melt butter for glaze, stir in powdered sugar, maple syrup, and milk till smooth. Dip cooled bars and let them set so glaze gets firm and shiny before you bite in.
Valve Hacks You Need to Know
- If the float valve doesn’t come up soon, give the pot a little shake; sometimes steam builds slow.
- For tender pull dough, try a slow release instead of quick. It keeps moisture in longer.
- Watch the steam cues closely for perfect timing on each step. It’s your signal!
- Before frying, warm up your oil in the pressure cooker on sauté mode to save time and dishes.
Your First Taste After the Wait
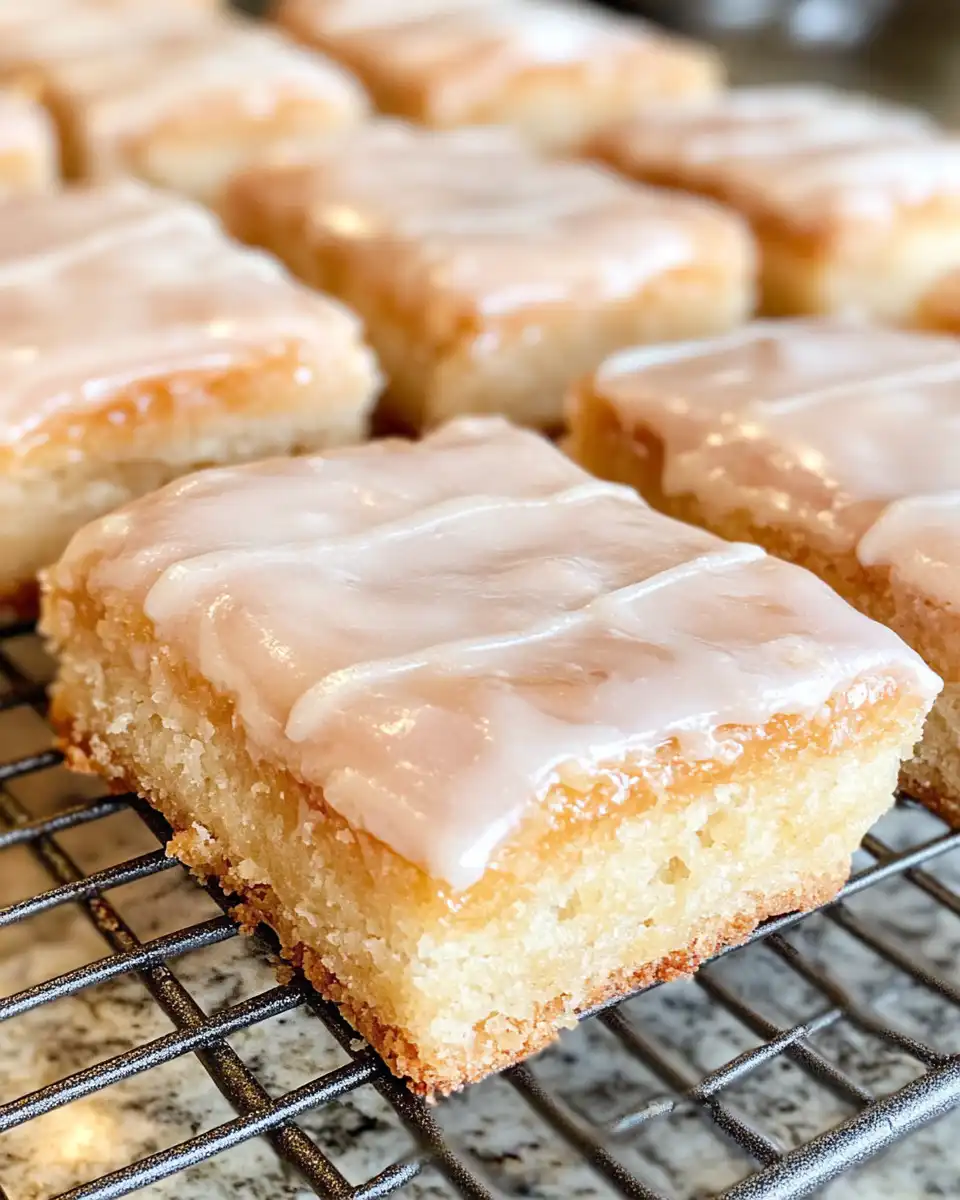
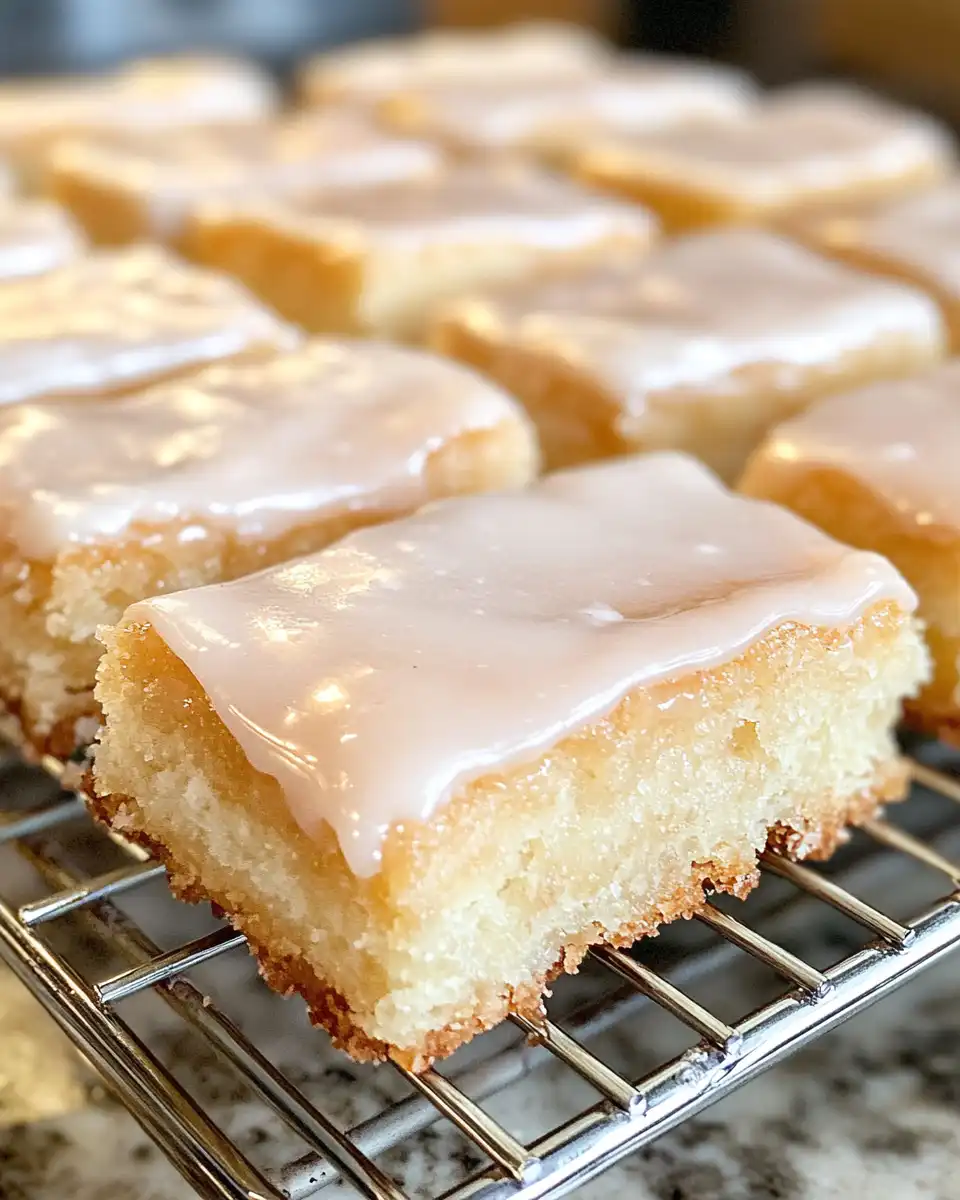
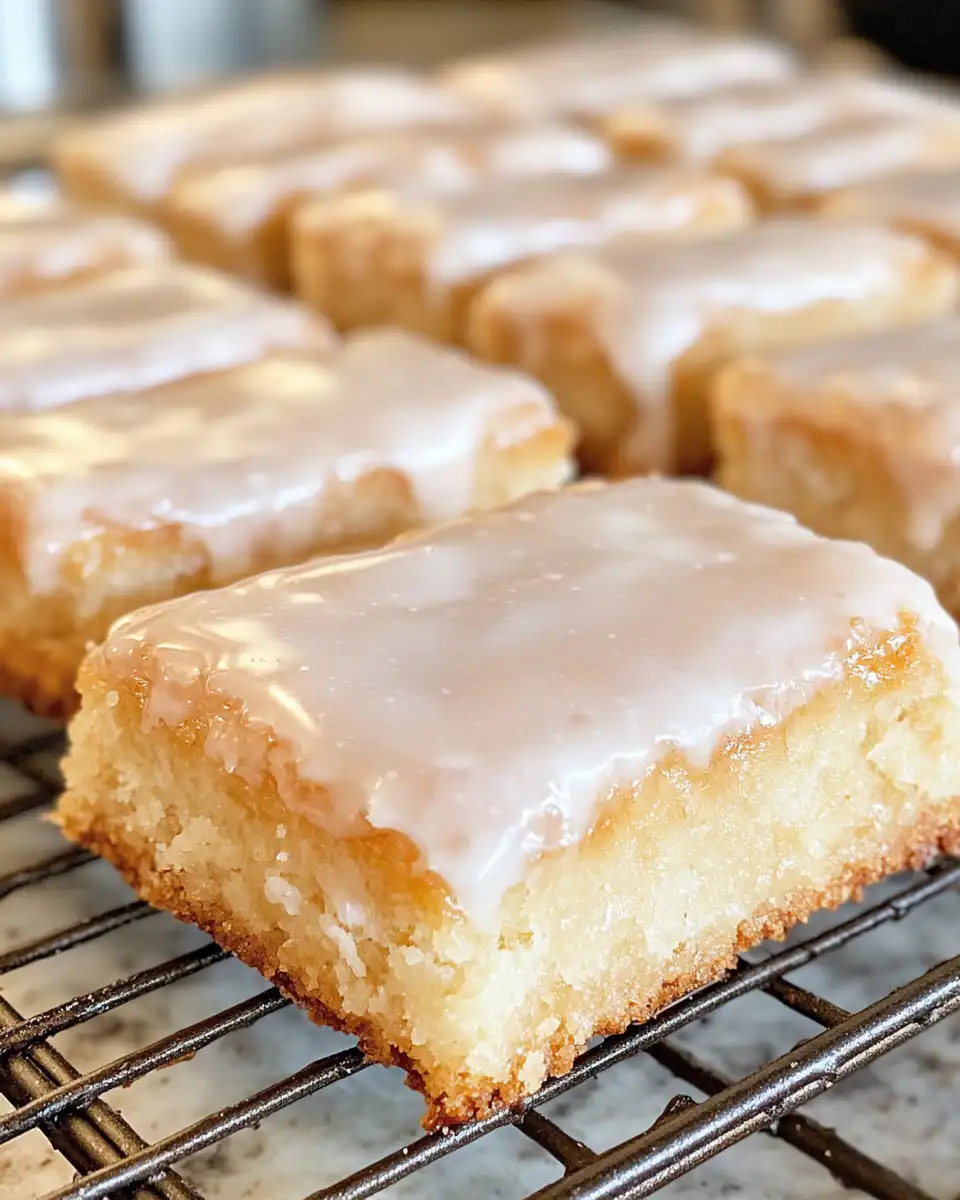
When you bite into these maple bars you catch that soft dough with a slight bounce. It’s like eating a cloud soaked with sweet maple flavor.
The glaze is sticky and smooth, not too thick, and just enough sweetness that hits your taste buds right away but keeps you wanting more.
You feel the tender pull of the dough working with the melt-in-your-mouth glaze. It’s dang satisfying and hits a comforting sweet spot perfect for breakfast or snack time.
That little caramel note from brown sugar and corn syrup in the glaze adds depth you might not expect but totally love once you taste it.
Making It Last All Week Long
Store the leftover maple bars in an airtight container at room temp for a day or two. Keep ‘em covered so the glaze doesn’t dry out.
For longer life, wrap bars individually in plastic wrap then keep in the fridge. They’ll firm up a bit but you can microwave a quick second to soften.
Freeze bars by wrapping tight in foil or freezer bags. When you want one, thaw it overnight and warm gently in the oven for fresh vibes.
If you freeze extras, keep that glaze in a separate container so it stays perfect. Re-dip bars after they’re warmed and it’s like freshly made again.
What People Always Ask Me
- Q: Can I skip the frying and bake these in the pressure cooker?
A: Frying’s key for that crispy outside texture but you can bake if needed just keep an eye so they don’t dry out. - Q: What’s the best yeast type for quick-rise?
A: Quick-rise yeast works best here to speed up the process but regular active dry yeast works if you add more rise time. - Q: How do you know when to do a slow release?
A: When dough’s rising or cooling phases, slow release helps keep moisture in and tender texture long term. - Q: Can I swap maple extract for vanilla in glaze?
A: Vanilla changes the vibe but maple’s what makes these bars special. You could try both though for fun. - Q: How long do the bars last once glazed?
A: Usually up to 3 days room temp, longer refrigerated wrapped tight. They start gettin dry after that. - Q: Any tips on frying so bars stay fluffy inside?
A: Keep oil steady at 350°F, don’t crowd the pot, and quick fry each side till golden. Drain well and they’ll stay light.
For tasty sweet ideas and pressure cooker tips, be sure to check out our Pressure Cooker Cannoli Cheesecake Bars Recipe, Classic Homemade Orange Candy Recipe, and Chocolade Lasagne Recipe.
Pressure Cooker Maple Bars You Gotta Try
Equipment
- 1 Mixing bowl Large
Ingredients
Main ingredients
- 0.75 cup milk
- 3 tablespoons butter plus extra for melting and glaze
- 3 ¼ cups all-purpose flour
- ⅓ cup granulated sugar
- ½ teaspoon salt
- 2 ½ teaspoons quick-rise yeast 1 package
- 2 large eggs
- ½ teaspoon vanilla extract
- oil for frying
- ¼ cup unsalted butter for glaze
- ½ cup brown sugar
- 3 tablespoons milk for glaze
- 1 tablespoon corn syrup
- 2 teaspoons maple extract
- 2 cups powdered sugar
Instructions
Instructions
- Heat milk and butter in a saucepan over medium heat until melted. Let cool until lukewarm.
- Mix 2 cups flour, sugar, salt, and yeast in a large bowl. Add milk mixture, eggs, and vanilla. Stir until combined.
- Add remaining flour slowly until soft dough forms.
- Knead on floured surface for 5–7 minutes until smooth and elastic.
- Place in greased bowl, cover with damp cloth, and let rise about 1 hour until doubled.
- Punch down, roll ½ inch thick, and cut into rectangles. Cover and let rise 30 minutes.
- Heat oil to 350°F and fry bars 1–2 minutes per side until golden. Drain on paper towels.
- Melt butter for glaze, add brown sugar, milk, corn syrup, and maple extract. Stir in powdered sugar and whisk until smooth.
- Dip cooled bars in glaze, set glaze side up until glaze sets.



