That first hiss from the cooker tells you something good is happening
When you hear that valve hiss coming from your pressure cooker, you just know dang well that good stuff's going down. The sound means the broth depth has reached the right level for cooking and that pressure build is happening as it should. You spot just how fast it fills with steam and get kinda excited about what’s coming next.
Pressure cookers aren't just pots, they're your backstage pass to fast, moist, and tender baking. You recall the times you waited forever on the oven only to get dry cake. Not with this setup. The sealed heat and steam gets everything done real good and quick.
You're gonna love how the natural release lets flavors get all cozy and final touches cook gently. Unlike the slow release on some dishes, this method keeps your cake layers soft and your fillings creamy without drying a thing. Plus you feel the relief when the cooker stops and you open it up to mouthwatering smells. It kinda feels like a tiny celebration right in your kitchen.
Why Your Cooker Beats Every Other Pot
- Keeps moisture locked in so cakes come out super tender.
- Pressure build cooks food way faster than the oven.
- Broth depth inside the cooker creates steam that bakes evenly.
- Valve hiss gives that clear sign you’re in business on the cook time.
- Natural release cools food down gently, no overcooking happens.
- One pot does it all, so cleanup is less annoying.
- Even tricky desserts like layered cheesecakes come out perfect every time.
The Complete Shopping Rundown
Alright, you gotta grab a good handful of ingredients for this red velvet cheesecake and the other treats. First off, some vegetable or canola oil for the base—you want 1 cup of it, about 224 grams.
Make sure you have 2 large eggs at room temp, and that 1 cup of buttermilk also warm in your fridge. Vanilla's big too, so get 2 teaspoons of vanilla extract or vanilla bean paste for that real smooth taste.
Since it’s red velvet, 2 squirts of red gel food coloring or a tablespoon of the liquid kind is a must. Don't forget granulated sugar, 2 cups, and unsweetened cocoa powder, about 2 teaspoons for that subtle chocolate hint.
You’ll also need fine salt, baking soda, and baking powder for the right rise and flavor balance. The flour is 2 and a half cups—all-purpose. For the creamy parts, grab two packages of 8-ounce full fat cream cheese, and one cup of unsalted butter to help with the frosting magic.
Lastly, scoop up powdered sugar, a whole 7 cups worth for the sweetness. And if you want that raspberry mousse layer or some tang, pull sweetened condensed milk, lemon juice, and more vanilla.
Your Complete Cooking Timeline
Step one, preheat your oven to 350°F but keep your pressure cooker ready too. Grease two 9-inch round cake pans and line bottoms with parchment paper so the cakes don’t stick.
Next, grab a big mixing bowl. Whisk together your oil, eggs, buttermilk, vanilla extract, and white vinegar until it’s well mixed. You want this silky smooth, no lumps.
Now sift together sugar, cocoa powder, salt, baking soda, and baking powder in a separate bowl. Slowly add these dry goodies into the wet ingredients, mixing until smooth.
Divide that beautiful batter evenly between the pans, spreading it out with a spatula. Toss those pans into the oven, baking 25 to 30 minutes. You’ll spot they're done with a toothpick test, it should come out clean.
When the cakes come out, give 'em 10 minutes to chill in the pan. Then turn ‘em out onto a wire rack so they cool completely while you get the frosting ready.
Beat up your butter and cream cheese together till creamy, then slowly mix in powdered sugar, salt, and vanilla extract. Sweet raspberry mousse calls for mixing cream cheese with sweetened condensed milk, lemon juice, and vanilla.
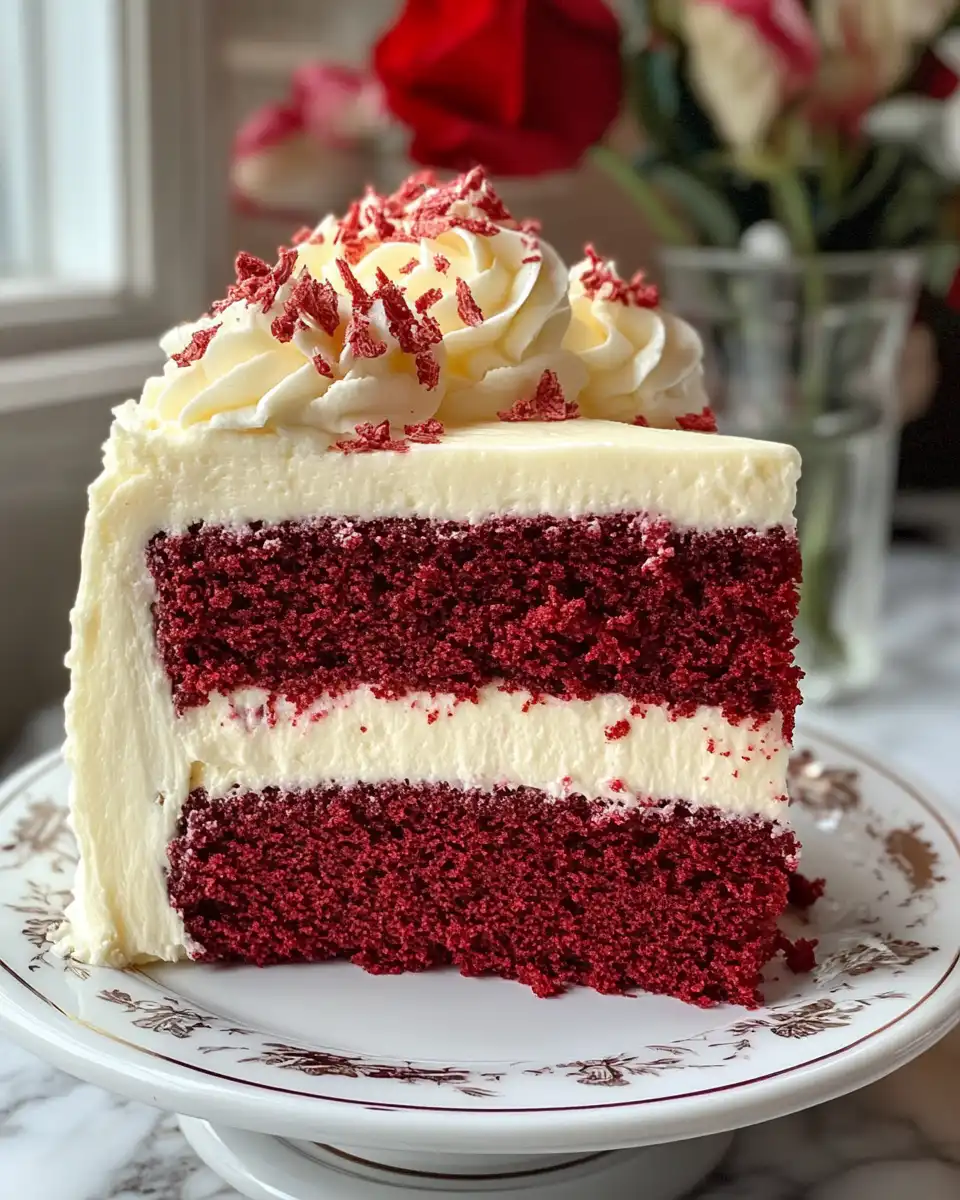
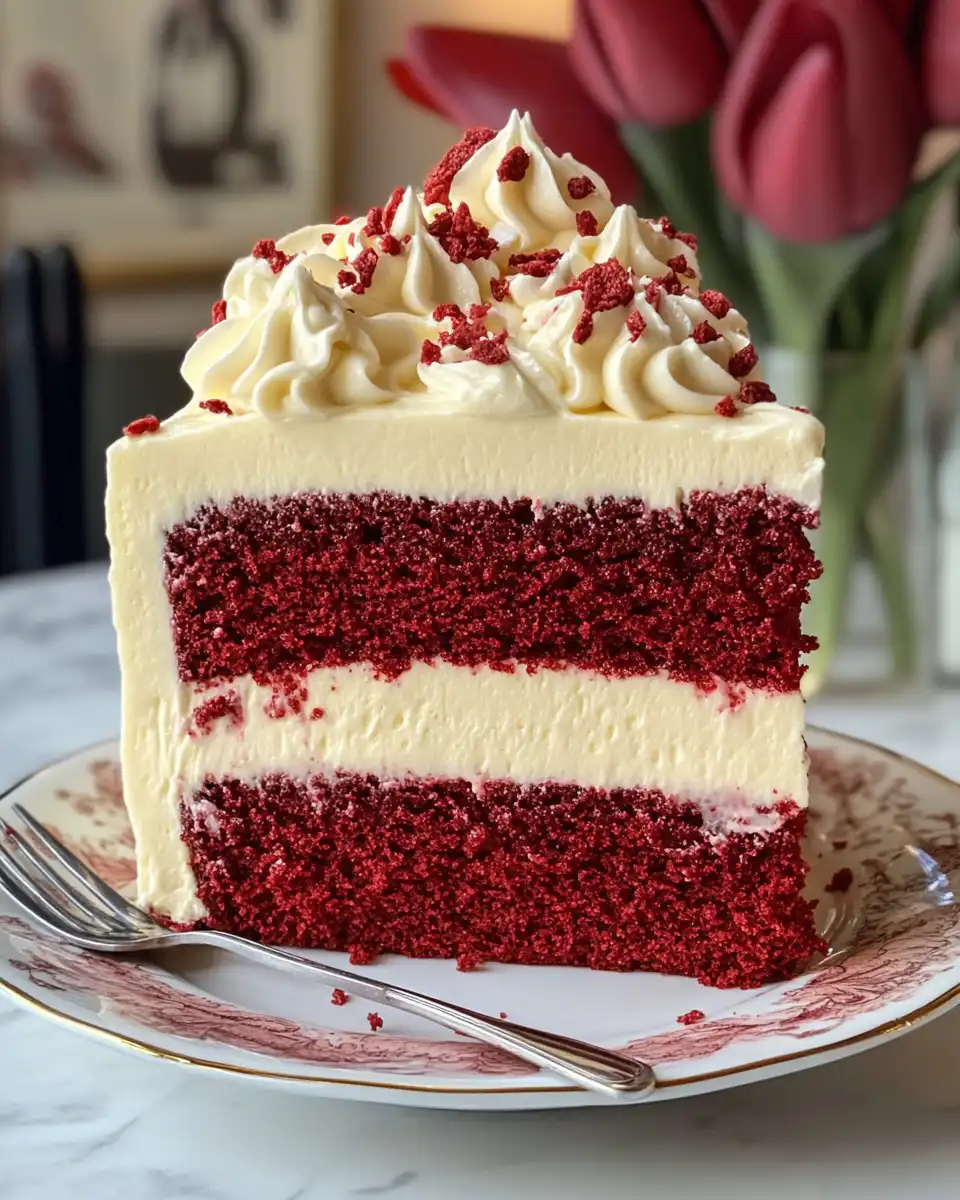
Start layering and frosting your cake as you like, piping the frosting with a Wilton 1M tip if you wanna get fancy. Let it sit a bit so flavors come together, then slice and enjoy.
Pro tip, if you're using the pressure cooker to steam cakes, make sure the broth depth is just right, and watch that valve hiss when pressure build hits. Use natural release to let the cakes settle without drying ‘em out.
Time Savers That Actually Work
- Mix dry ingredients the night before and store in an airtight container.
- Preheat oven and grease pans while mixing the batter so you save minutes.
- Use room temp eggs and butter so everything blends faster and smoother.
- Swap piping bag for a sturdy zip-top bag with corner snipped if you're in a rush.
- Keep the pressure cooker broth ready ahead to reduce pressure build time when cooking.
When You Finally Get to Eat
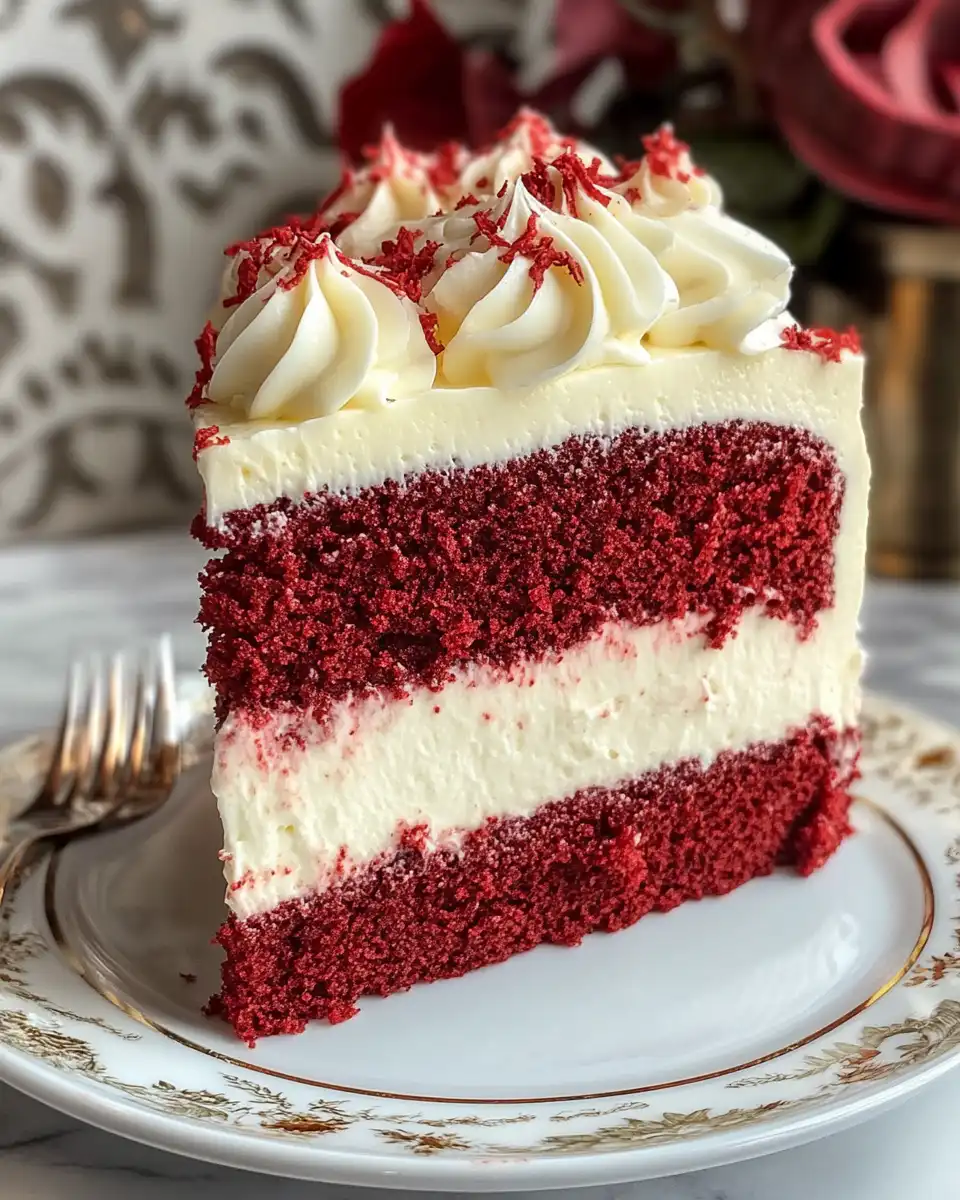
You take that first bite and the cheesecake layers just melt in your mouth. The red velvet is soft, rich, and just a little tangy from the cream cheese frosting that’s sweet but not overpowering.
The chocolate raspberry mousse layer adds a burst of smooth fruitiness, kinda like a secret love letter hidden in the middle. Each forkful feels fancy but homey, giving you that warm satisfaction you always crave.
With the spicy skinny margarita on the side, every bite gets a little kick of brightness and balance. It’s that combo of sweet, tangy, and spicy that finishes your dessert moment just right.
Smart Storage That Actually Works
- Wrap leftover cheesecake tightly in plastic wrap and keep stored in the fridge for up to 5 days.
- If you gotta keep it longer, slice and freeze pieces wrapped individually to avoid freezer burn.
- For the mousse cake, store in an airtight container in fridge so it stays fresh and creamy.
- Pumpkin pie cinnamon rolls and macarons do great in airtight containers but macarons prefer a cool dry spot to keep their crunch.
The FAQ Section You Actually Need
- Can I make the red velvet cake completely in the pressure cooker?
Yeah, you totally can. Just watch that broth depth to keep enough steam and rely on a natural release to keep things moist. - What’s the deal with natural release versus slow release?
Natural release lets the pressure drop slowly on its own, good for gentle dishes like cheesecakes. Slow release is you manually releasing pressure bit by bit, better for savory dishes. - How important’s it to use room temp eggs and butter?
It’s kinda key because cold ingredients can make the batter lumpy or tough. Warm stuff blends better so your cake texture rocks. - Can I swap regular sugar for brown sugar?
You can, but it might change the flavor and color a bit. Brown sugar adds moisture and a caramel-like taste, so it’s a fun twist but not the classic red velvet vibe. - What if my cake sticks to the pan?
Make sure you grease and flour the pans well. Lining with parchment paper helps a lot too. If it sticks, letting it cool a bit before turning out usually does the trick. - How do I know when the valve hiss is right during cooking?
You gotta listen for a steady hiss that’s consistent, it means your pressure build is good. Too loud or sputtery can mean too much broth or not enough heat, so adjust accordingly.
Red Velvet Layered Cheesecake Chocolate Raspberry Mousse Cake
Equipment
- 1 Mixing bowl Large
Ingredients
Red Velvet Cake Layers
- 1 cup vegetable or canola oil
- 2 large eggs room temperature
- 1 cup buttermilk room temperature
- 2 teaspoon vanilla extract or vanilla bean paste
- 1 teaspoon white vinegar
- 2 cups granulated sugar
- 2 teaspoon unsweetened cocoa powder sifted
- 1 teaspoon fine salt
- 1 teaspoon baking soda
- ½ teaspoon baking powder
- 2 ½ cups all-purpose flour
- 2 squirts or 1 tbsp red gel or liquid food coloring
Cream Cheese Buttercream Frosting
- 1 cup unsalted butter room temperature
- 1 cup full-fat cream cheese room temperature
- 7 cups powdered sugar
- ½ teaspoon fine salt
- 1 tablespoon vanilla extract or vanilla bean paste
Cheesecake Cake Filling
- 16 oz full fat cream cheese room temperature
- ⅔ cup sweetened condensed milk
- 1 tablespoon fresh lemon juice
- 1 teaspoon vanilla extract or vanilla bean paste
Instructions
Instructions
- Preheat oven to 350°F. Grease and line cake pans with parchment.
- In a large bowl, whisk oil, eggs, buttermilk, vanilla, and vinegar until combined.
- Add sugar, cocoa powder, salt, baking soda, baking powder and mix well.
- Add food coloring and flour in two installments, mix until smooth.
- Divide batter into pans and bake 27-30 minutes. Cool 10 minutes, then turn out onto rack.
- Beat butter and cream cheese until smooth. Add vanilla, salt, and gradually mix in powdered sugar.
- Make cheesecake filling by beating cream cheese, sweetened condensed milk, lemon juice, and vanilla until smooth.
- Assemble cake with layers, pipe frosting, fill with cheesecake, frost entire cake, and decorate with crumbs or piping as desired.