










The pressure builds and you start counting down minutes until you eat. You gotta watch that sealing ring real close, no slipping, or you’ll lose that pressure build you worked for. It’s kinda funny how you spot the steam start to escape when it’s done though—it’s like the signal to get ready.
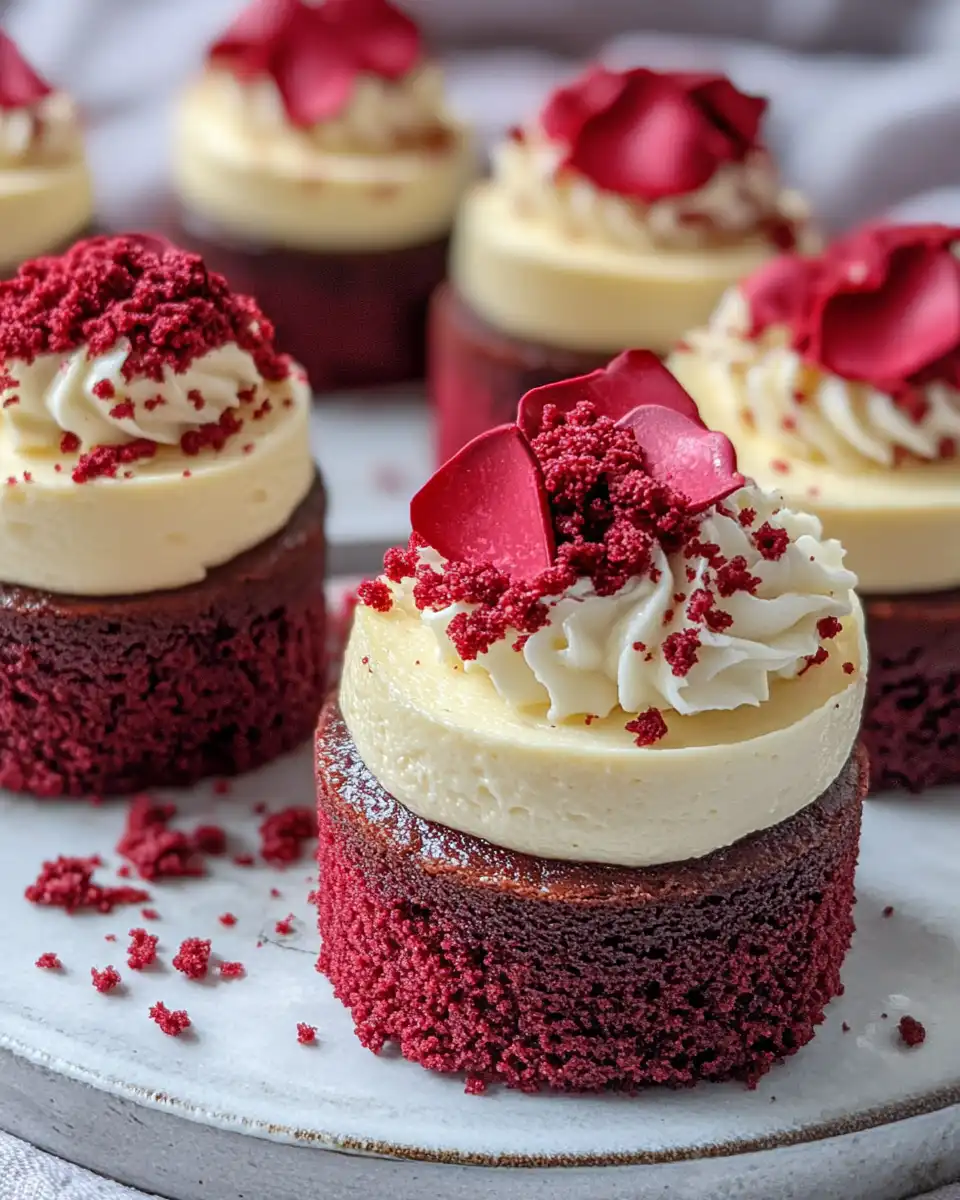
You start to get all excited, the smell already teasing your nose. That sweet red velvet and creamy cheesecake combo pulling you in even before a bite. It’s like you can feel that tender pull of the cheesecake just waiting to melt in your mouth.
Counting down the minutes, you wonder if you pressed the crust enough down or if the filling’s silky enough. But hey, that’s all part of your kitchen adventure. You know once that quick release is done and you get to peek in, it’s gonna be totally worth it.
Why Your Cooker Beats Every Other Pot
- You get that steady broth depth heat which cooks everything evenly—no burnt edges here.
- The sealing ring traps all the steam so your cheesecakes turn out perfectly moist and tender.
- Quick release lets you stop cooking right on time, so no overcooked mess.
- Pressure build happens fast so your dessert’s done way sooner than the oven hunt.
- You can do several mini cheesecakes all at once, no need to wait for a big pan.
- Cleanup’s a breeze because it’s one pot, no extra dishes piling up.
All the Pieces for This Meal
- 36 Oreo cookies, crushed into fine crumbs — you can smash by hand or pop in a food processor if you wanna save time.
- ½ cup butter, melted — makes that cookie crust stick real good.
- 2 Tablespoons granulated white sugar — just a little to sweeten the crust.
- 3 (8 ounce) packages cream cheese, softened to room temp — the star of your cheesecake.
- 1 ½ cups granulated white sugar — for that creamy filling.
- 4 large eggs, lightly beaten — helps everything hold together nice.
- 3 Tablespoon unsweetened cocoa — for that classic red velvet hint.
- 1 cup sour cream and ½ cup buttermilk — add that smooth texture and tang.
- 2 teaspoons vanilla extract, 1 teaspoon distilled white vinegar, and 2 ounces red food coloring — for flavor and that signature red glow.
- And for the frosting topping: 4 ounces cream cheese, ¼ cup butter softened, 2 cups powdered sugar, 1 teaspoon vanilla, plus some colored corn syrup (red and blue) to swirl on top for looks.
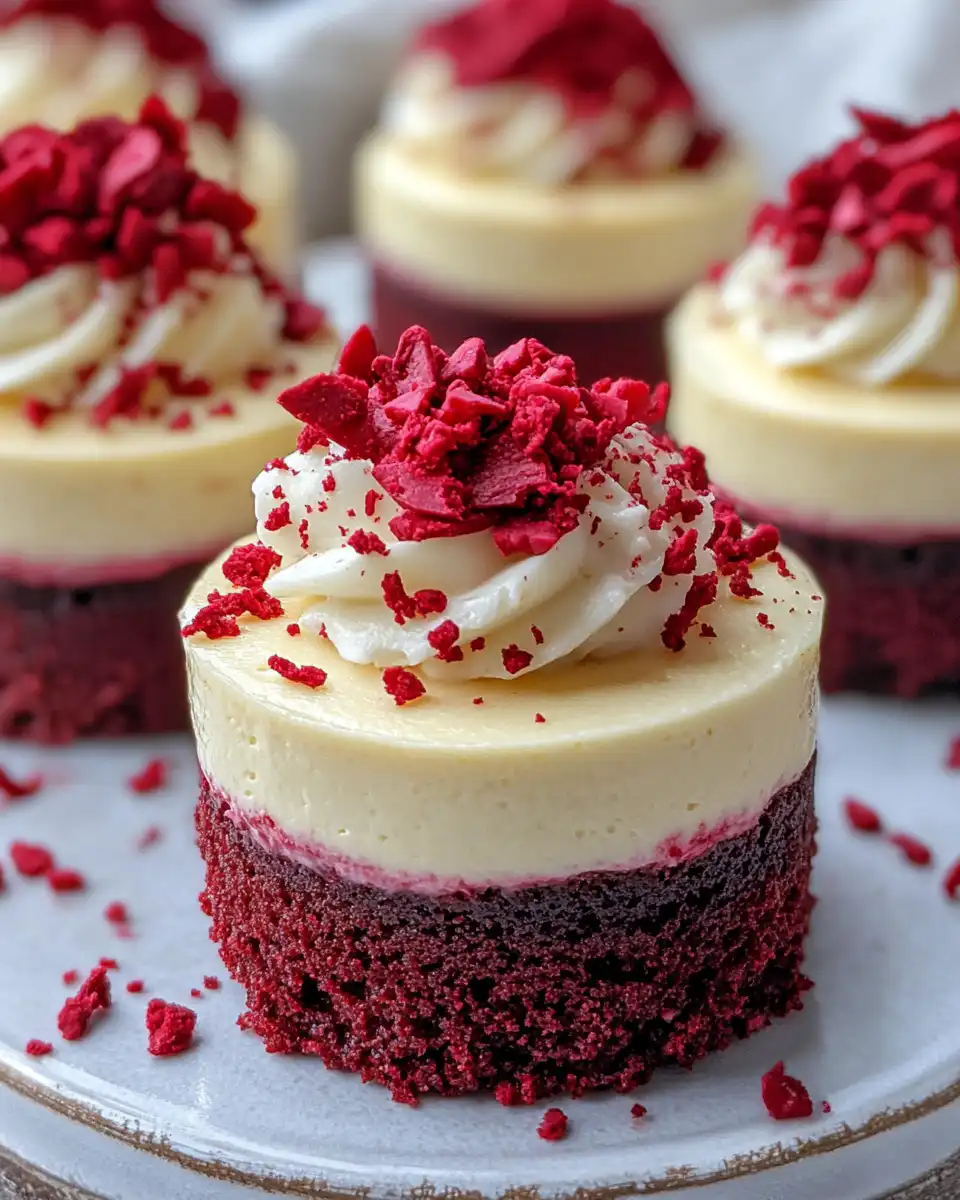
How It All Comes Together Step by Step
Step one: Preheat your oven to 325°F (163°C) and line your muffin tins with paper cupcake liners. This gets everything ready for the crust.
Next up, mix those crushed Oreo cookies, melted butter, and 2 tablespoons sugar. Stir until it looks like the perfect crumbly crust.
Press about a tablespoon of that crust mix into the bottom of each cupcake liner. Make sure you press good, like squeezing with a spoon or a small glass to get a firm base.
> In a big bowl, beat your cream cheese with a hand mixer till it’s super smooth and creamy. Add the sugar and mix it up until it’s all combined.
Add eggs one by one, lightly beating after each. Then mix in the cocoa powder, sour cream, buttermilk, and vanilla until your batter looks silky and smooth.
Fill each cupcake liner almost to the top with the cheesecake mixture and pop ’em into the oven for about 25 to 30 minutes. Look for centers that are set and not jiggle-y. Then cool ’em for 10 minutes in the pan and transfer to a wire rack till totally cool. Chill in the fridge at least two hours before you eat.
Quick Tricks That Save Your Time
- Crush Oreo cookies in a zip-top bag with a rolling pin if you don’t want to haul the food processor out.
- Let your cream cheese sit out to soften while you prep the crust so it blends smooth faster.
- Use quick release right after cooking to stop the baking and keep texture spot on.
- Line muffin tins as soon as you start mixing so you’re ready to go when batter’s done.
- Make frosting while cheesecakes cool to save hands-on time later.
Your First Taste After the Wait
That first bite, you sense how creamy and rich that cheesecake is. The red velvet flavor sneaks in just right—not too much, just enough. It kinda melts on your tongue, real smooth and silky.
The crust crunch from those Oreo crumbs adds a nice contrast, some texture that catches your teeth in the best way. You can almost feel the little bits breaking as you chew.
The frosting swirl on top is sweet and light, perfect for shading the tartness of the cream cheese. You catch a little vanilla and corn syrup shine that makes the whole thing pop.
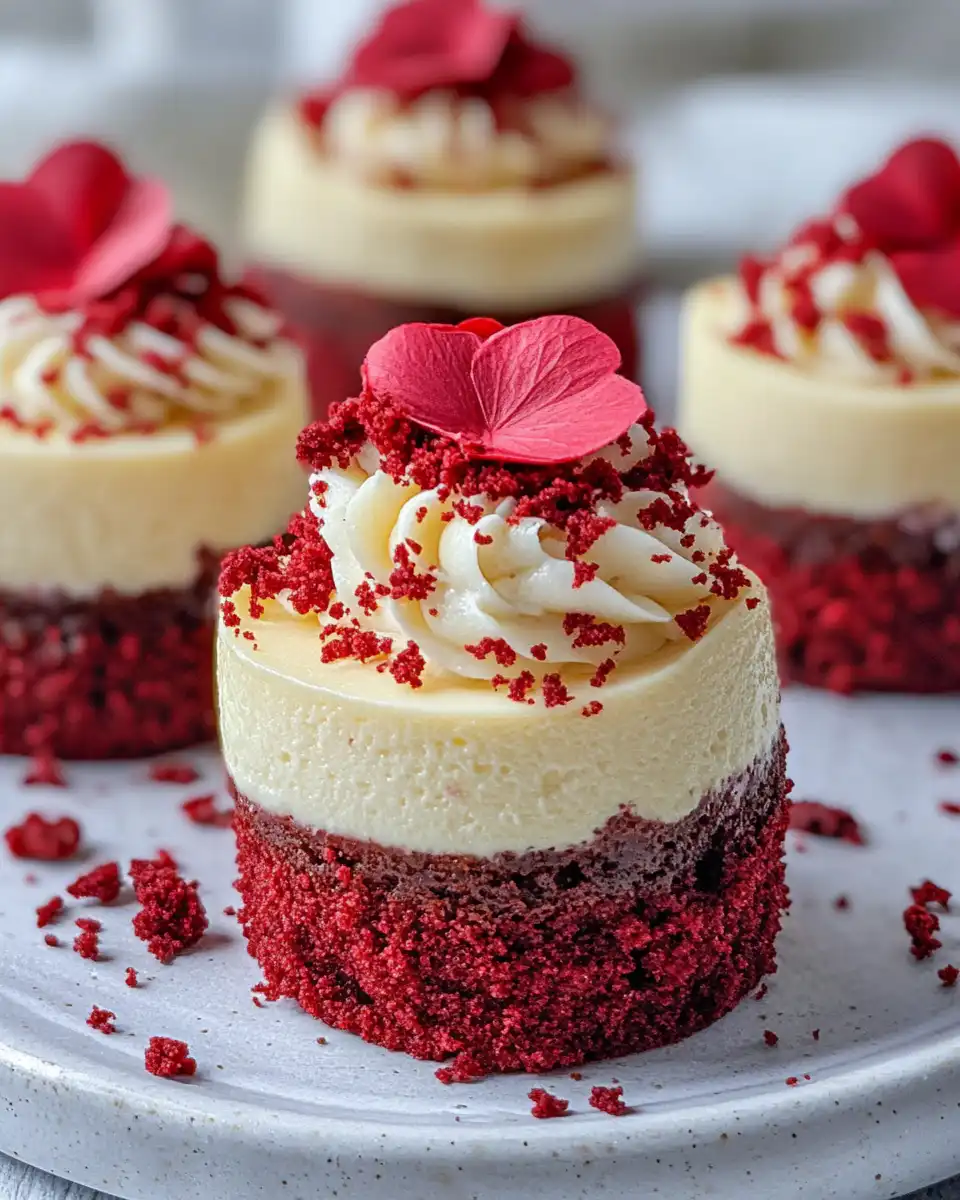
You gotta admit, waiting was worth it. This dessert is a show stopper that makes you wanna make it again real soon.
Making It Last All Week Long
Store your cheesecakes in an airtight container in the fridge and they’ll stay fresh for about 5 days. You wanna keep them covered tight so they don’t dry out or catch fridge smells.
If you plan to keep 'em longer, you can freeze those little cheesecakes individually. Wrap each in plastic wrap and then put them in a freezer bag. Thaw overnight in the fridge before eating.
For a quick thaw, just set a cheesecake on the counter for about 30 minutes but watch the clock so they don’t get room temp too long and get kinda mushy.
What People Always Ask Me
- Can I use regular chocolate instead of red velvet cocoa? Yeah, you can swap for regular cocoa but you’ll miss that red sparkle and tang.
- Is it okay if I don’t have buttermilk? Sure, just mix ½ cup milk with a tablespoon lemon juice or vinegar and let it sit for 5 minutes.
- How do I avoid cracks in the cheesecake? Make sure not to overbeat the batter and let your eggs warm up to room temp before mixing.
- What’s the best way to press the crust? Use a small glass or the bottom of a spoon to press it firmly so it sticks well.
- Can I make this dairy-free? You could try swapping cream cheese with dairy-free alternatives but results might be less creamy.
- Do I have to chill the cheesecakes before eating? It helps firm up the texture and really brings out the flavor, so yes, don’t skip it.
For some delicious dessert variations that you might love to try, don’t forget to check out our Easy Cannoli Cheesecake Bars Recipe, Christmas Cheesecake Recipe, and Chocolade Lasagna Recipe. These pressure cooker treats offer wonderful options to satisfy your sweet tooth and pair perfectly with this red velvet cheesecake adventure.
Mini Red Velvet Cheesecakes That Go From Your Pressure Cooker To Your Heart
Equipment
- 1 Mixing bowl Large
- 1 Hand mixer
- 1 Cupcake tin Regular size
Ingredients
Crust
- 36 Oreo cookies crushed finely
- ½ cup Butter melted
- 2 Tablespoons Granulated white sugar
Cheesecake filling
- 24 oz Cream cheese softened to room temp
- 1 ½ cups Granulated white sugar
- 4 Large eggs lightly beaten
- 3 Tablespoon Unsweetened cocoa
- 1 cup Sour cream
- ½ cup Buttermilk
- 2 teaspoons Vanilla extract
- 1 teaspoon Distilled white vinegar
- 2 oz Red food coloring two 1-ounce bottles
Frosting
- 4 oz Cream cheese
- ¼ cup Butter softened
- 2 cups Powdered sugar
- 1 teaspoon Vanilla extract
Edible Blood Decoration (Optional)
- 4 parts Corn syrup to 1 part water
- 1 part Water
- Red food coloring
- Blue food coloring
- Cornstarch to thicken
Instructions
Instructions
- Preheat oven to 325°F (163°C) and line your muffin tins with paper cupcake liners.
- Mix crushed Oreo cookies, melted butter, and sugar until combined.
- Press about 1 tablespoon of crust mixture into each cupcake liner firmly.
- In a big bowl, beat cream cheese until smooth. Add sugar and beat until combined.
- Mix in eggs one at a time. Then add cocoa, sour cream, buttermilk, vanilla, vinegar, and red food coloring. Beat until smooth.
- Fill each liner almost to the top with cheesecake batter.
- Bake 25–30 minutes until centers are set. Cool 10 minutes in pan, transfer to wire rack, then chill at least 2 hours in fridge.
- Prepare frosting: Beat cream cheese and butter till smooth. Add powdered sugar and vanilla, beat till fluffy.
- Top each chilled cheesecake with a thin layer of frosting.
- Optional blood: Mix corn syrup and water. Add food coloring and cornstarch until desired color and texture.
- Drizzle optional blood on frosted cheesecakes. Serve chilled and store leftovers in refrigerator.



