You catch the smell through the steam vent and suddenly you are starving. That bright, citrusy scent just wraps around every corner of your kitchen and tugs on your cravings real good. You sense something sweet and zesty is cooking up and you gotta see what’s goin on.
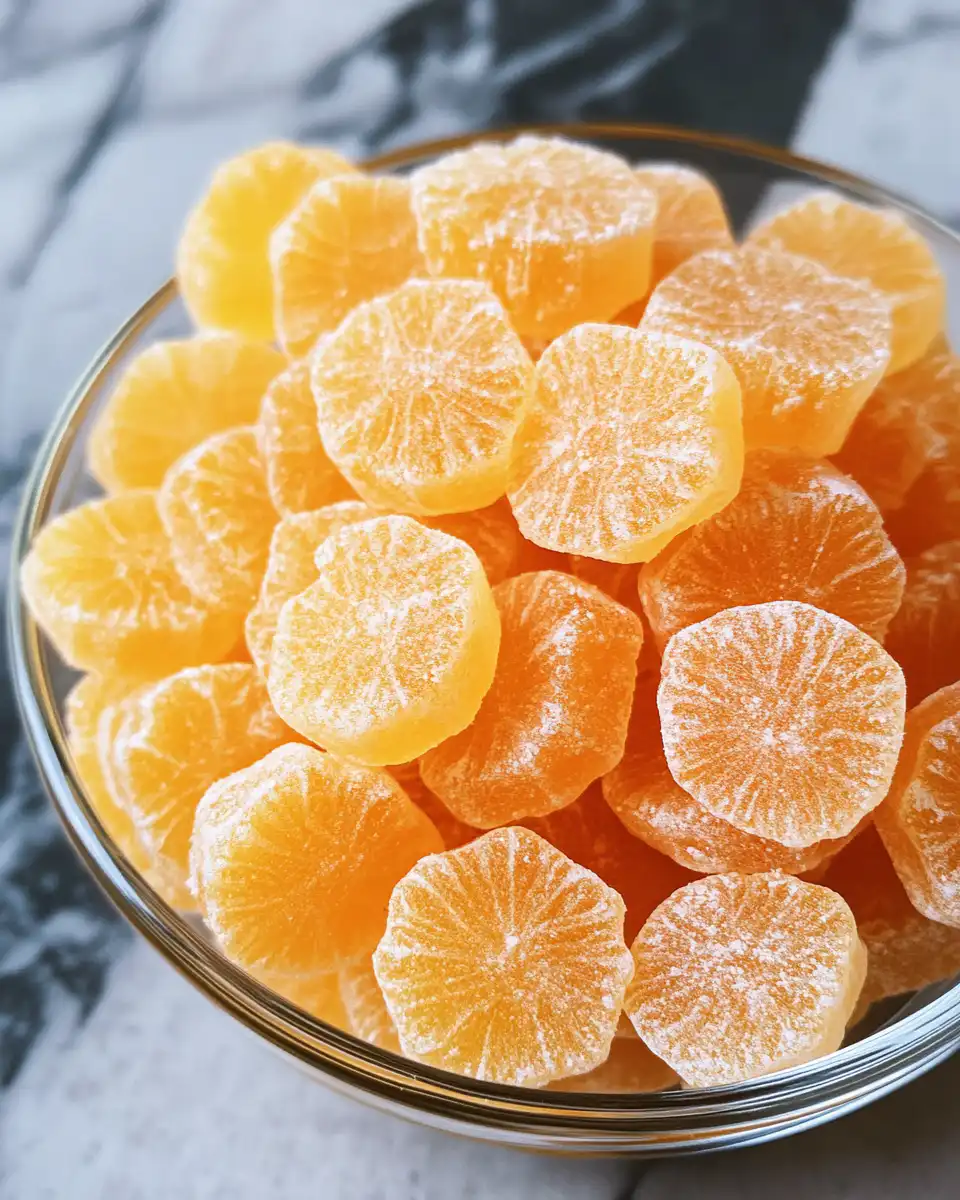
As the valve hisses gently, this aroma gets stronger and you’re kinda mesmerized by the steam swirling out with that orange fragrance. You remember how good candied orange peels taste—sweet, a little tart, and chewy, just the way you like your snacks.
It’s funny how something so simple can fill the whole place with joy. You wait with a little excitement even though you know the natural release will take its time. But you tell yourself good things come to those who wait, especially with pressure cooker treats like this.
Why Your Cooker Beats Every Other Pot
- You get that perfect broth depth in no time, making your orange peels soak up flavors right through the peel.
- The sealing ring locks in all the yummy scents so your kitchen smells amazing.
- Steam builds up fast so you don’t gotta wait forever to start cooking.
- The valve hiss is your comforting little sound telling you it’s working hard.
- Slow release helps keep the peels tender and not mushy, which is kinda tricky otherwise.
- Pressure cooking softens the peel quickly but keeps that nice chewy texture that’s hard to get in a stove.
- You can leave it alone and go do other stuff while it does its thing safely.
The Complete Shopping Rundown
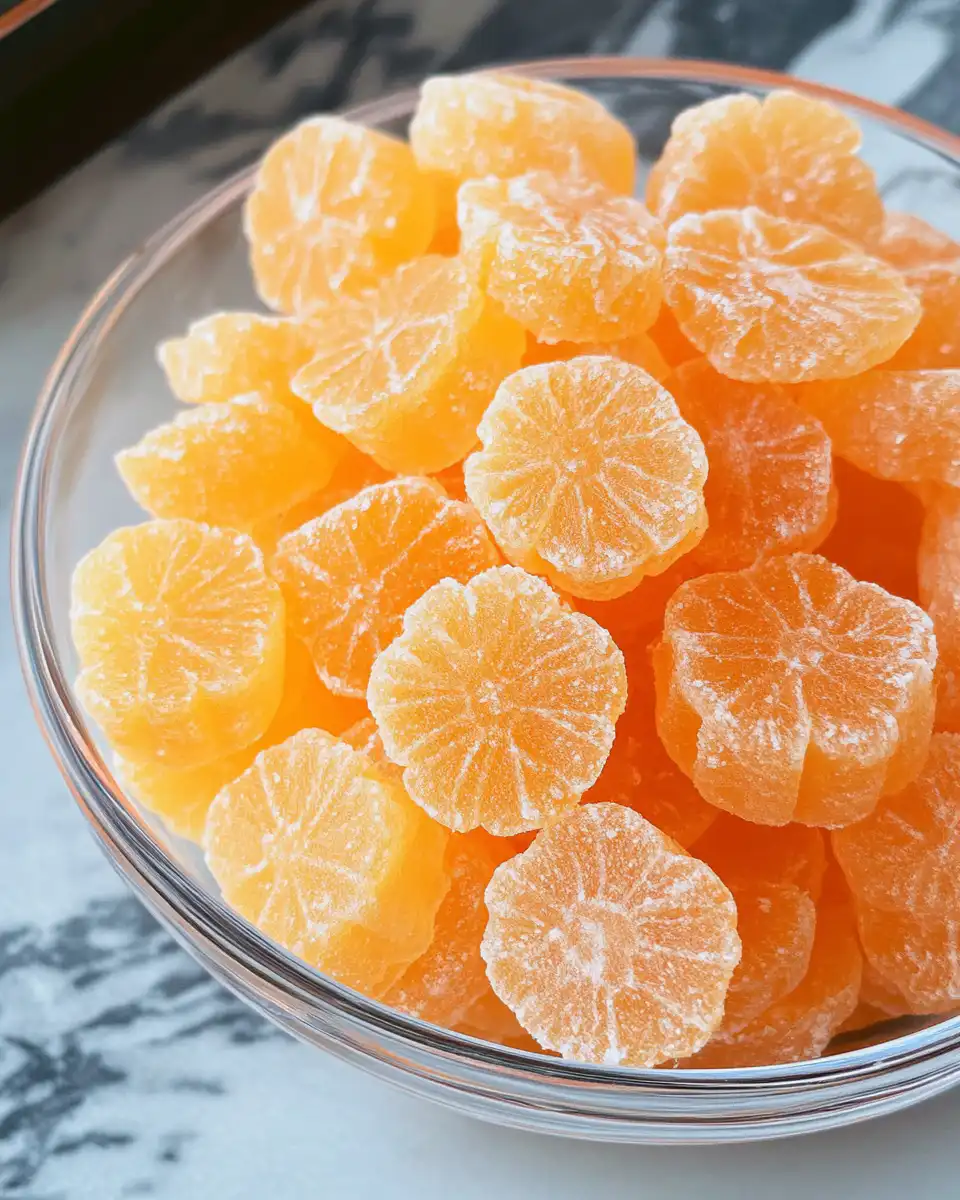
- 4 large navel oranges (make sure they are nice and firm with good skin)
- 3 cups granulated sugar (divided for syrup and coating)
- ½ teaspoon kosher salt (to balance out the sweetness)
- 1 ½ cups water (for simmering and syrup)
- Optional: extra sugar for dusting if you like a sugar kick on top
- Sharp knife (you gotta cut the peel right without wasting fruit)
- Cutting board (for safe slicing)
- Slotted spoon (to fish out your peels from syrup)
- Wire rack and parchment paper (for drying those lovely peels)
You wanna try to pick oranges that look shiny and smell fresh. They don’t have to be perfect but you gotta wash them real good first before you start slicing to make sure no dirt or wax is hanging around on the skin.
The Exact Process From Start to Finish
First, wash your oranges thoroughly and cut off the tops and bottoms. That makes it easier to handle when you peel them. Then score the peel into quarters and carefully remove it, leaving the white pith in place because that’s where the chewy texture comes from.
Slice the peel into strips about a quarter-inch wide. This size works best for candying and looks pretty when done. Next, place the peels in a saucepan and cover with cold water. Bring to a boil, then drain and repeat the boiling and draining two more times. This helps take out the bitterness so your peels aren’t harsh.
Now mix 1 ½ cups sugar, 1 ½ cups water, and salt in a clean saucepan. Simmer it, stirring until the sugar dissolves nicely. Toss in your peels and let them simmer gently until they turn translucent, which takes about 45 to 60 minutes. Keep an eye on it and stir sometimes so nothing sticks.
When that’s done, use a slotted spoon to transfer the peels to a wire rack lined with parchment paper. Let them dry for at least 4 hours or even overnight if you can wait that long. They’ll firm up and get some chew going.
Finally, toss the dried peels in the remaining sugar until coated well. That gives your candy that sweet crunchy candy shell. Store them in an airtight container at room temperature and they’ll last around two weeks for snacking anytime.
Time Savers That Actually Work
- Use the pressure cooker to simmer the syrup and peels together instead of the stove. It cuts cooking time way down without losing that syrup soak.
- While the peels simmer, prep your workspace and tools so you’re ready for drying and coating without rushing at the end.
- Try drying the peels near a fan or in a low oven with the door cracked open to speed up drying if you don’t wanna wait overnight.
The Flavor Experience Waiting for You
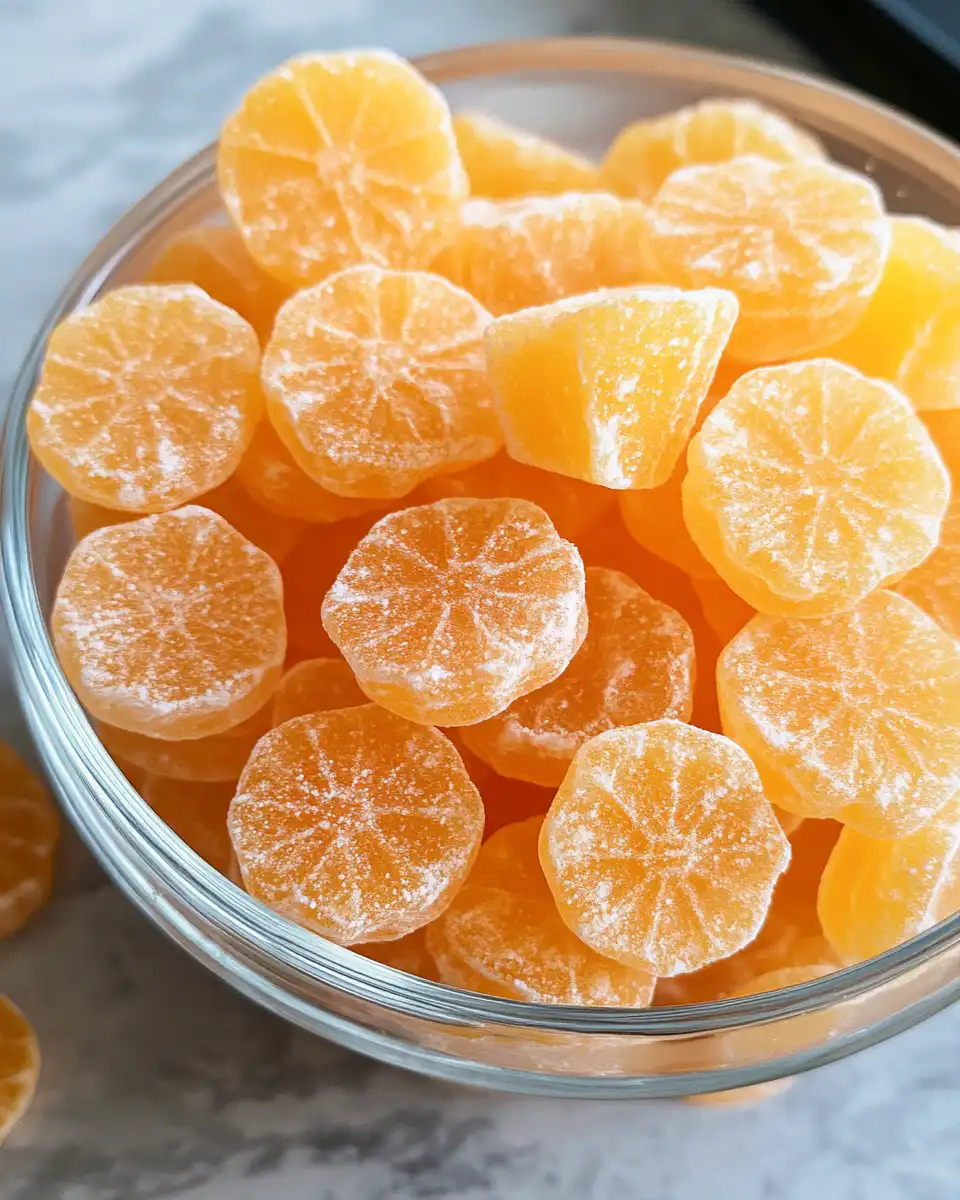
When you bite into these candied orange peels you notice the soft chewy texture that kinda melts in your mouth after a minute. There’s this bright citrus tang that wakes you up first and then sweetness that follows, perfectly balanced by that kosher salt hint.
The sugar coating adds this little crunch that contrasts the smooth peel inside. It’s a treat that makes you wanna grab one more right away. The natural oils from the orange peel give it a slight bitterness that makes the sweet pop even better.
Eating them reminds you of warm kitchens and cozy moments, kinda like snacking on little bursts of sunshine. Each strip feels special but simple, great for gifts or just keeping on hand when you need a sweet pick-me-up.
Plus you can toss these in your baking or cocktails to elevate flavors with that zing of candied citrus that only fresh orange peel can bring.
How to Store This for Later
- Keep them in an airtight container at room temperature. This lets them stay chewy and sweet but won’t get soggy.
- You can also freeze the peels by putting them in a zip bag with most air squeezed out. When you want some, just thaw them for a bit at room temp or pop them straight into baking.
- If you wanna store long term, refrigerate them in an airtight container. They might get a tad harder but still taste great and last longer that way.
Remember to layer parchment paper between peels if you’re stacking them or they might stick together. This will keep each peel separate and easy to grab. You’ll appreciate having these ready for weeks, whether as a snack or fun ingredient.
What People Always Ask Me
- Can I use other types of oranges? Yeah you can, but navel oranges work best cause they’re less bitter and have thicker peel that candies nicely.
- Do I need to peel them like this with the pith on? Yes, the pith is important for getting texture and flavor. Just remember to remove bitterness by boiling the peels first.
- Why do you boil the peels multiple times? Boiling helps remove that bitter taste from the white pith so your candy is nice and sweet.
- Can I skip drying overnight? You can try, but drying slow helps the sugar stick better and the peels get that chewy texture you want.
- Is the slow release important? Yep, slow release keeps peels intact and chewy. Quick release might make ‘em mushy.
- How long do these last after candied? Stored right, they last up to two weeks at room temp and even longer if refrigerated or frozen.
Candied Orange Peel Pressure Cooker Recipe
Equipment
- 1 Mixing bowl Large
Ingredients
Main ingredients
- 4 large navel oranges make sure they are nice and firm with good skin
- 3 cups granulated sugar divided for syrup and coating
- ½ teaspoon kosher salt to balance out the sweetness
- 1 ½ cups water for simmering and syrup
Instructions
Instructions
- Wash oranges thoroughly and cut off tops and bottoms.
- Score peel into quarters, remove carefully, keeping white pith intact.
- Slice peel into ¼ inch strips.
- Place peels in saucepan and cover with cold water. Boil and drain three times to remove bitterness.
- Combine 1.5 cups sugar, 1.5 cups water, and salt in a clean saucepan. Simmer to dissolve.
- Add peels and simmer gently until translucent, about 45–60 minutes.
- Use slotted spoon to transfer peels to parchment-lined wire rack. Let dry at least 4 hours or overnight.
- Toss dried peels in remaining sugar until fully coated.
- Store in airtight container at room temperature for up to two weeks.
- Optional: Freeze or refrigerate for longer storage.