










Steam curls up from the valve and your stomach starts talking back. You sense the tang of lime dancing right behind the coconut cream aroma, kinda like the dish is calling your name. It reminds you of those lazy summer nights when dinner feels like a reward, not a chore.
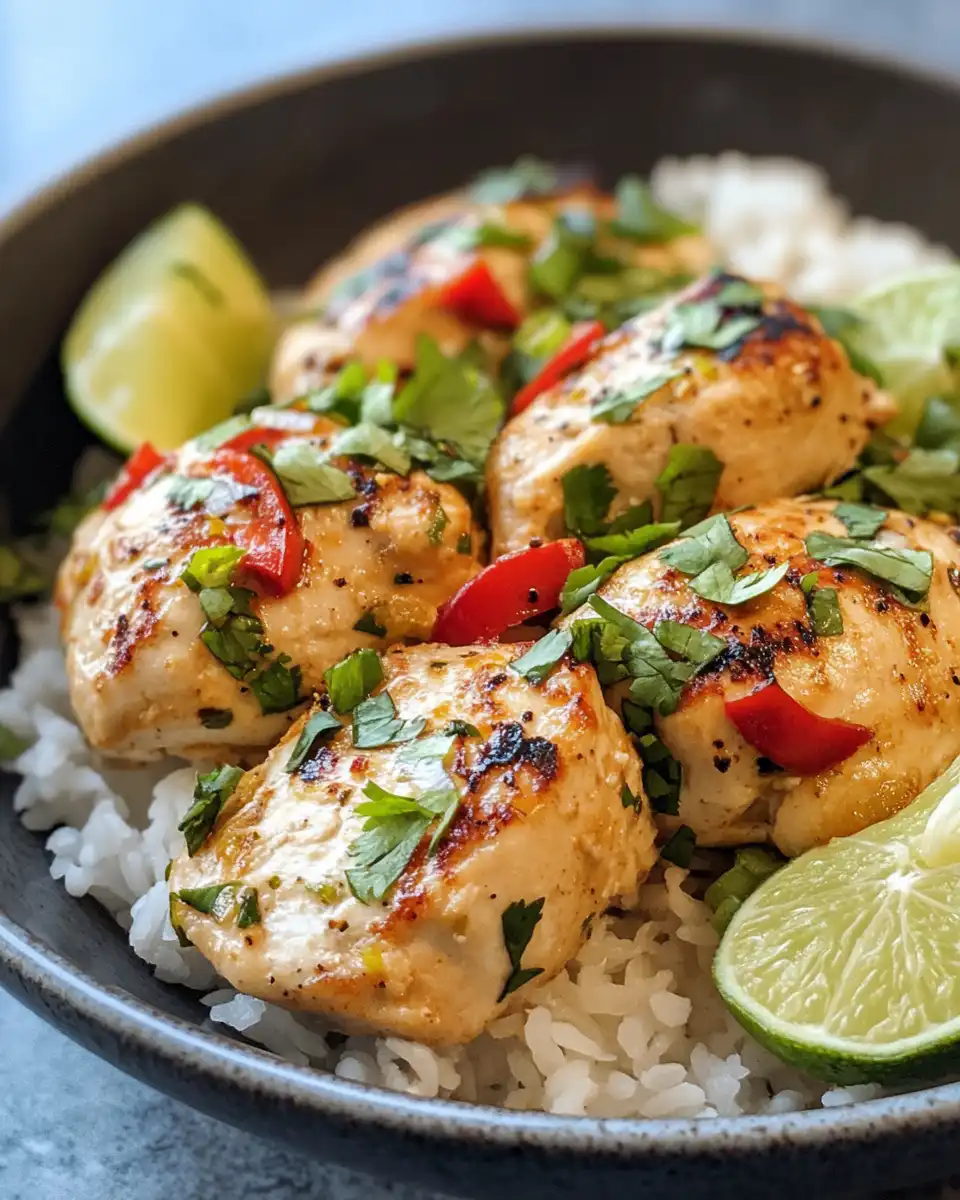
That sealing ring hums softly, holding in all the goodness, and you spot the pressure building as the cooker gets ready to do its thing. You recall how quick release means no waiting around once the cooking’s done—you’re gonna have dinner on the table in no time. The sound of steam, the sight of shrinking green beans, the tender pull of the chicken once it’s out—dang, this is comfort food that’s lived on the edge of awesome.
Inside that cozy cooker, the garlic and ginger mingle, and a sweet lime zest notes the whole scene. You feel like every bite is gonna punch a little zest into your day. With pressure cooking, you get that deep flavor without the hours of babysitting the stove. It’s your shortcut to great eats and full belly happiness.
The Real Reasons You Will Love This Method
- You get tender pull chicken, juicy and perfectly cooked, every time.
- The pressure build traps all flavors inside, making every bite count.
- Quick release lets you stop cooking exactly when you want—no more soggy veggies.
- No standing over the stove, which means more couch or chat time.
- The sealing ring keeps moisture locked in so the chicken stays super juicy.
- All the ingredients blend their flavors fast, giving you dinner in less than 30 minutes.
- Less cleanup since it’s mostly one pot and the pressure cooker does the heavy lifting.
For more about quick cooking and tender texture tips, check out our Pressure Cooker Cannoli Cheesecake Bars Recipe and Classic Homemade Orange Candy Recipe, which make the most of steam cues and quick releases.
The Complete Shopping Rundown
- Refined coconut oil or olive oil (2 tablespoons), for that perfect sear and flavor boost.
- 4 skinless, boneless chicken breasts — your main star, weighing about 1 ½ to 2 pounds.
- Kosher salt — you’ll use 1 ¾ teaspoons to season, but add more if you feel like it.
- 2 large shallots, peeled and sliced for that mild onion-y sweetness.
- Fresh green beans, about 12 ounces, trimmed and ready to go crisp-tender.
- 3 cloves of garlic, minced to bring that punch of aroma and flavor.
- Fresh ginger, finely minced or grated about 1 ½ teaspoons — this gives the dish a zing.
- Low-sodium chicken broth, ¾ cup, to blend and deglaze the pan.
- One (13.5-ounce) can of coconut cream, shaken well for that creamy goodness.
- Fresh limes — you’ll want about 2 for zest and juice to brighten up the sauce.
- Optional but great — fresh cilantro, lime wedges, toasted coconut, and rice for serving.
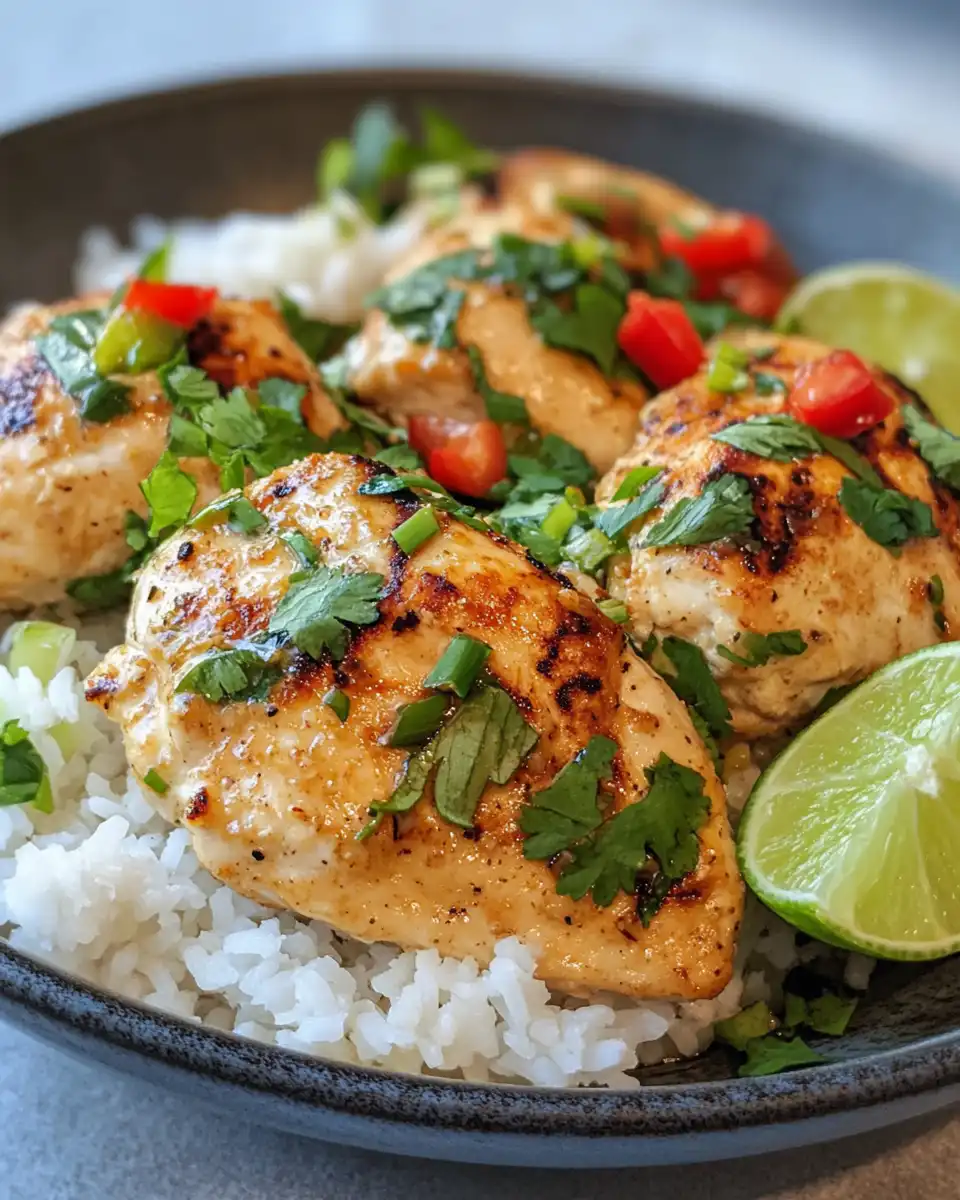
Your Complete Cooking Timeline
- First, heat 1 tablespoon coconut oil in a big skillet over medium-high heat. You season the chicken with 1 teaspoon kosher salt both sides.
- Then sear the chicken, about 3-4 minutes per side until golden brown. Don’t skip this step or you miss that nicer flavor. Set chicken aside once browned.
- Turn heat down to medium and add the remaining tablespoon of coconut oil. Toss in the sliced shallots and cook about 3 minutes till soft and sweet.
- Next, stir in the green beans, garlic, and ginger, cooking for 4-5 minutes. The beans should start to get tender but still crisp.
- Pour in that chicken broth and use a wooden spoon to scrape the browned bits off the pan. Let things simmer for 2 minutes—it’s gonna add some serious depth.
- Mix in coconut cream, the rest of the salt (¾ teaspoon), and lime zest. Bring it up to a low simmer so it kinda thickens.
- Now, nestle your chicken breasts right back into the sauce. Cover the pan and cook until the chicken is fully done, about 10-12 minutes. Use quick release on your pressure cooker to get the food ready without overcooking.
Smart Shortcuts for Busy Days
- Buy pre-trimmed green beans or frozen ones to skip prep and get cooking faster.
- Use store-bought minced garlic and ginger if you’re in a real hurry — it works real good.
- Grab canned coconut cream that’s already shaken so you can just pour it in without fuss.
- Sear the chicken in batches if your pan is small — no crowding means better browning.
- Prep all veggies while the chicken sears so you’re not waiting around — multitasking saves time.
Your First Taste After the Wait
The moment you take your first bite, you feel that creamy coconut meets tangy lime that wakes your taste buds right up. The chicken’s tender pull gives you this juicy, melt-in-your-mouth sensation that feels so satisfying.
Green beans add a little snap and slight sweetness, balancing out the rich coconut sauce. You’ll notice the shallots softly dissolve into the background, bringing sweetness and depth to each bite.
Scoop some sauce on your plate alongside fresh lime wedges or a sprinkle of toasted coconut if you got ‘em. Each forkful kinda dances with contrasting textures and flavors that’ll keep you coming back for more.
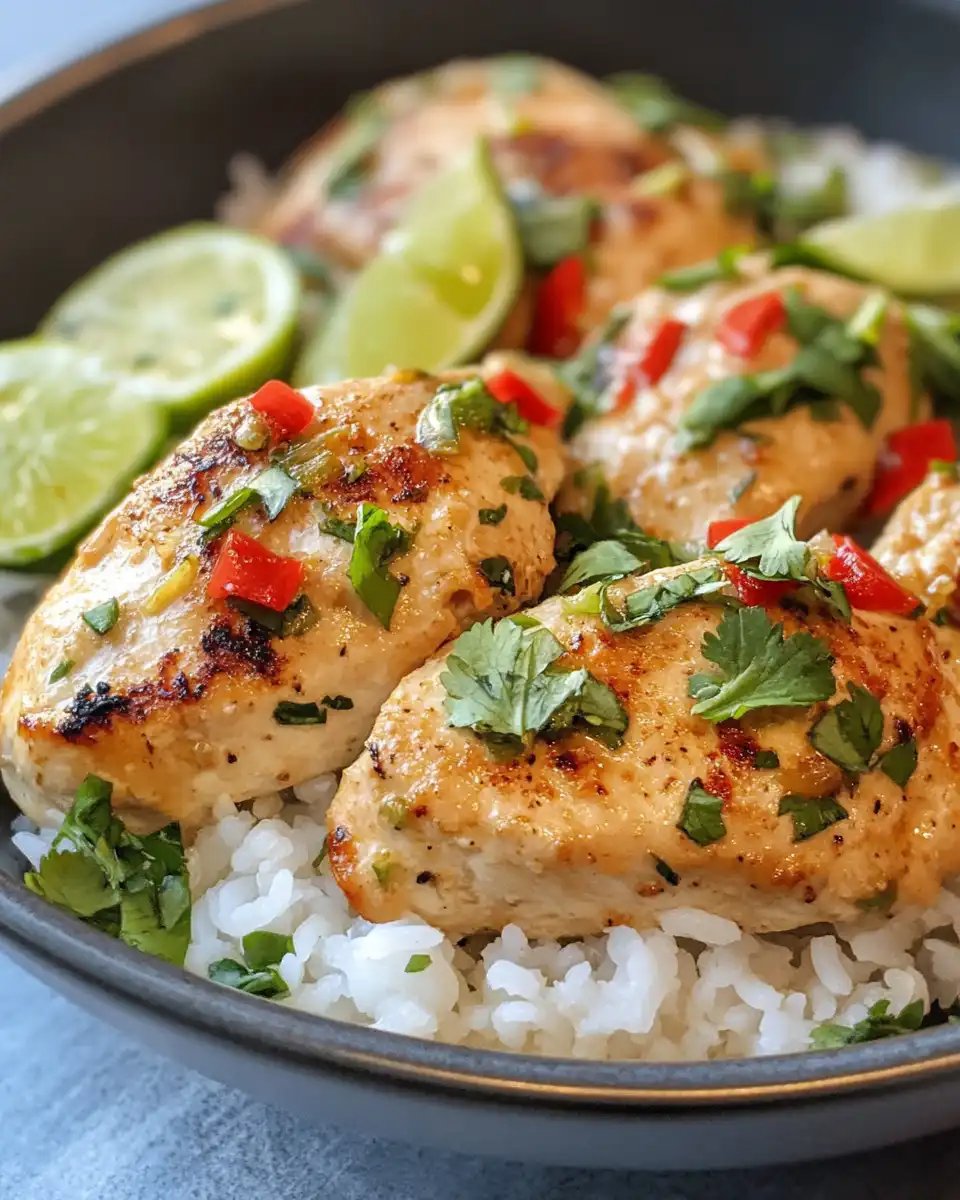
Your Leftover Strategy Guide
- Store cooked Coconut Lime Chicken in an airtight container in the fridge up to 3 days. Heat gently on the stove to keep that tender pull texture.
- Freeze leftovers in meal-sized portions using freezer-safe bags or containers for up to 2 months. Thaw in fridge overnight before reheating.
- If you wanna freshen the sauce later, stir in a squeeze of fresh lime juice after reheating to bring back brightness.
- Reheat green beans separately if you want them less soft, warming quickly in a pan to keep a bit of snap.
The FAQ Section You Actually Need
- Can I use chicken thighs instead of breasts? Yeah, you definitely can. Thighs will be even juicier and the cooking time’s about the same.
- What if I don’t have coconut cream? You can use full-fat coconut milk but expect a thinner sauce, might wanna simmer it a bit longer to thicken.
- How do I know when to quick release? Once the cooking time’s up and pressure’s built the full time, quick release is key to avoid overcooking veggies.
- Can I prep everything the night before? Totally. Just keep chicken and sauce ingredients separate and add fresh lime zest and juice last minute.
- Is this recipe spicy? Nah, it’s more tangy and creamy but you can add a pinch of red pepper flakes if you want heat.
- Can I make this in an electric pressure cooker? Yep, works great. Just follow your cooker’s manual for sealing ring and pressure times.
For more delicious ideas and handy pressure cooker tips, check out our Pressure Cooker Cannoli Cheesecake Bars Recipe, Chocolade Lasagne Recipe, and Brownie Bite Gnomes Recipe.
Coconut Lime Chicken Pressure Cooker Recipe
Equipment
- 1 Pressure cooker Electric or stovetop
Ingredients
Main ingredients
- 2 tablespoons Refined coconut oil or olive oil for searing
- 4 Skinless, boneless chicken breasts about 1 ½ to 2 pounds
- 1 ¾ teaspoons Kosher salt divided
- 2 Large shallots peeled and sliced
- 12 oz Fresh green beans trimmed
- 3 cloves Garlic minced
- 1 ½ teaspoons Fresh ginger minced or grated
- ¾ cup Low-sodium chicken broth
- 13.5 oz Coconut cream one shaken can
- 2 Fresh limes for zest and juice
- Fresh cilantro optional, for garnish
- Lime wedges optional, for serving
- Toasted coconut optional, for garnish
- Rice for serving
Instructions
Instructions
- Heat 1 tablespoon of coconut oil in a large skillet over medium-high heat. Season chicken with 1 teaspoon kosher salt.
- Sear chicken 3–4 minutes per side until golden. Set aside.
- Reduce heat to medium, add remaining tablespoon coconut oil and sliced shallots. Cook about 3 minutes until soft.
- Stir in green beans, garlic, and ginger. Cook 4–5 minutes until beans begin softening.
- Pour in chicken broth and deglaze the pan, simmering for 2 minutes.
- Mix in coconut cream, remaining ¾ teaspoon salt, and lime zest. Simmer until slightly thickened.
- Return chicken to sauce, cover, and cook 10–12 minutes until done.
- If using a pressure cooker, finish with quick release after pressure cooking ends.



