










The pressure builds and you start counting down minutes until you eat. You set that sealing ring just right, close the lid, and wait for the valve hiss. It’s kinda exciting, that little sound telling ya it’s on and cooking.
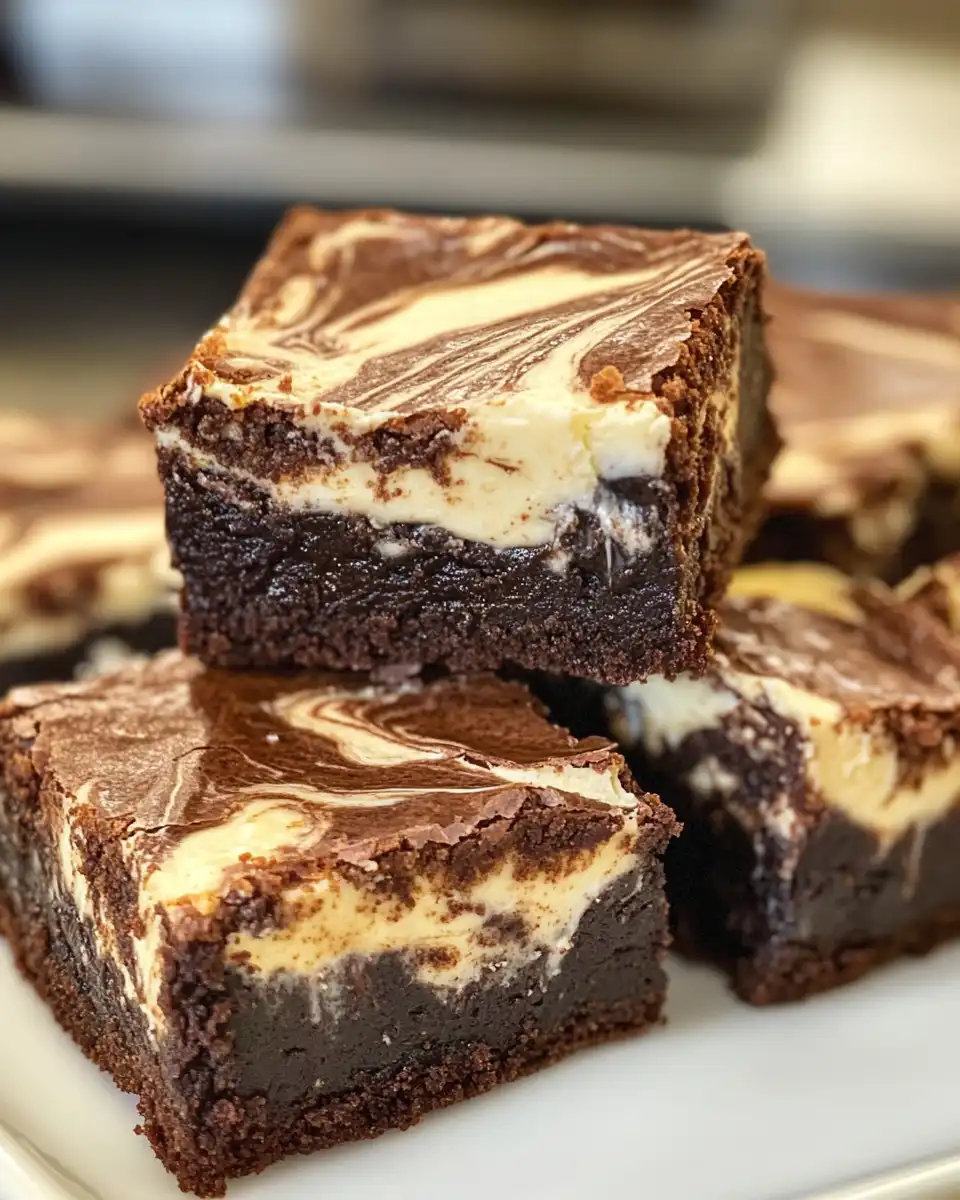
You peek through the kitchen every so often, smelling the rich chocolate and creamy cheese mix wafting through the house. You remember how sometimes brownies can be dry, but not this time. This pressure cooker thing really locks in the moisture and flavor.
By the time the natural release finishes and you finally open the lid, you can’t wait to get that first tender pull of cream cheese swirl brownies. The texture’s perfect—soft, rich, and bursting with chocolate goodness. It’s one of those wow moments where you know the wait was well worth it.
The Truth About Fast Tender Results
- Pressure cooking traps steam and heat around your brownies, cooking them quicker than the oven.
- The sealing ring makes sure no moisture escapes, keeping brownies super tender.
- You get a perfect edge while the center stays fudgy—no drying out like ovens can cause.
- The natural release time is crucial for that tender pull without overcooking.
- Chocolate melts evenly, swirling with the cream cheese, no tough spots.
- No need to babysit or rotate pans, the heat’s even inside the sealed pot.
- It’s dang fast compared to waiting for an oven preheat and bake.
Everything You Need Lined Up
- ½ cup unsalted butter melted
- ½ cup unsweetened cocoa powder
- 1 cup sugar (plus extra for cream cheese mix)
- 2 eggs
- 1½ teaspoons vanilla extract (split between batters)
- ½ cup all purpose flour
- ½ teaspoon salt
- ½ cup semi sweet chocolate chips
- 8 ounces cream cheese softened
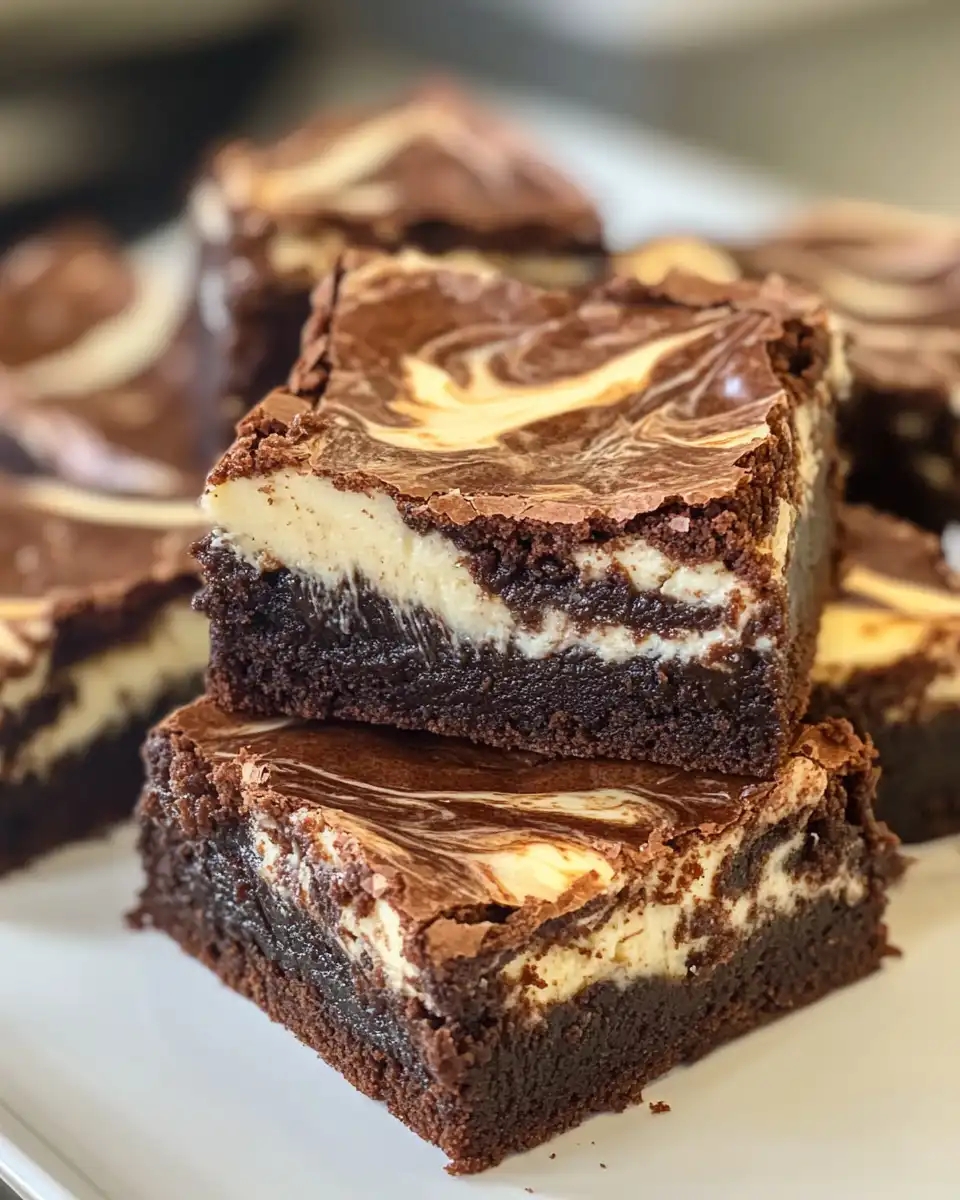
You’ll wanna get all these ready before you start cooking. Softened cream cheese is super important so it whips smooth with no lumps. Measuring your cocoa and sugar precisely helps with that fudgy texture.
The eggs gotta be room temp if you can manage, they mix in easier and help keep everything creamy. Oh, and the vanilla? Don’t forget it cause it brings out all that chocolate goodness.
Your Complete Cooking Timeline
Step one is prepping your pan. Grease or line an 8x8-inch baking pan that fits into your pressure cooker—this makes cleanup easy and brownies come out neat.
Then, whip together melted butter and cocoa powder in a medium bowl until smooth. This combo sets the super chocolatey base.
Stir in 1 cup sugar, then beat in the eggs and 1 teaspoon vanilla until everything’s combined. Don’t overbeat; you want it blended without too much air.
Next, add your flour and salt, stirring just until it’s mixed in. Over mixing can make brownies tough, so gentle is key. Fold in the chocolate chips last for those extra melty pockets.
In a separate bowl, beat cream cheese with ¼ cup sugar and ½ teaspoon vanilla extract. This creamy topping makes your brownies stand out.
Pour the brownie batter into your pan but save a little (about ¼ cup) for topping. Dollop spoonfuls of the cream cheese mix over the batter, then add the reserved brownie batter on top. Use a knife to swirl both together for that pretty marbled effect.
Put the pan on a trivet inside your pressure cooker, seal it up tight with the sealing ring in place, and cook on high pressure for 30 minutes. Let the pressure slowly do its thing with a natural release to avoid a slow release that can mess the texture.
When you hear the valve hiss and it finally drops, open it and let your brownies cool in the pan before cutting. This wait is tough but it helps set the texture just right.
Smart Shortcuts for Busy Days
You can totally mix the brownie batter the night before and keep it in the fridge. Then when you’re ready to cook, just swirl in the cream cheese mix and pop it in the pressure cooker.
Using pre-softened cream cheese from the fridge helps speed up the prep. You don’t need to wait if you slice it into chunks and microwave a few seconds.
If your pressure cooker has a delayed start timer, you can prep everything ahead and set it to start cooking while you’re out. Comes home to warm brownies, dang that’s nice.
That First Bite Moment
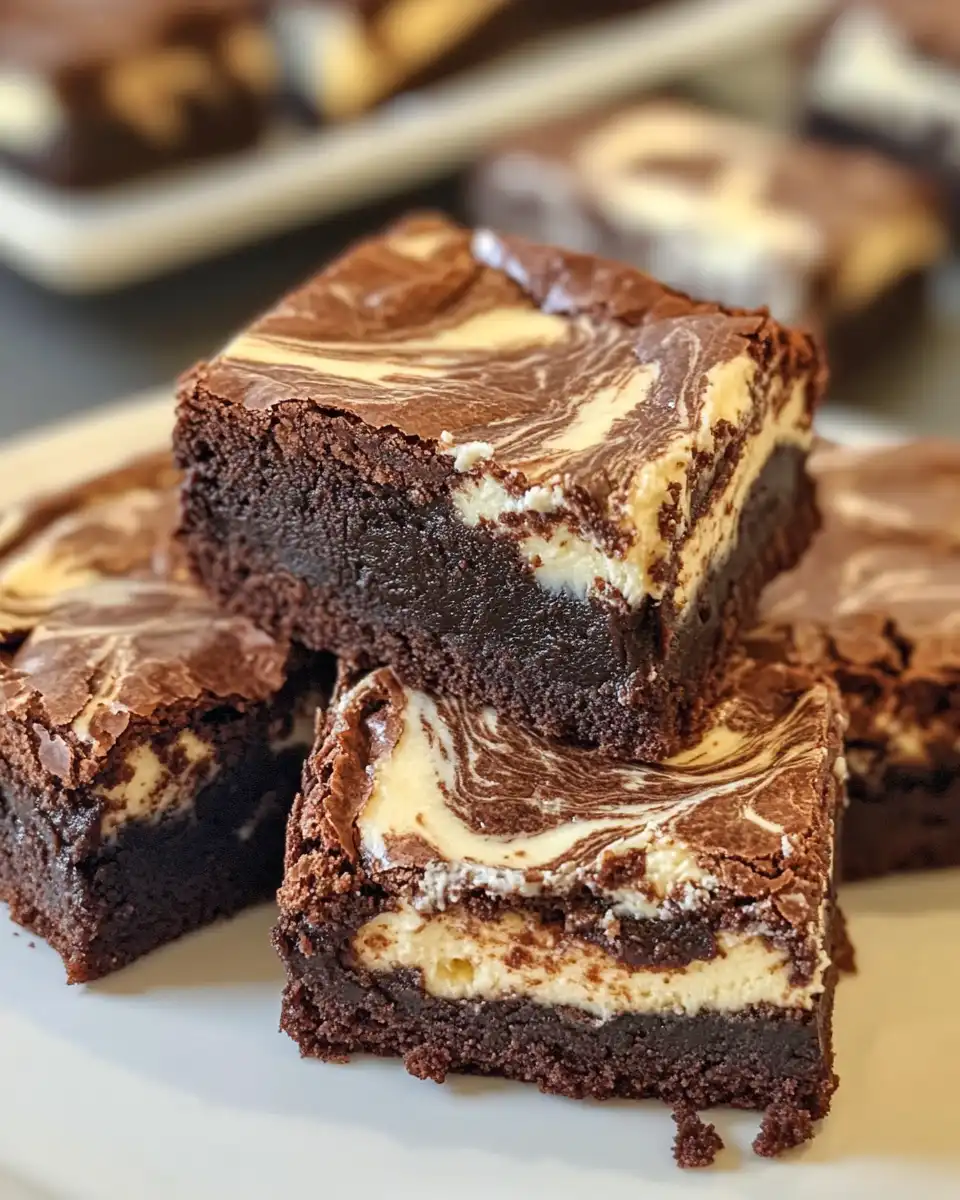
When you cut into those brownies, you notice the swirl beautiful and inviting. The cream cheese blends like it’s been meant to be there all along. You remember the swirl looking just like a little work of art.
The texture is tender, moist, and dense in the best way. Your teeth slide through smooth, not crumbly or dry. That fudgy pull hits just right and makes you wanna dig in more.
The chocolate chips tucked inside melt warm and add a little extra sweetness that’s kinda surprising. The cream cheese keeps the bite creamy without being too rich.
Each bite leaves you feeling cozy and satisfied like you made something special, even on a busy day. Y’all gonna love how this dang recipe turns out every time.
How to Store This for Later
If you got leftovers, cool brownies completely before storing so they don’t get soggy. Wrap the pan with plastic wrap or transfer the pieces to an airtight container.
You can keep them at room temp for up to two days if your kitchen ain’t too warm. Otherwise, toss the brownies in the fridge where they’ll last about a week and stay fresh.
For longer storage, freeze wrapped brownies in a single layer on a baking sheet, then move them to a freezer bag. They keep really well up to 3 months and thaw quickly.
Reheat in the microwave for a few seconds for that fresh baked feel or eat cold if you’re into the cream cheese chill vibe. Either way, these brownies hold up great no matter what.
Common Questions and Real Answers
Q: Can I use a slow release instead of natural release?
You really wanna do a natural release for these. Slow release can mess with the texture and make it tough or dry.
Q: What kinda pan works best in a pressure cooker?
An 8x8 inch metal or glass baking pan that fits comfortably on your trivet is your best bet, it cooks evenly and comes out easy.
Q: Can I add nuts or extras to the batter?
For sure, chopped walnuts or pecans fold in nicely but keep it light so the brownie stays tender and cooks evenly.
Q: My brownies were too gooey, how do I fix that?
Make sure you don’t undercook. Watch your time and let the natural release finish fully. A little extra minute or two on high pressure might help.
Q: Why do I hear a valve hiss when cooking?
That hiss is your cooker releasing pressure steady during natural release. It’s a good sign your brownies are finishing gently.
Q: Can I double this recipe in the pressure cooker?
Dang, it’s better to make one batch at a time to keep that tender pull. Doubling might need two pans and separate cycles.
Cream Cheese Swirl Brownies in the Pressure Cooker
Equipment
- 1 Mixing bowl Medium and large bowls for batters
- 1 Electric mixer For cream cheese batter
- 1 8x8 baking pan Fits in pressure cooker
- 1 Pressure cooker High pressure capable
Ingredients
Main ingredients
- ½ cup unsalted butter melted
- ½ cup unsweetened cocoa powder
- 1 cup sugar
- 2 eggs
- 1.5 teaspoons vanilla extract divided between mixtures
- ½ cup all-purpose flour
- ½ teaspoon salt
- ½ cup semi-sweet chocolate chips
- 8 ounces cream cheese softened
- ¼ cup sugar for cream cheese mixture
- 1 egg for cream cheese mixture
- 1 teaspoon vanilla extract for cream cheese mixture
Instructions
Instructions
- Grease or line an 8x8 inch baking pan that fits your pressure cooker.
- Combine melted butter and cocoa powder until smooth.
- Stir in 1 cup sugar, then beat in 2 eggs and 1 teaspoon vanilla extract.
- Add flour and salt, stir until just combined. Fold in chocolate chips.
- In separate bowl, beat cream cheese until smooth. Add ¼ cup sugar, 1 egg, and 1 teaspoon vanilla. Beat until fluffy.
- Spread brownie batter into prepared pan, reserving about ¼ cup for topping.
- Dollop cream cheese mixture on top of batter. Add reserved brownie batter over that. Swirl with knife.
- Place pan on trivet inside pressure cooker. Seal the lid.
- Cook on high pressure for 30 minutes. Let natural release finish completely.
- Let brownies cool in pan before cutting and serving.



