










That first hiss from the cooker tells you something good is happening. You catch that little valve hiss and your heart kinda skips 'cause you know the sealing ring's doing its job, keeping all that steam perfect inside. It’s like a signal that all the flavors you tossed in there are cooking up just right.
Then you watch the float valve pop up, showing you the pressure build is real. You feel that steam cues moment when you realize dang, this is gonna be some dang tasty pickles soon. And that sound keeps you company while it does its job, like a little gentle reminder the pressure cooker’s got your back.
Y’all know that the whole process kinda makes you feel like a pro, even if you’ve only done this once or twice before. And that first hiss? It’s not just noise. It’s the start of good stuff happening, and you remember why you love canning homemade pickles in your pressure cooker.
Why Your Cooker Beats Every Other Pot
- Builds pressure quick so your pickles get sealed fast.
- Sealing ring keeps heat and steam locked tight for perfect flavor infusion.
- Valve hiss and steam cues help you know exactly when stuff’s cooked right.
- Float valve shows you real-time pressure build no guessing needed.
- Takes less time than a traditional boiling water bath method.
- Easy to keep jars sterile and hot in the cooker while prepping.
For similar hands-off cooking techniques and great flavors, check out our Pressure Cooker Cannoli Cheesecake Bars Recipe, Classic Homemade Orange Candy Recipe, and Gordon Ramsay Sticky Toffee Pudding posts.
Your Simple Ingredient Checklist
- 3 to 4 heads fresh dill or 1 tablespoon dried whole dill seed, not weed stuff.
- 2 to 3 large cloves garlic, peeled and ready to pound flavor.
- 12 whole black peppercorns for that slight spicy pop.
- Half a small bay leaf adds subtle aroma you’ll notice later.
- A quarter teaspoon whole mustard seed to tickle your taste buds.
- Half a teaspoon crushed red pepper flakes or swap in 3 dried habaneros if you wanna kick it up.
- 1 cup cider vinegar or white wine vinegar; cider’s classic, white wine is kinda delicate.
- 2 cups water to balance that tangy punch perfectly.
- 1 tablespoon pickling salt, just non-iodized stuff like kosher salt works great.
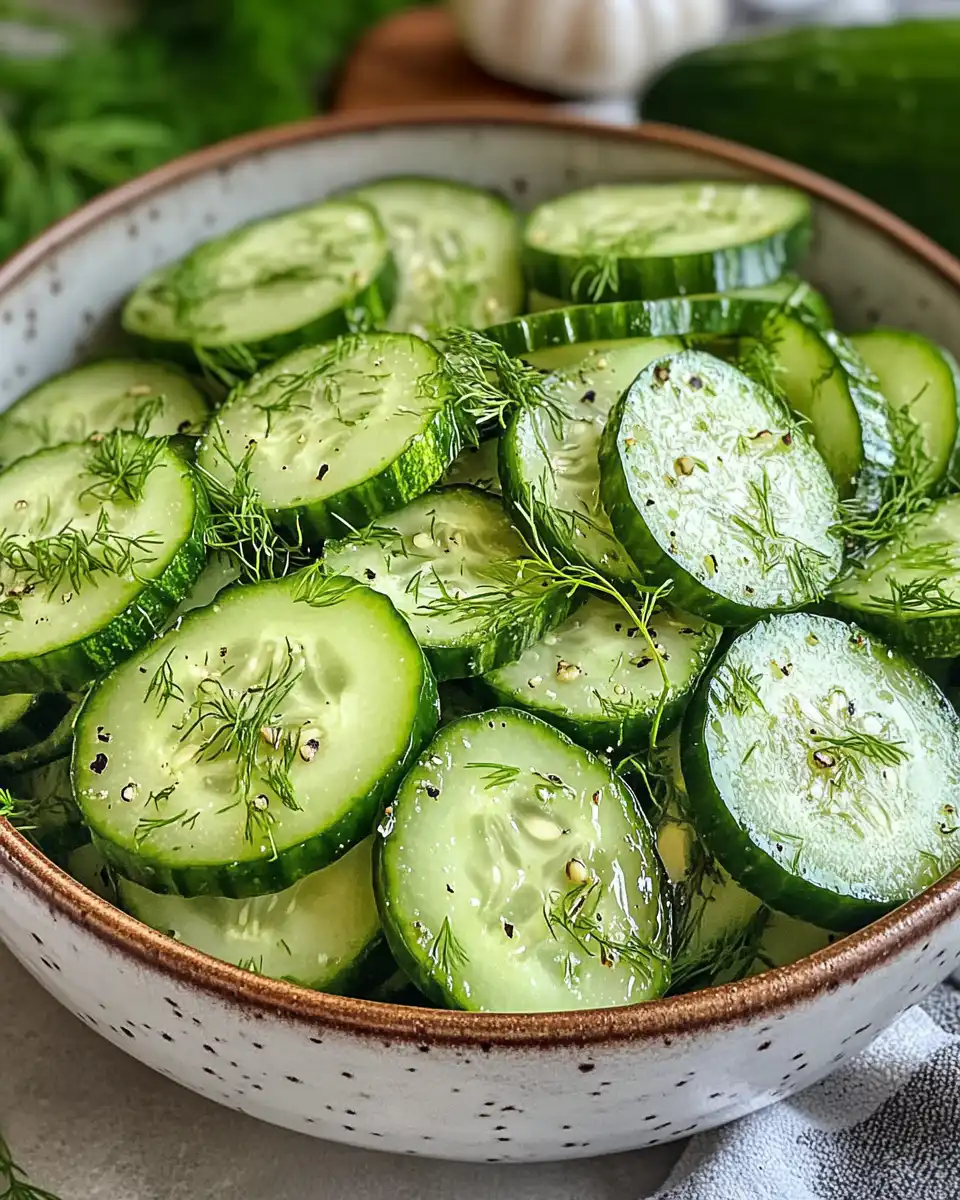
- 2 pounds pickling cucumbers, fresh and crisp, trimming blossom ends is a must.
The Exact Process From Start to Finish
- Sterilize your canning jars and lids by boiling them in water for 10 minutes. Keep 'em hot so no germs crash the party.
- Wash cucumbers real good and trim off the blossom ends. Decide if you want 'em sliced or whole, it works either way.
- Heat up the brine by putting vinegar, water, and pickling salt in a medium saucepan. Bring it to a boil—this is your flavor base.
- Pop dill, garlic cloves, peppercorns, bay leaf, mustard seed, and crushed red pepper or habaneros into each sterile jar.
- Pack your cucumbers tight in those jars but leave about half an inch headspace so brine got room to move.
- Pour that hot brine all over cucumbers, cover 'em good but keep headspace. Use a clean utensil to slide around the jar edges and get air bubbles out.
- Wipe jar rims with a clean damp cloth so lids seal good. Put on lids and screw bands finger-tight but not too tight.
- Process the jars in a boiling water bath for at least 10 minutes if you're storing long term. Otherwise, once cooled, fridge storage works if you plan to eat soon.
- Let your new pickles cure for at least one week before diving in—that’s when flavors get their dang best.
Quick Tricks That Save Your Time
- Keep your sealing ring clean and in good shape to avoid any steam leaks while cooking.
- Use a jar lifter or tongs to drop jars into boiling water fast and steady, no spills.
- Make your brine ahead and keep warm on low so it’s ready when jars are packed.
- Trim cucumbers in a big batch all at once to speed things up before packing jars.
- Label your jars right after sealing so you don’t forget what’s inside or when you canned 'em.
That First Bite Moment
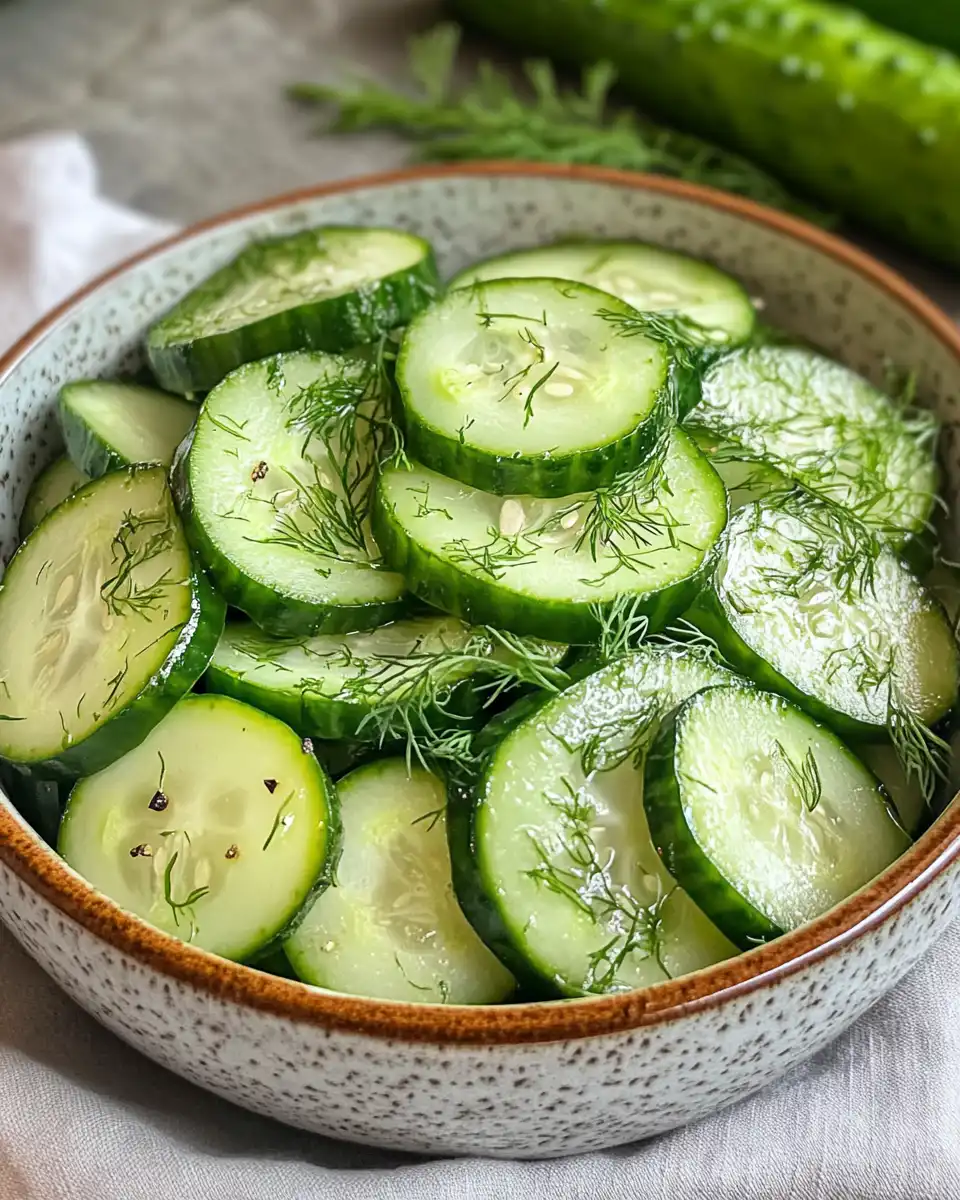
You pop open that jar and the scent of dill and garlic hits you strong and dang, it wakes up your senses right away. You spot the peppercorns floating nearby, kinda hinting at the slight heat you’re about to get.
The crunch when you bite in is so fresh and crisp, you feel like the cucumbers were just picked that morning. That vinegar tang and spicy kick from the red pepper flakes slam your taste buds in a good way.
It’s the kinda bite that reminds you why making pickles at home is a dang good idea—flavor that’s way better than store-bought and made by you with your own hands.
Your Leftover Strategy Guide
- Store opened jars in the fridge and try to finish 'em up in a month for best crunch.
- Unopened jars can hang out in a cool, dark pantry spot for up to a year if processed right.
- If you got leftover brine, use it as a tangy salad dressing base or marinade—don’t throw it out!
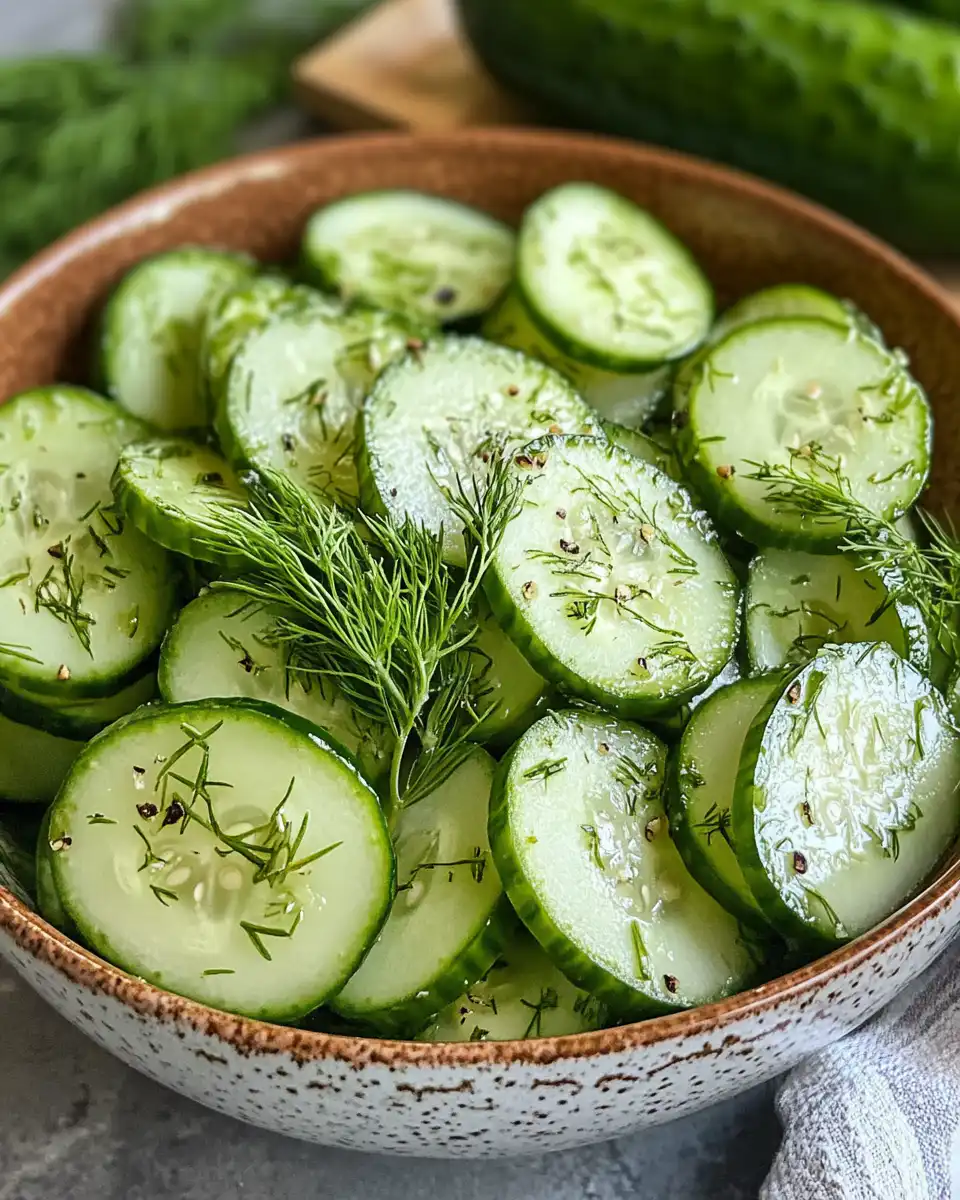
- Leftover cucumbers that didn’t fit in jars? Slice those for snacks or quick pickles in the fridge.
What People Always Ask Me
- Q: Can I use fresh dill only?
A: Yep, fresh dill heads work great and give a punchy smell, but dried dill seed is handy too if you don’t have fresh. - Q: Does the pressure cooker speed up the canning?
A: Yeah, it really helps by building pressure quickly and keeping everything hot and sealed fast. - Q: How do I know when pressure is right?
A: Watch for the float valve to pop and listen for that valve hiss—that’s your cue to start timing. - Q: What if jars don’t seal?
A: Check rims are wiped clean before sealing and don’t tighten lids too much. If no seal, refrigerate and eat soon. - Q: Can I add other spices?
A: Totally, throw in some coriander or fresh herbs if you like to make it your own. - Q: How long to cure pickles?
A: One week is the sweet spot for flavor but they keep getting better with more time.
For more pressure cooker recipes and fun kitchen ideas, check out our Bakery Style Chocolate Chip Cookies, Churro Crinkle Cookies, and Hawaiian Roll French Toast posts.
Home Canned Garlic Dill Pickle Recipe
Equipment
- 1 Mixing bowl Large
Ingredients
Main ingredients
- 3-4 heads Fresh dill or 1 tablespoon dried whole dill seed
- 2-3 cloves Garlic peeled
- 12 Black peppercorns
- 0.5 Bay leaf small
- 0.25 teaspoon Mustard seed whole
- 0.5 teaspoon Crushed red pepper flakes or 3 dried habaneros optional
- 1 cup Cider vinegar or white wine vinegar
- 2 cups Water
- 1 tablespoon Pickling salt non-iodized, kosher salt works
- 2 pounds Pickling cucumbers trim blossom ends
Instructions
Instructions
- Sterilize your canning jars and lids by boiling them in water for 10 minutes.
- Wash cucumbers and trim blossom ends. Slice or leave whole as preferred.
- In a saucepan, boil vinegar, water, and pickling salt to make brine.
- Add dill, garlic, peppercorns, bay leaf, mustard seed, and pepper flakes or habaneros to each jar.
- Pack cucumbers into jars, leaving ½ inch headspace.
- Pour hot brine into jars, remove air bubbles with a utensil, and adjust headspace.
- Wipe jar rims clean, place lids, and screw on bands until fingertip tight.
- Process jars in boiling water bath for 10 minutes for long-term storage.
- Cool jars on a towel overnight. Check seals the next day.
- Let pickles cure for at least one week before eating.



