The pressure builds and you start counting down minutes until you eat. You can practically smell that warm lemon custard teasing your senses right through the sealing ring and valve hiss. The float valve pops up with a little hiss and you know something good is about to come your way soon.
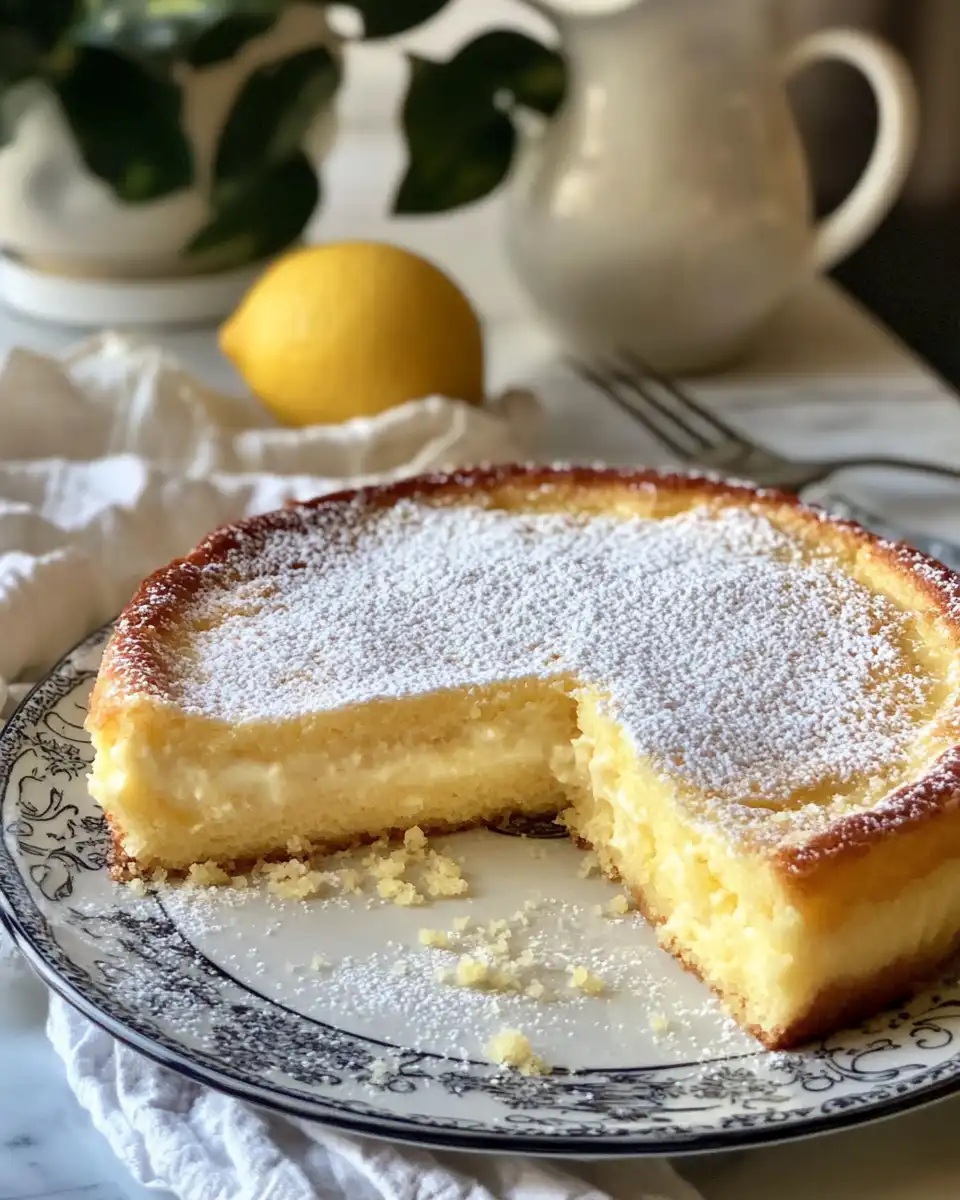
This cake is one of those desserts where you just wait for the tender pull of the pie crust as your fork slides underneath. It’s kinda like waiting for your favorite show to drop a new episode. You get that buzz, the kinda excitement that gets you tapping your foot or checking the clock every few minutes.
When the natural release finishes and you finally get to crack open that pressure cooker lid it’s like a little celebration. You spot the golden top dusted with powdered sugar, the glisten of pine nuts toasted just right, and you’re ready. This isn’t just any cake. This is grandma’s cake, made super quick while keeping all the heart and flavor intact.
Why This Recipe Works Every Single Time
- Using a pressure cooker cuts down the wait so your lemon custard stays silky and fresh.
- The sealing ring and float valve keep everything locked in so moisture doesn’t escape, making the crust tender yet crisp.
- The lemon zest in both crust and custard gives it a bright, fresh pop that wakes up your taste buds.
- Pine nuts on top add that toasty crunch which balances the smooth custard perfectly.
- Natural release lets the cake gently cool so nothing collapses or gets soggy—just perfect texture every time.
All the Pieces for This Meal
- 250 grams all-purpose flour because you want your crust just right, not too tough, not too crumbly.
- 125 grams cold unsalted butter cubed up to rub into that flour for a nice crumbly base.
- 100 grams granulated sugar for the dough to add a bit of sweetness to that golden crust.
- 1 whole egg plus 1 egg yolk—these get your dough binding just right and color that crust beautifully.
- Zest from 1 lemon is your bright, zesty secret weapon for both crust and custard.
- 500 ml whole milk warms up with vanilla and lemon zest to infuse that rich custard base with flavor.
- 4 egg yolks with 120 grams granulated sugar and 40 grams cornstarch whipped into that custard for a creamy, dreamy filling.
- 30 grams pine nuts sprinkled on top for that finishing crunch, plus powdered sugar dusting for a little pretty touch.
How It All Comes Together Step by Step
First you mix the flour, sugar, and lemon zest in a bowl. Then add the cold butter cubes and rub them together until the mix looks like breadcrumbs. This is where you get that flaky crust base, so don’t rush it.
Next crack in the egg and egg yolk, then bring the dough to a ball. Wrap it up tight with plastic wrap and let it chill for half an hour. This chilling step helps the dough relax so it rolls out smooth, no tears.
While the dough chills you start on the custard. Warm the milk with lemon zest and vanilla till it’s steaming but not boiling. Meanwhile, whisk the egg yolks, sugar, and cornstarch until smooth and creamy.
Slowly pour the hot milk into the egg mixture while whisking so you don’t scramble your eggs. Then pour it all back into the pan and cook on medium, stirring nonstop until thick and custard-like. Then let that cool off completely.
Roll out about two-thirds of your dough and press it into your tart tin. Pour in the cooled lemon custard. The custard stays silky smooth, no lumps or anything funky here.
Roll out the rest of your dough for the lid. Place it on top of custard and pinch edges to seal. Prick the top crust with a fork to let steam out. Sprinkle pine nuts evenly all around, then bake for 35 to 40 minutes until it’s golden brown and dreamy. Let it cool, then dust with powdered sugar before serving.
Valve Hacks You Need to Know
- Seal it right: You gotta double check the sealing ring before you start so no steam sneaks out early. It keeps pressure steady for that perfect custard set.
- Listen for the hiss: When you hear the valve hiss, that means pressure’s locked in, so lower your heat and start your timer. This sound is like your kitchen timer from the old days.
- Natural release is your friend: Don’t rush opening the lid, let it cool down gently so the custard sets and the crust stays tender. A quick release might make it fall apart or get soggy.
The Flavor Experience Waiting for You
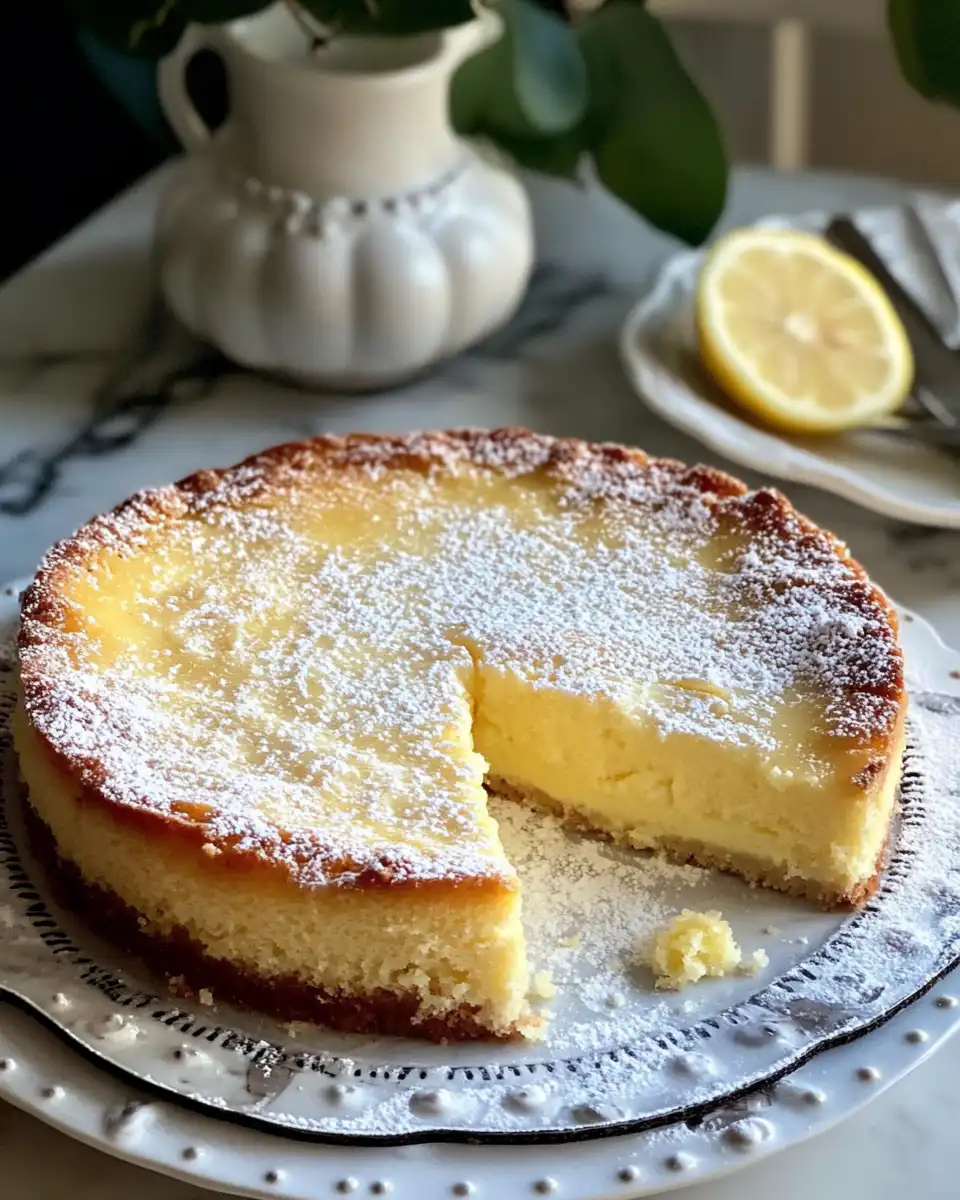
When you cut into this cake you first spot the golden crust that’s warm and inviting. Then you catch the fresh scent of lemon rising from the custard layer below—bright but gentle. It’s that kinda smell that makes you smile even before a bite.
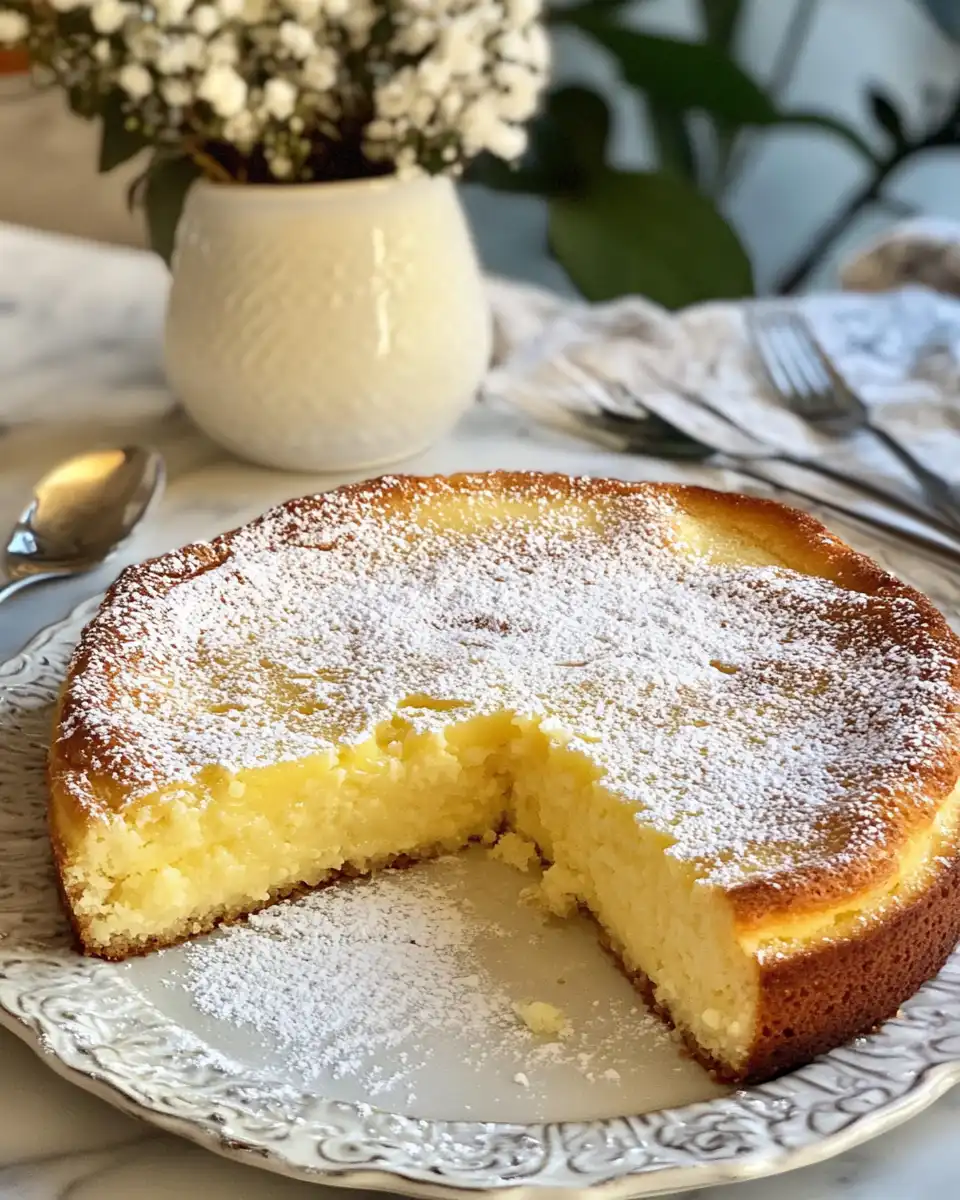
The custard itself is silky smooth, rich yet light, and that lemon zest sneaks in just enough to keep it feeling fresh instead of heavy. Every bite melts in your mouth like a lemony hug.
Pine nuts add a little surprise crunch on top, their toasty notes mixing with sweet custard and buttery crust. The combination hits all the right cozy and fresh notes you wanna get from a grandma’s cake.
How to Store This for Later
If you got leftovers, no shame in saving some for later. Just wrap it tight with plastic wrap or put in an airtight container. Keep it in the fridge so the custard stays fresh and tasty up to three days.
For longer storage you can freeze slices individually wrapped. When you wanna eat, let them thaw in the fridge overnight and then bring to room temp before digging in for best flavor.
When reheating, warm gently in the oven or microwave so you don’t melt the custard filling completely but get the crust nice again. Just a few seconds will do.
What People Always Ask Me
- Can I make this cake without a pressure cooker? Yeah you can, but the pressure cooker speeds things along and keeps that custard super creamy. The oven method needs more time and careful watching.
- What if I don’t have pine nuts? No worries, just swap with chopped almonds or walnuts. They add a nice crunch too.
- How do I know when the custard is thick enough? You wanna see it coat the back of a spoon nicely and hold a line when you run your finger through. If it’s runny, just cook a little longer.
- Is the lemon zest necessary? It’s what gives the custard and crust that fresh pop you won’t wanna skip. But if you need, you can lightly use orange zest instead.
- Can I prep this a day ahead? Totally! You can make the dough and custard separately and keep them chilled. Then assemble and bake fresh the next day for that just-made feel.
- Should I use natural release every time? Yep, natural release is how you keep the custard silky and stop the crust from turning soggy inside your pressure cooker.
Torta della Nonna – Italian ‘Grandma’s cake’ with lemon custard & pine nuts
Equipment
- 1 Mixing bowl
- 1 Tart tin
- 1 Whisk
- 1 Pressure cooker
Ingredients
Main ingredients
- 250 g All-purpose flour
- 125 g Cold unsalted butter cubed
- 100 g Granulated sugar for dough
- 1 Egg whole
- 1 Egg yolk
- 1 Lemon zest zest used in crust and custard
- 500 ml Whole milk
- 4 Egg yolks for custard
- 120 g Granulated sugar for custard
- 40 g Cornstarch
- 30 g Pine nuts for topping
- Powdered sugar for dusting
Instructions
Instructions
- Mix flour, sugar, and lemon zest in a bowl. Add cold butter cubes and rub into crumbs.
- Add whole egg and yolk, mix into a dough. Wrap and chill for 30 minutes.
- To make the custard, warm milk with zest and vanilla until steaming. Whisk yolks, sugar, cornstarch separately.
- Temper the egg mixture by whisking in hot milk gradually. Return all to pot and stir until thickened. Cool completely.
- Roll out two-thirds of dough and press into tart tin. Add cooled custard.
- Roll remaining dough and place as lid. Pinch edges to seal and prick top with fork.
- Sprinkle pine nuts on top evenly.
- Bake at 180°C (350°F) for 35 to 40 minutes until golden brown.
- Allow to cool, then dust with powdered sugar before serving.