










The pressure builds and you start counting down minutes until you eat. You know that sound that gets your stomach all rumbling? That valve hiss when your pressure cooker gets up to speed is kind of like a dinner timer you actually wanna hear. It's funny how waiting for tiny pies can feel like forever when you spot them through the glass.
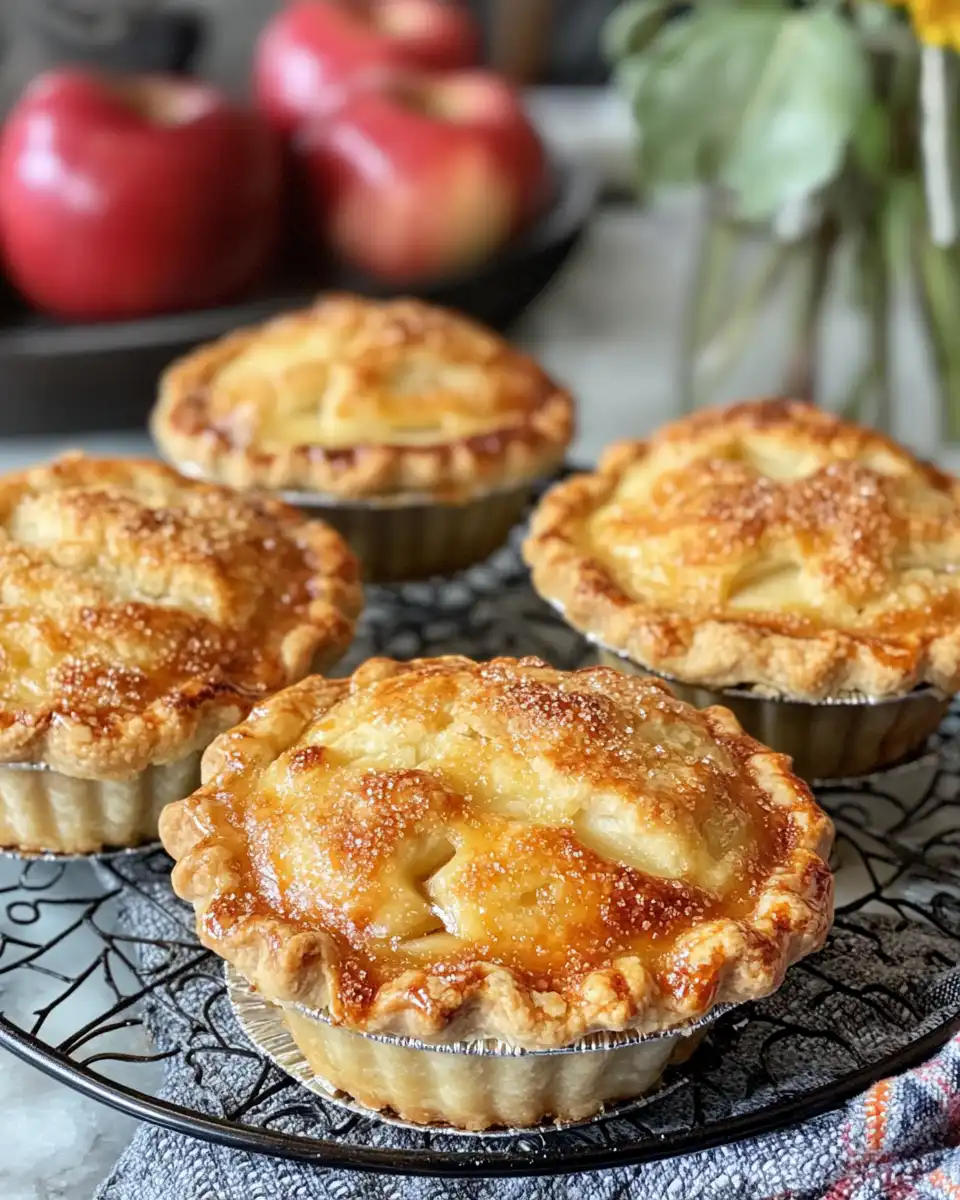
As the sealing ring seals tight, you can already imagine the sweet scent wafting. The steam builds up and that silence before the hiss feels like suspense in a movie. You catch yourself dreaming about that first bite, warm apple filling spilling just a bit, crust flaking in your fingers.
Counting down with slow release and quick release tricks on your mind, you get ready. The slow release lets pressure drop nice and easy while you prep the table or wipe a few crumbs. The wait might be kinda hard but those mini apple pies gonna be worth it. Every minute seals in the flavors better than you expect.
What Makes Pressure Cooking Win Every Round
- You get awesome broth depth in recipes cause the sealed in steam keeps juices right where they gotta be.
- Cooking time drops so much it feels like you blink and food's done.
- The sealing ring keeps everything locked tight so flavors don‑t escape and your kitchen stays clean.
- Pressure cookers can handle everything from stews to desserts so you‑re really investing in versatility.
- They‑re great for locking in moisture especially in fruit fillings like apple, so pies stay juicy not dry.
- You don‑t gotta babysit the pot all the time, just set it then relax or get prep done.
Pressure cookers are true multitaskers for your kitchen. Whether you're slow releasing for tender fillings or quick releasing to speed things up, mastering these techniques takes your baking game higher. The sealed steam aroma is a cue you're almost there. When you think about how they keep flavors locked tightly, it makes sense why recipes like our Pressure Cooker Cannoli Cheesecake Bars Recipe work so well. And if apple filling is your fave, check out our Cinnamon Apple Fritters to extend those flavors in fun ways.
Your Simple Ingredient Checklist
- 300 g all-purpose flour for that tender crust you gotta roll out nice and thin.
- 60 g granulated sugar to add just a pinch of sweetness in the dough.
- 1 teaspoon salt which really balances out the sweet and buttery flavors.
- 220 g cold unsalted butter cut into cubes to keep the dough flaky and rich.
- 110 ml cold water to bring the dough together without melting your butter.
- 800 g apples – Big and crisp like Pink Lady, Fuji, or Royal Gala work best for a fresh taste.
- 60 g unsalted butter to cook your apple filling, gotta melt that slow and steady.
- 150 g brown sugar, where that deep caramel sweetness comes from for the filling.
- 1 teaspoon ground cinnamon to keep it cozy and spicy, plus cornstarch, salt, water for thickening, one egg for egg wash, and some extra brown sugar to sprinkle on top.
Your Complete Cooking Timeline
Step 1: In a large bowl, you mix the flour with granulated sugar and salt. Gotta get it all combined before you add butter. Then, toss in your cold butter cubes and use a pastry cutter or finger tips to blend until it looks like coarse crumbs.
Step 2: Slowly drip in your cold water and mix just till dough forms. Too much water and dough's sticky, too little and it'll fall apart. Split the dough in half, flatten each into discs, and wrap tight in plastic. Pop them in the fridge at least an hour for that chill effect.
Step 3: While dough chills, peel, core and dice those apples into small cubes so they cook evenly inside pockets.
Step 4: Melt butter in a skillet on medium flame, then add apples, brown sugar and cinnamon. Cook 8-10 mins till soft and smelling like fall on a plate.
Step 5: Make a little cornstarch slurry by mixing cornstarch with a tablespoon of water. Pour it into your apple mix and stir till filling thickens. Take off heat and let it cool down a bit.
Step 6: Preheat your oven to 190–C or 375–F and line a baking sheet with parchment paper. Roll one dough disc flat about 3 mm thick and use a round cutter to cut circles out.
Step 7: Drop a spoonful of cooled apple on half the dough rounds. Top with the other halves then crimp edges with a fork. Don’t forget to cut a small slit on top so steam can sneak out while baking. Egg wash those tops and sprinkle with brown sugar so they come out shiny and golden. Bake about 20-25 minutes till crust’s golden. Cool just a few before you chow down.
Quick Tricks That Save Your Time
- Make your dough the night before and wrap it good. It chills overnight and that means easier rolling and tastier crust.
- Use pre-peeled frozen apples if you’re super rushed. Just defrost, dice and toss in skillet.
- Got no pastry cutter? Use two knives crossing back and forth to cut butter into flour.
- Do a quick release if you gotta speed things up but watch out for hot steam from that valve hiss.
- While pies bake, clean your kitchen or prep toppings so you’re ready to serve quick when done.
What It Tastes Like Fresh From the Pot
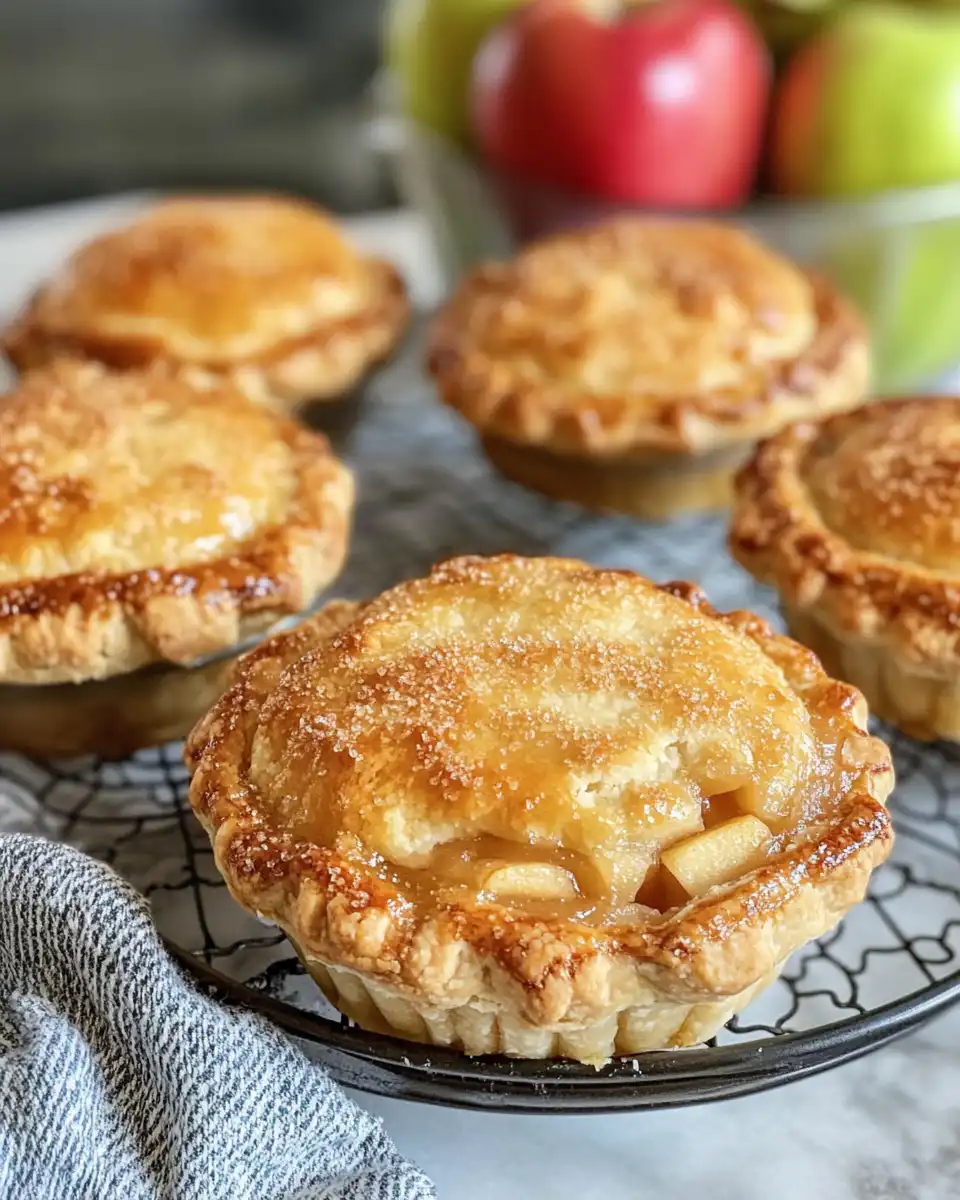
Warm apple pies fresh from the oven bite into a little crispy, flaky edge that kinda melts with the soft apple filling inside. The cinnamon and brown sugar make it feel cozy like a hug in dessert form. You notice just the right amount of sweetness and lots of natural apple flavor bursting in every mouthful.
The filling feels juicy with a slight sticky texture from that thickened cornstarch mix; not too runny or dry so it’s just right for hand pies you can hold. The buttery crust balances the filling’s brightness perfectly and keeps the whole thing from being soggy.
Those little slits on top let steam sneak out so pies cool down without getting chewy. When you take that first bite you remember why you love making minis – easy to share, easy to eat, and always disappearing too fast at your table.
Your Leftover Strategy Guide
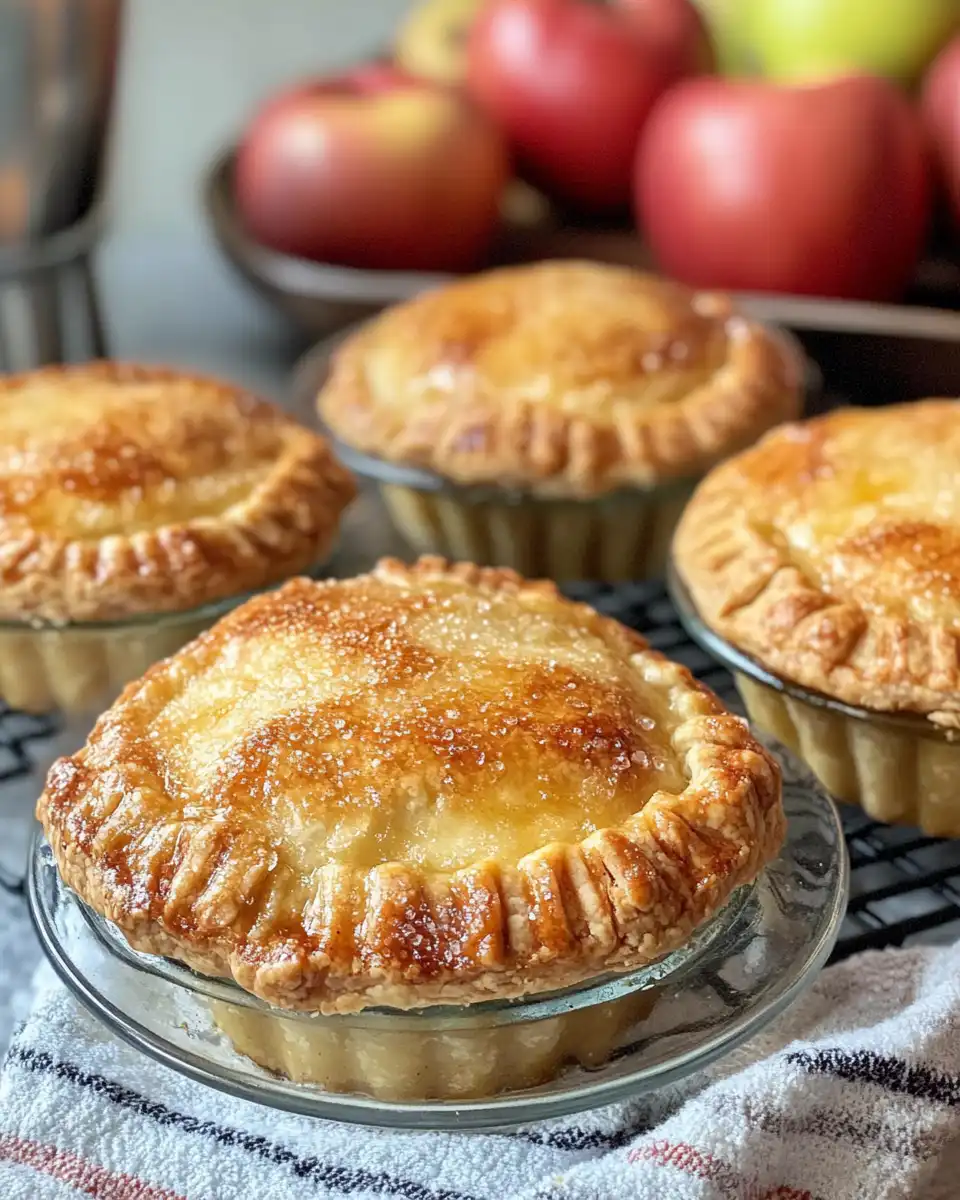
Got extra mini apple pies? First, you wanna cool them completely at room temp before storing so they don’t get soggy with trapped steam.
Store leftover pies in an airtight container at room temp for a day or two and they still taste good for snacks or dessert. You gotta eat them soon though.
If you want them longer, pop pies in the fridge. They keep about 4-5 days covered well. Just microwave a little to warm and bring back that softness.
Freeze your pies for even longer storage. Wrap each individually with plastic wrap and put in a freezer bag. When you wanna eat, thaw overnight in fridge then warm in oven or microwave real gentle so crust stays tender.
What People Always Ask Me
- Can I use another type of apple? Totally. Just pick apples that are firm and not super juicy or they might make your filling too wet.
- Do I have to chill the dough? You really should, it helps butter stay cold so crust is flaky, and dough easier to roll out.
- Why is there a slit on top of the pies? That lets steam escape while baking so pies don’t get soggy and crust stays crisp.
- Can I make these gluten free? You’d need special gluten free flour blends that can behave like wheat flour for dough. Results might vary but it can be done!
- Is the pressure cooker really necessary? Not really but it speeds cooking for the apple filling and kinda keeps flavors intense before baking.
- How do I store leftovers best? Cool down fully, then airtight container at room temp a couple days or fridge wrapped for longer.
For related dishes and to explore more pressure cooker recipes, check out our Pressure Cooker Cannoli Cheesecake Bars Recipe and Cinnamon Apple Fritters You've Got to Attempt posts for inspiration.
Mini Apple Pies (Apple Hand Pies)
Equipment
- 1 Mixing bowl Large
- 1 Pastry cutter or fingers
- 1 Skillet Medium heat for cooking apples
- 1 Rolling pin For rolling dough
- 1 Cookie cutter 9-10 cm
- 1 Fork For crimping
- 1 Baking sheet Lined with parchment
Ingredients
Ingredients
- 300 g all-purpose flour
- 60 g granulated sugar
- 1 teaspoon salt
- 220 g unsalted butter cold and cut into cubes
- 110 ml cold water
- 800 g apples chopped; Pink Lady, Fuji or Royal Gala
- 60 g unsalted butter
- 150 g brown sugar
- 1 teaspoon ground cinnamon
- 1 tablespoon cornstarch
- 0.25 teaspoon salt
- 2 tablespoon water
- 1 egg for egg wash
- 1 tablespoon water to mix with egg
- 4 tablespoon brown sugar to sprinkle on top
Instructions
Instructions
- Mix flour, sugar and salt in a large bowl. Add cold butter cubes and cut into flour until mixture resembles coarse crumbs.
- Add cold water gradually and mix until dough comes together. Divide in half, flatten into discs, wrap in plastic and refrigerate for 1 hour.
- Peel, core and dice apples into small cubes.
- In a skillet, melt butter over medium heat. Add apples, brown sugar and cinnamon. Cook for 8-10 minutes until softened.
- Mix cornstarch with 1 tablespoon water to make a slurry. Stir into cooked apples and cook until thickened. Let filling cool.
- Preheat oven to 190°C (375°F). Roll out dough to approximately 3 mm thick and cut out circles using 9-10 cm cutter.
- Place spoonful of apple filling on half of dough circles. Top with remaining dough and crimp edges with fork. Cut a slit in the top to vent steam.
- Mix egg with 1 tablespoon water for egg wash. Brush tops and sprinkle with brown sugar.
- Bake for 20-30 minutes until golden and crisp. Let cool slightly before serving.



