










The pressure builds and you start counting down minutes until you eat. That valve hiss from your pressure cooker lets you know things are happening inside. The smell of cinnamon and apples starts to fill your kitchen and you catch yourself sneaking peeks at the little window in the lid just to see if you're close yet.
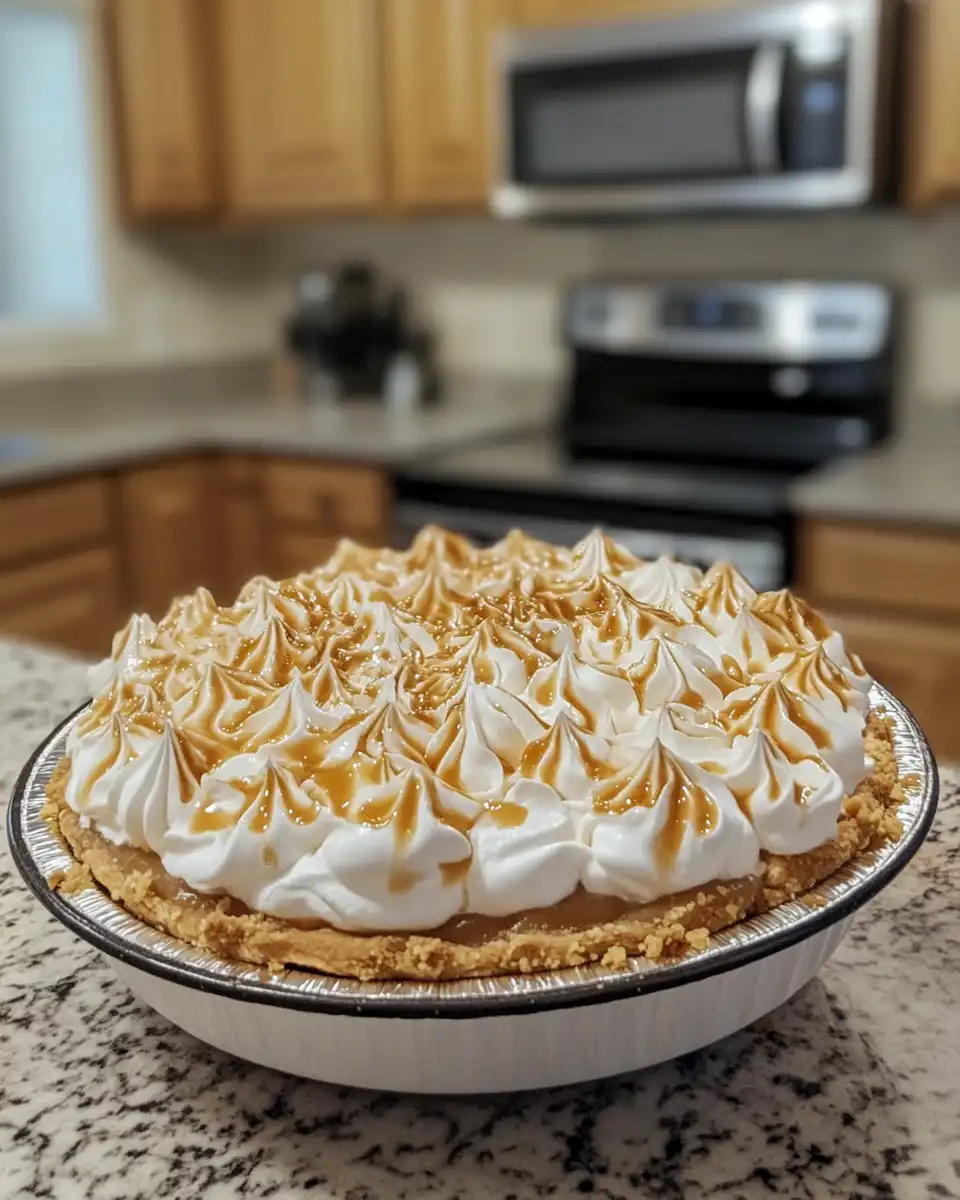
You got the sealing ring all set and the broth depth perfect underneath your pie plate, so you trust this is gonna work out just right. You remember the last time you tried to do an apple pie without one, and well, it just ain't the same. This method gives you that tender pull from perfectly cooked apples and a crust that’s flaky but not soggy.
As the pressure build goes on, you think about what you’ll top it with. Vanilla ice cream melting on that warm filling, or maybe some whipped cream if you wanna keep it lighter. Either way, you feel that buzz of excitement for the first bite, knowing this pie's gonna hit all the right notes.
Why This Recipe Works Every Single Time
- Using a pressure cooker locks in moisture so your apples get tender but don’t mush up.
- The sealing ring keeps the pressure steady, no sneaky leaks.
- Fireball whiskey adds a warm, spicy note to balance the sweet and tart apples.
- Cinnamon blends smoothly with the vanilla and apple cider vinegar for a flavor punch.
- Preheating the oven ensures a golden, flaky crust after the pressure cooking step.
- Water and butter simmered over heat add richness without making the filling soggy.
- Slits on top of the crust let steam escape, keeping that crust from getting soggy.
Everything You Need Lined Up
- 1 box of prepared pie crusts – the kind you unroll (I dig Pillsbury the best)
- 5 large Granny Smith apples peeled and sliced nice and thin
- 1 cup sugar to sweeten things up
- ¼ cup all-purpose flour to help thicken the filling
- ½ teaspoon salt to bring out the flavors
- ¾ cup water – this is your broth depth for the pressure cooker
- 1 tablespoon apple cider vinegar no substitutions please, it adds the right tang
- 2 tablespoons butter and 1 teaspoon vanilla for that smooth richness
- 1 teaspoon cinnamon for that classic apple pie spice
- ⅓ cup Fireball whiskey – giving your pie a little kick
- Vanilla ice cream or whipped cream for serving
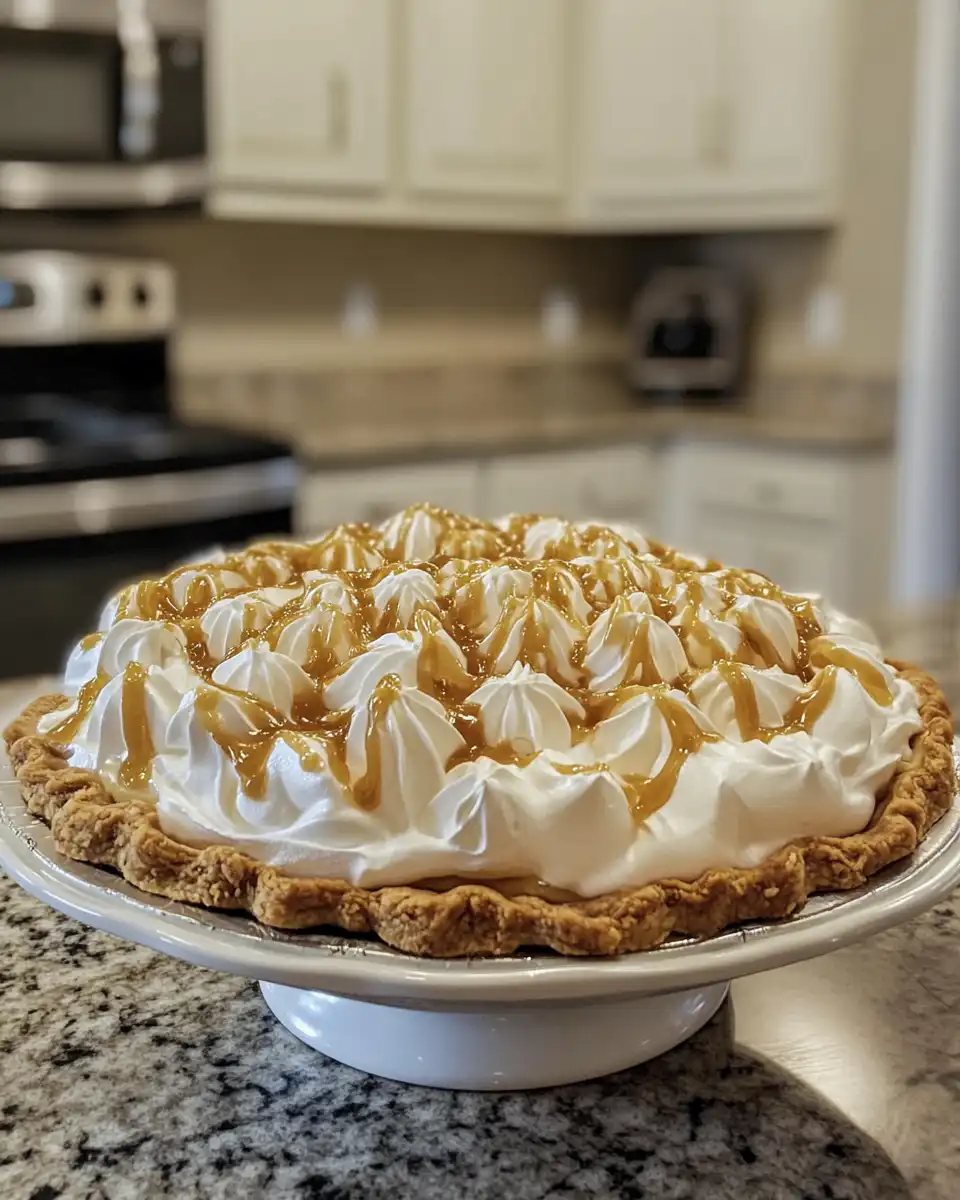
You wanna have everything ready before you start. Measure out your sugar and flour in a little bowl, peel and slice those apples so they don’t brown. Set out your pie shells on the counter to unroll easily. Get your butter melting on the stove just before filling the pie so it’s warm and smooth to pour. Trust me, having it all prepped keeps you calm and makes the process feel way easier.
Walking Through Every Single Move
Step 1: Preheat your oven to 425°F. This heat step at the start is what gets your crust perfectly golden later on.
Step 2: Unroll one pie crust and fit it into a 9-inch pie plate. Gotta get that fit right so your filling stays put.
Step 3: In a big bowl, toss the apples with sugar, flour, salt, cinnamon, and apple cider vinegar until every slice is coated nicely.
Step 4: Pour that apple mix into the crust, making sure it’s evenly spread. Set your pressure cooker with a small amount of water – that broth depth you wanna keep – then place a trivet inside and set the pie plate on top.
Step 5: Melt your butter with vanilla in a saucepan and drizzle it carefully over the apple filling. This step keeps your pie rich without turning it soggy.
Step 6: Unroll the second crust and place it gently on top of the pie. Trim off the edges, crimp to seal tight, then cut a few slits for venting steam.
Step 7: Lock the lid on the pressure cooker. Wait for the pressure build and that valve hiss to start, then cook for about 15 minutes. When it’s done, carefully quick-release the pressure, then transfer the pie to the oven. Bake at 425°F for 15 minutes, then turn down to 350°F for 30-35 minutes more until golden and bubbly. Let it cool before you dig in.
Smart Shortcuts for Busy Days
If you’re pressed for time, you can kinda speed this up without losing the good stuff. First, slice your apples the night before and toss in lemon juice to keep ’em bright. It saves you from scrambling when you wanna bake.
Next, skip melting the butter separately and just dot small pats of cold butter over the filling before the top crust goes on. It melts just fine in the cooker and still adds richness.
Finally, use pre-made crusts from the store instead of rolling your own pie dough. Trust me, that shortcut still tastes like homemade, but without the fuss.
That First Bite Moment
When you finally cut into that pie, you catch the scent of cinnamon and that subtle whiskey warmth making your mouth water. The crust cracks lightly under your knife, a perfect tender pull that tells you it’s done right.
As you take a bite, you feel the balance of sweet and tart apples wrapped in that buttery crust. The filling’s thick but juicy, a little spice buzzing in the back of your throat from the Fireball.
Melting vanilla ice cream or a dollop of whipped cream on top adds that cool creaminess that just brightens every flavor. You spot the small bits of cinnamon swirling through, making each bite kinda cozy and exciting.
The whole pie kinda hugs your taste buds, warming like a big cozy blanket on a chilly day. You won’t wanna wait to make this one again.
How to Store This for Later
Leftovers are gonna happen so you wanna store smart. First, you can keep the pie in the fridge covered loosely with foil or plastic wrap. It stays good for 3 to 4 days and tastes great cold or reheated.
If you wanna freeze, wrap the whole cooled pie tightly in plastic wrap and then foil to avoid freezer burn. It holds up for about 2 months. Let it thaw overnight in the fridge before warming it up.
Reheating in a conventional oven at 350°F for about 15 minutes brings back the flakiness of the crust and heats the filling just right. Avoid microwaving unless you’re in a hurry or don’t mind a soggy crust.
You can also portion out slices and freeze individually. Wrap each slice tightly and reheat from frozen with a quick oven warm-up. Super handy if you wanna grab a piece in a rush.
What People Always Ask Me
- Can I use different apples? You sure can but Granny Smith keeps that perfect balance of tart and sweet. Softer apples might get mushy faster.
- Is Fireball necessary? It’s what gives the pie that kick but you can skip it if you want. Just add a bit more cinnamon for spice.
- Can I make this gluten-free? Yes, swap out the crust and flour for gluten-free versions. Just watch your cook time as things might change a bit.
- What if my crust gets soggy? Making sure you drizzle the butter mixture and vent the top crust helps keep it flaky. Also, don’t skip putting it on a baking sheet in the oven.
- Can I pressure cook the whole pie? You can but finishing in the oven is what gets you the crust color and crispness.
- How do I know when it’s done? Look for a golden crust and bubbling filling. The apples should be tender but not mushy when you poke with a fork.
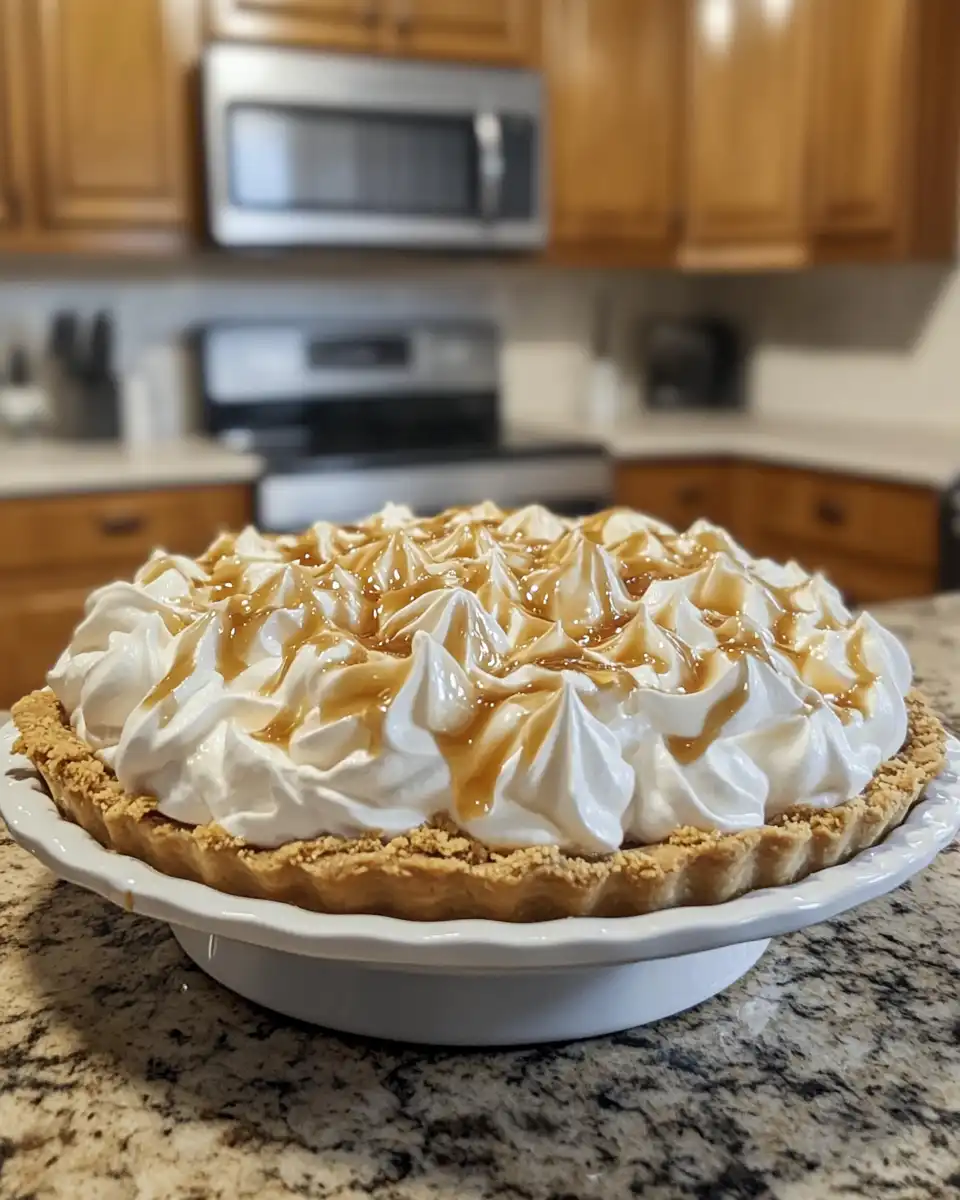
For some related recipes and kitchen hacks you might like, check out our Pressure Cooker Cannoli Cheesecake Bars Recipe, Classic Homemade Orange Candy Recipe, and Chocolade Lasagne Recipe.
Fireball Apple Pie
Equipment
- 1 Mixing bowl Large enough to toss apples and ingredients
- 1 9-inch pie plate
- 1 Pressure cooker with trivet insert
- 1 Saucepan for melting butter and vanilla
Ingredients
Main Ingredients
- 1 box prepared pie crusts the kind you unroll (like Pillsbury)
- 5 Granny Smith apples peeled and sliced thin
- 1 cup sugar
- ¼ cup all-purpose flour
- ½ teaspoon salt
- ¾ cup water for pressure cooker broth depth
- 1 tablespoon apple cider vinegar no substitutions
- 2 tablespoons butter
- 1 teaspoon vanilla
- 1 teaspoon cinnamon
- ⅓ cup Fireball whiskey
- vanilla ice cream or whipped cream for serving
Instructions
Instructions
- Preheat your oven to 425°F. This helps the crust brown perfectly later on.
- Unroll one pie crust and fit it into a 9-inch pie plate.
- In a large bowl, toss apples with sugar, flour, salt, cinnamon, and apple cider vinegar until well coated.
- Pour the apple mixture into the prepared crust, ensuring even distribution.
- Add water to the pressure cooker and place a trivet inside. Set the pie plate on top of the trivet.
- Melt butter with vanilla in a saucepan, then drizzle over the apple filling.
- Unroll the second crust and place it over the pie. Trim edges and crimp to seal. Cut slits in top crust to vent steam.
- Lock the pressure cooker lid, build pressure, then cook for 15 minutes. Use quick release when done.
- Transfer pie to oven. Bake at 425°F for 15 minutes, then reduce to 350°F for 30–35 minutes until crust is golden and filling bubbly.
- Let the pie cool before serving with vanilla ice cream or whipped cream.



