










The pressure builds and you start counting down minutes until you eat. That slow suspense? It feels real in your chest, like your pulse matches the steam cues from the cooker. It’s that kinda hush where everything feels right even though the kitchen smells like a storm of chocolate and coffee.
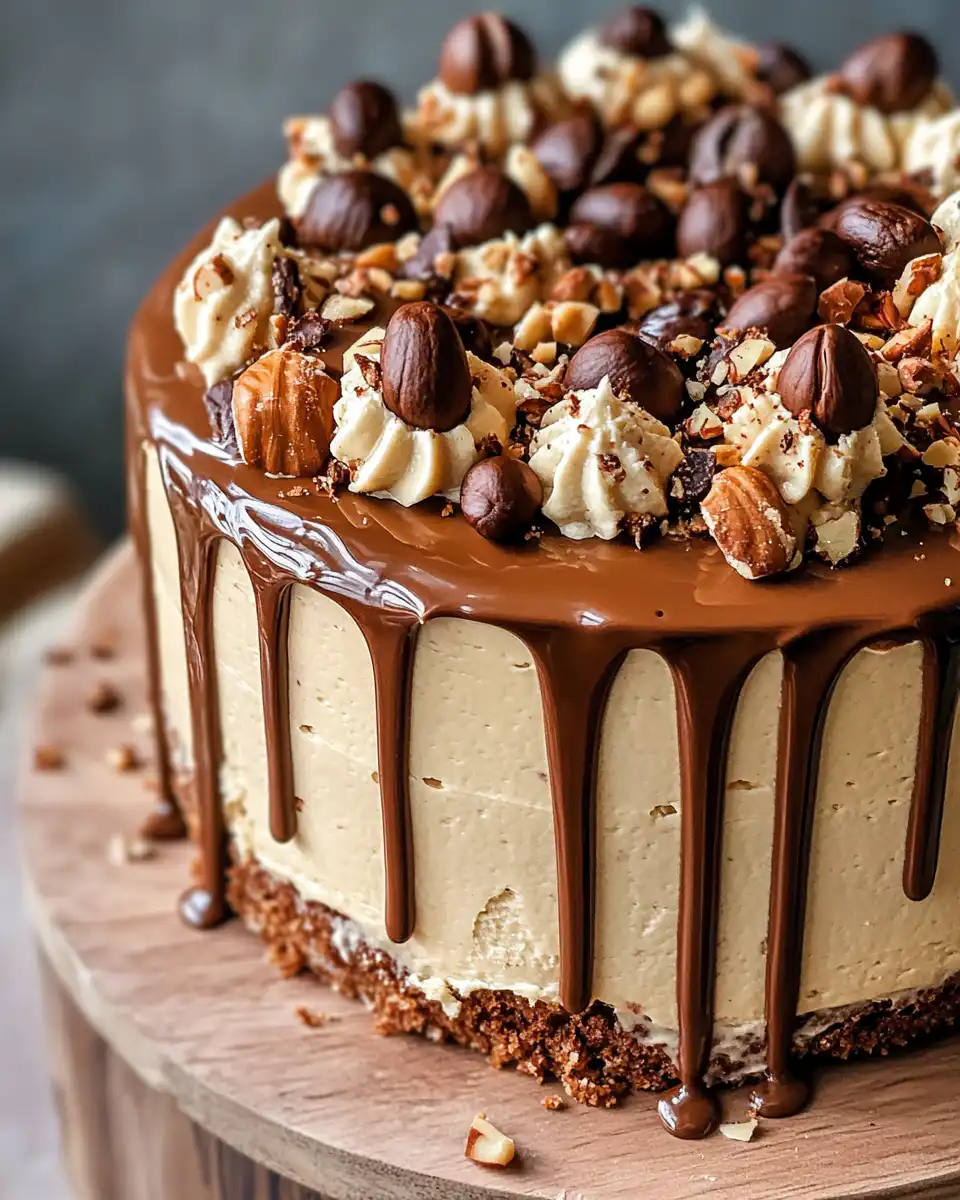
You spot the float valve doing its dance and hear the soft hiss settling into a steady purr. Your fingers kinda itch to peek but you remember the slow release rules. Patience gotta win here or you lose the broth depth that makes this cake tender and full of flavor.
When the natural release finally comes in, you feel like a kid again staring at a wrapped gift. That soft pop when you open it, releasing warm chocolatey steam, is worth every second you waited. And the first bite? Man, it’s an explosion of hazelnuts, chocolate, and a kick of espresso that somehow makes this cake a perfect little hug in dessert form.
The Real Reasons You Will Love This Method
- The pressure cooker locks in moisture so the cake comes out super soft and not dry at all. For more baking tips, explore our Easy Cannoli Cheesecake Bars Recipe and Cinnamon Apple Fritters You've Got to Attempt.
- It’s faster than traditional baking so you don’t gotta wait forever to eat dessert.
- You don’t gotta heat up your whole kitchen, which is a blessing on hot days.
- The steam cues let you know when things are just right without guesswork.
- Natural release keeps the cake from getting sunken or crumbly which happens when you rush it.
- It’s kinda foolproof so even if you’re not baking pros, you still come out looking like you know your stuff.
The Complete Shopping Rundown
Here’s what you’ll wanna grab for this recipe. First off, 1 cup all-purpose flour, pretty standard stuff but super important for the cake’s base texture. Then you need ½ cup finely crushed hazelnuts which add that nutty crunch and depth.
Don’t forget ½ cup unsweetened cocoa powder that brings the chocolate punch. Baking soda and baking powder work together to help your cake rise−grab ½ teaspoon baking soda and 1 teaspoon baking powder. A pinch of sea salt helps balance all the flavors.
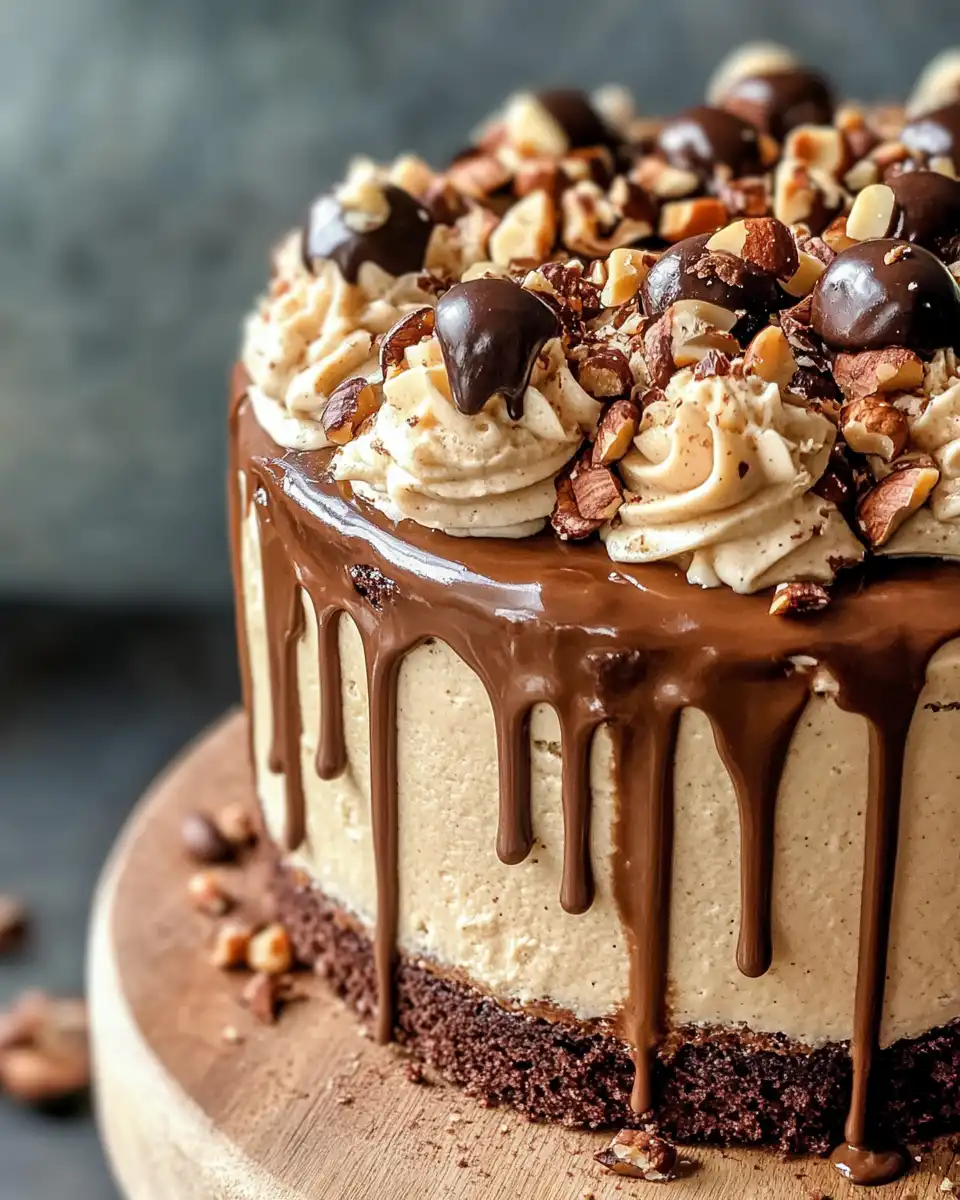
For the wet ingredients, crack in 2 eggs and melt 6 tablespoon unsalted butter. You’ll also need ½ cup Steviva Fructevia Natural Sweetener to keep it sweet but not overwhelming. A shot of espresso or ¼ cup dark coffee brings the brew note kick.
Vanilla extract (1 tsp) adds warmth, and ¾ cup chocolate chips meltingly boost the chocolate vibe. Lastly, 2 tablespoon heavy cream gives that smooth finish on top.
How It All Comes Together Step by Step
Step one, preheat your oven to 350 degrees Fahrenheit since you gotta prep that cake pan first. Grease and flour a 9-inch round cake pan or line it with parchment paper, whatever you got on hand.
Next, whisk together your dry stuff: flour, crushed hazelnuts, cocoa powder, baking soda, baking powder, and a pinch of sea salt. This blend is your flavor base and the key texture builder.
In another bowl, beat the eggs and melted butter until smooth. Then stir in your Steviva sweetener and espresso shot until everything’s nice and blended.
Now, gently add your dry ingredients to the wet, mixing just until it’s combined. Don’t overmix or you’ll mess up the texture and make it tough.
Pour the batter right into your prepped pan, smoothing the top with a spatula. You want it nice and even so it cooks uniformly.
Pop it into the oven for about 28 to 30 minutes, or until a toothpick comes out clean. Let the cake cool in the pan for around 10 minutes before moving it to a wire rack so it cools all the way through. Patience here pays off big time.
Time Savers That Actually Work
Wanna speed things up without losing any cake quality? First, use pre-crushed hazelnuts from the store to skip crushing yourself.
Second, melt the butter in the microwave for about 30 seconds instead of stovetop, it works real good and saves time.
Third, combine your dry ingredients a day ahead and store in an airtight container; that way mixing day is super quick.
Last, use instant espresso powder if you don't wanna brew coffee. Just mix it with hot water and you’re good to go.
Your First Taste After the Wait
That first bite sinks into your mouth with a deep cocoa hug and a bittersweet espresso hit that wakes your taste buds quick. You sense the texture is soft but with fun hazelnut bits sneaking in, so every bite’s a little adventure.
The sweetness isn’t overdone. It keeps balanced with the coffee and dark chocolate melding smooth on your tongue. You recall that creamy butter undertone that kinda makes the cake melt away.
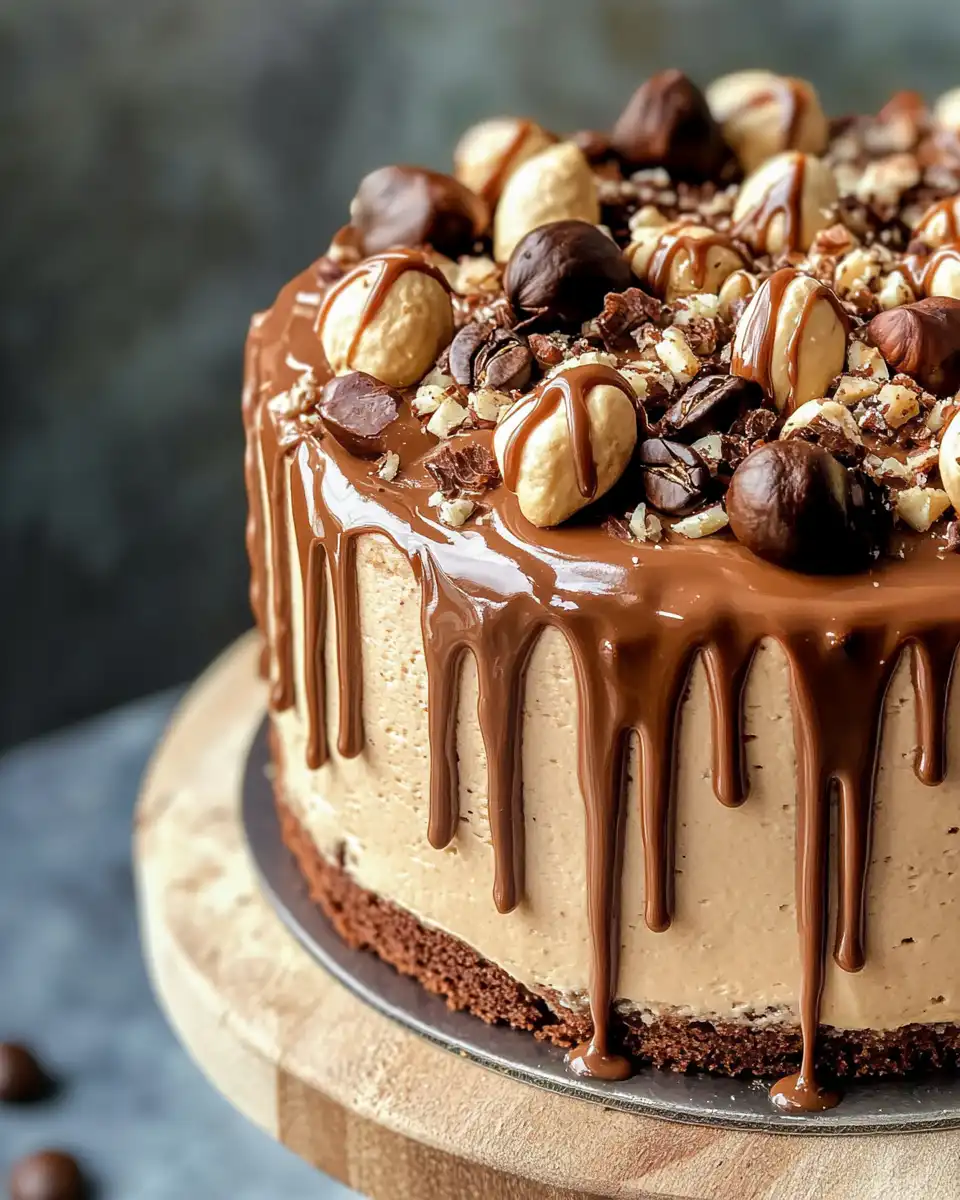
Every mouthful feels cozy like you’re wrapped in a warm blanket after a long day. You gotta try this when you need that go-to comfort cake that always hits the spot.
Keeping Leftovers Fresh and Ready
If you got leftovers, no worries. Wrap the cake tightly in plastic wrap and keep it at room temp for up to two days. That way it stays moist and fresh for sharing.
Want longer storage? Put the wrapped cake in an airtight container and store it in the fridge. It will last about a week but make sure you let it come to room temp before eating.
For real long haul, slice and freeze pieces individually wrapped in foil and then bag them up. They’ll keep well for up to three months. Just defrost overnight and warm slightly in the microwave before enjoying.
Common Questions and Real Answers
Q1 Can I use a different nut instead of hazelnuts?
Absolutely! Walnuts or pecans would work fine, just crush them similarly for that nice texture. For recipes with nuts, check our Easy Cannoli Cheesecake Bars Recipe.
Q2 What’s the deal with the natural release and why is it better here?
Natural release keeps the pressure dropping slow so your cake doesn’t collapse. It helps keep that broth depth and moist crumb.
Q3 Can I use regular sugar instead of Steviva Fructevia?
You sure can! Just swapping ½ cup regular sugar works if you don't mind the sweetness and texture change.
Q4 My pressure cooker doesn’t have a float valve. Is that okay?
Some models don’t, so just keep an eye on other steam cues like sounds or steam escaping to gauge pressure.
Q5 Do I really need espresso or can I skip it?
The espresso adds that awesome depth and flavor boost but if you don’t have it, strong coffee works too or even just vanilla.
Q6 Is this recipe good for beginners?
Definitely yes! The method is forgiving and the step by step keeps it simple. Just follow the steam cues and slow release advice.
For more quick and tasty dinner ideas, explore our Thai Sweet Chili Chicken and Cinnamon Apple Fritters You've Got to Attempt.
Chocolate Espresso Hazelnut Cake in Your Pressure Cooker
Equipment
- 1 Mixing bowl Large
- 1 8-inch round cake pan
- 1 Whisk
- 1 Spatula
- 1 Oven Preheated to 375°F
Ingredients
Cake Batter
- 1 cup all-purpose flour
- ½ cup finely crushed hazelnuts
- ½ cup unsweetened cocoa powder
- ½ teaspoon baking soda
- 1 teaspoon baking powder
- 1 pinch sea salt
- 2 eggs
- 6 tablespoon unsalted butter melted
- ½ cup Steviva Fructevia Natural Sweetener
- 1 shot espresso or ¼ cup dark coffee
- 1 teaspoon vanilla extract
Chocolate Frosting
- ¾ cup chocolate chips
- 2 tablespoon heavy cream
Instructions
Instructions
- Preheat oven to 375°F. Spray an 8-inch round cake pan with cooking spray and set aside.
- In a large bowl, whisk together flour, crushed hazelnuts, cocoa powder, baking soda, baking powder, and sea salt.
- In another bowl, beat eggs and melted butter until smooth. Stir in Steviva sweetener, espresso, and vanilla extract until well combined.
- Gently fold the dry ingredients into the wet mixture just until combined. Do not overmix.
- Pour batter into the prepared cake pan and smooth the top. Bake for 23–25 minutes or until toothpick inserted in center comes out clean.
- Remove cake from oven and place on cooling rack. Let cool in pan for 10 minutes before transferring to wire rack to cool completely.
- Melt chocolate chips using microwave or double boiler. Stir in heavy cream until fully blended and spreadable. Frost cake as desired.



