










Steam curls up from the valve and your stomach starts talking back. You notice that soft hiss of the valve telling you things are sizzling inside the cooker. It’s kinda hypnotic watching that little bit of steam puff out again and again, almost like a signal that yum’s coming soon.
Inside, the dough’s growing, getting tender and soft under all that warm pressure. You sense the smell starting to poke through, a gentle promise of cardamom and sweet marzipan waiting for you. The whole kitchen feels alive with that anticipation.
The timer ticks down and you recall the natural release you gotta do, letting the pressure drop on its own so everything finishes just right. A quick release might rush it, but you’re aiming for that tender pull of dough that feels like a warm hug. And you know this bake is gonna be worth the wait.
The Truth About Fast Tender Results
- You ain’t gotta babysit the dough for hours; the pressure cooker speeds up the rising with a steady warm mood inside.
- Steam cues like the valve hiss help you know when things are heating right.
- Natural release is key here to avoid rushing and making the dough tough.
- Quick release works if you’re in a real hurry but can change the texture.
- The even heat means your buns get tender around the edges and soft in the middle.
- The sealed environment keeps everything moist, so no drying out.
- Using fresh yeast or dry works, but fresh can give you a fluffier pull every time.
Your Simple Ingredient Checklist
- 500 grams all-purpose flour to build your dough nice and sturdy.
- 75 grams granulated sugar for that subtle sweet kick.
- Half a teaspoon salt to balance flavors just right.
- Two teaspoons ground cardamom giving it that sweet-spicy Norwegian vibe.
- 25 grams fresh yeast or 7 grams dry yeast for that perfect rise.
- 300 ml lukewarm whole milk helping the yeast wake up and the dough blend smooth.
- 75 grams unsalted butter, melted so it mixes silky in the dough.
- One egg, adding richness and helping bind it all.
- Another beaten egg, just for brushing so your buns come out golden and shiny.
- Marzipan or custard for filling, making each bite a little surprise delight.
How It All Comes Together Step by Step
Start by mixing that flour, sugar, salt, and cardamom in your biggest bowl. Get ’em all together so the flavors start a party. Check out our best baking techniques to perfect your dough for a smooth mix.
Then dissolve your yeast in the lukewarm milk. Gotta make sure it’s not too hot or it’ll kill those live yeast bugs. Pour that mix into the dry stuff gently.
Add the melted butter and the single egg next. Now start mixing and kneading. You want kinda smooth, slightly sticky dough that feels alive under your hands. For tips on kneading, visit kneading dough tips.
Cover your bowl and tuck it somewhere warm. You gotta let it rise for about an hour till it’s doubled up in size. This part’s where that valve hiss and steam stuff helps keep things cozy.
Once it’s puffed up, turn it out onto a floured surface. Roll it out about 1 cm thick because you want those buns soft but not too flat. Cut into squares, about 4 inch pieces.
Pop a spoonful of marzipan or custard right in the center of each square. Then fold the corners over the filling and pinch ’em tight so nothing leaks out. Place them seam-side down on a lined baking sheet.
Cover again and let them rise for another 30 minutes. Preheat the oven to 200 degrees Celsius (that’s 390 Fahrenheit). Brush those buns with the beaten egg for that golden look before baking for 12 to 15 minutes.
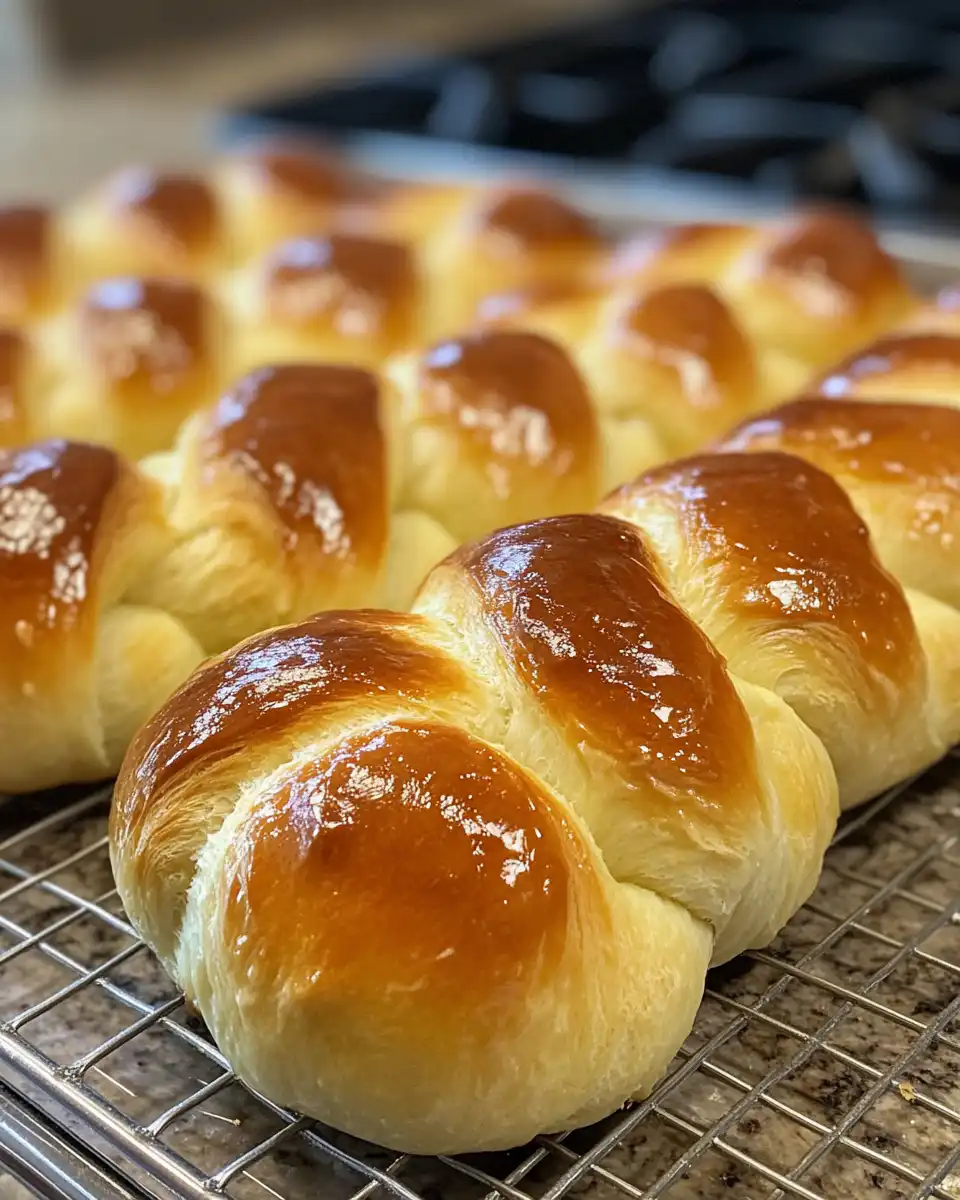
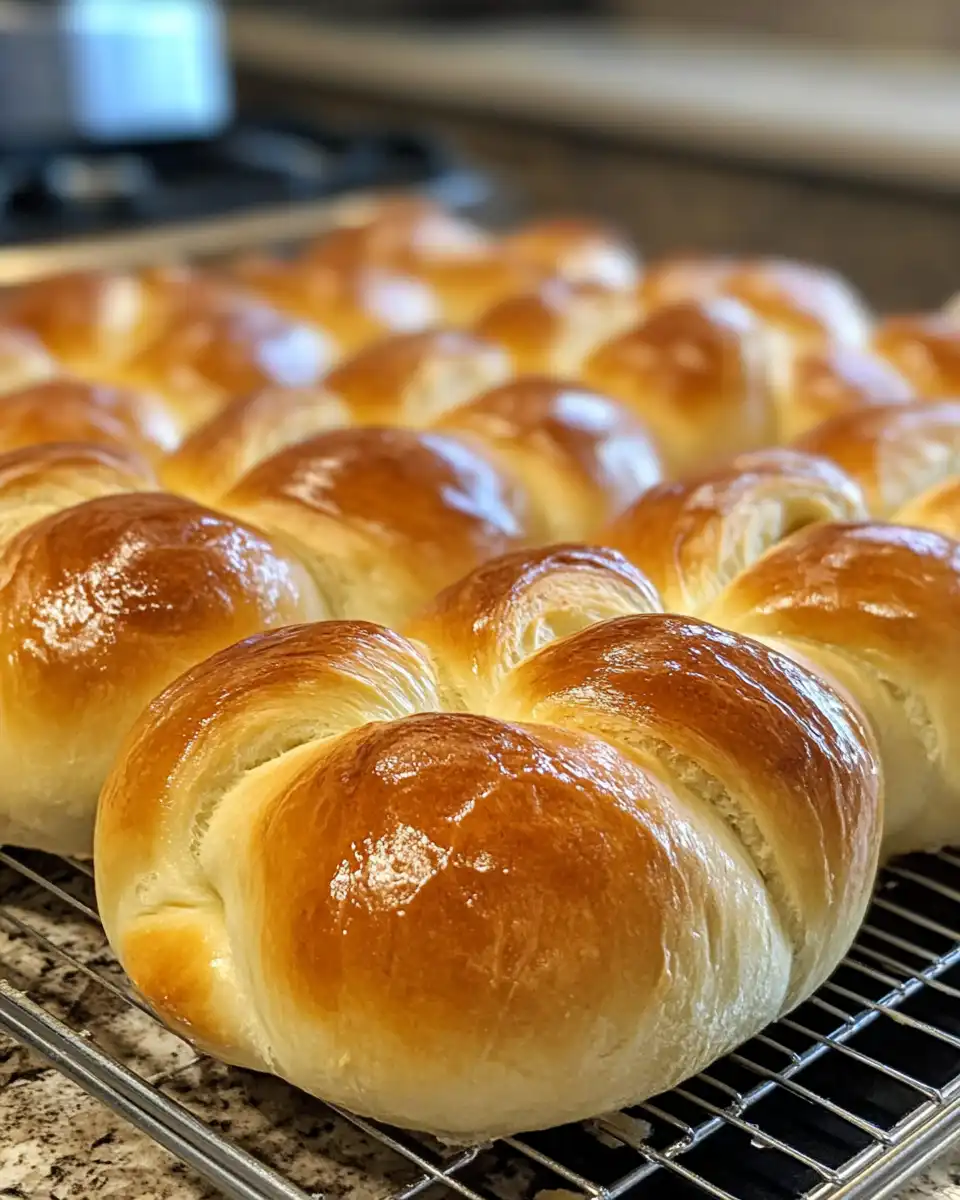
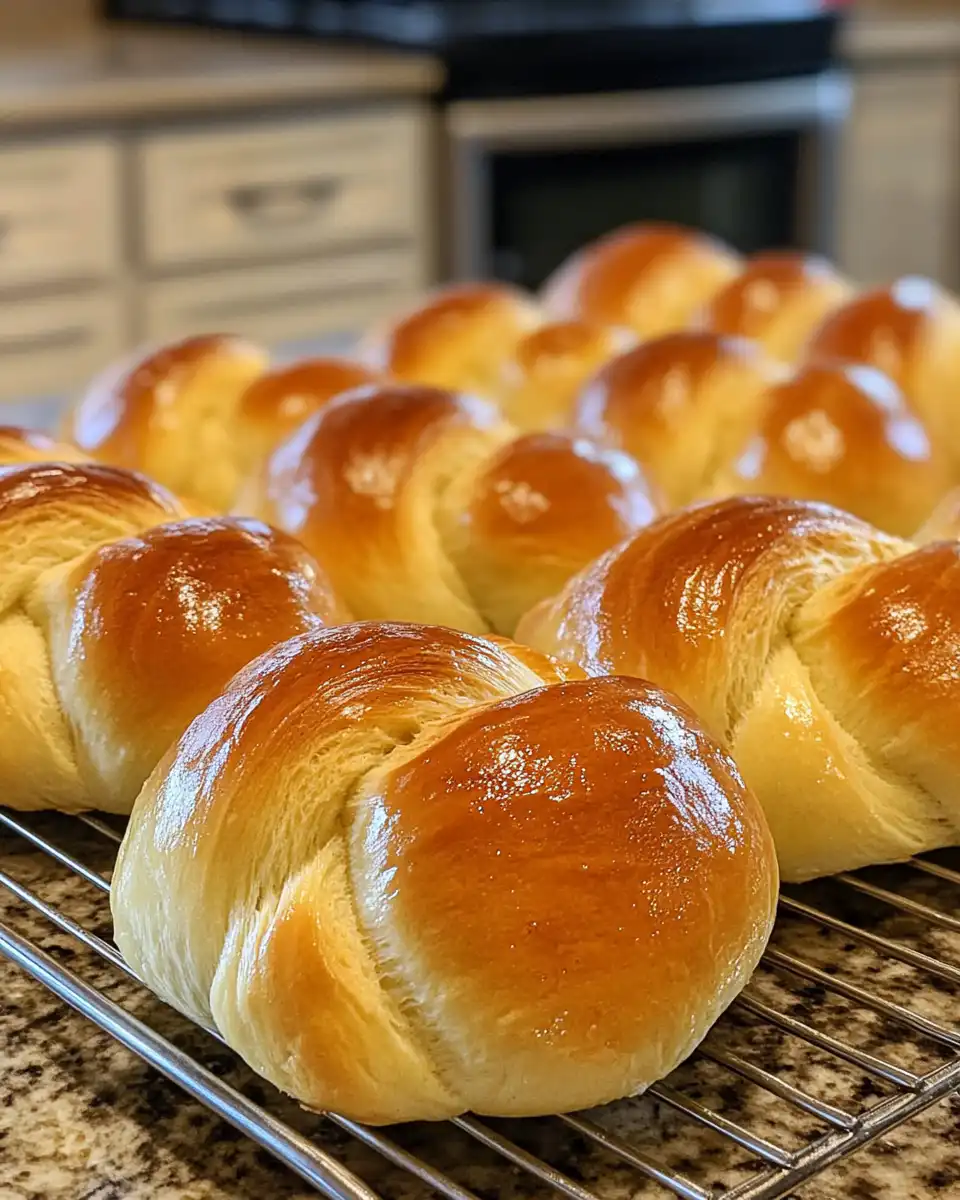
When they're done, cool ’em on a wire rack. Then you’re ready for that tender pull. Enjoy the warm, soft, sweet pockets you just created!
Easy Tweaks That Make Life Simple
If you’re pressed for time, try this: after the first rise, stick the dough in the fridge overnight. You can shape and bake the next day without rushing the process. For ideas, see our overnight dough storage tips.
Use store-bought marzipan or even jam as a filling if you’re out of regular custard. It works real good for a quick swap.
If you want extra soft buns, adding a splash of vanilla or cardamom syrup brushing on top right after baking gives it a little extra wow factor without fuss. Learn more about syrup toppings here.
That First Bite Moment
You pick up that warm bun and notice the light crackle from the shiny egg wash crust. It feels kinda fragile but promises softness.
Take a bite and you sense the tender pull of the dough, soft and chewy all at once. The filling bursts out just right, balancing sweetness with a hint of spice.
The scents hit you next--sweet cardamom dancing with buttery notes that linger. It’s like the kitchen’s been wrapping you up in a warm blanket.
You feel that happy sigh of satisfaction, thinking yep, gotta make these again soon. This recipe’s a heck of a crowd pleaser.
Making It Last All Week Long
Wrap your buns in plastic or place them in an airtight container to keep softness locked in. They stay nice this way for up to 3 days. For more storage ideas, check best bun storage methods.
For longer storage, freeze the buns in a ziplock bag. To thaw, let ’em sit out or warm in the microwave real quick and they almost taste freshly baked.
If you’re reheating, you can steam ’em lightly for a minute or two to bring back that tender pull without drying.
Another way is pop ’em in an oven at low heat wrapped in foil for 10 minutes. That gets the crust back crisp and the inside soft and warm.
Your Most Asked Questions Answered
Q1. Can I use active dry yeast instead of fresh?
You sure can. Just use about 7 grams dry yeast. Dissolve it well in lukewarm milk before adding it to the flour mix.
Q2. What’s the difference natural release makes?
Natural release lets pressure drop slowly, so the dough finishes cooking gently. It keeps the texture tender and stops it from getting rubbery.
Q3. Can I swap whole milk for something else?
You can use any milk you like, but whole milk gives the richest, softest results. Low fat milks might make it a little less tender.
Q4. How do I know when the dough’s done rising?
It should double in size and feel soft but springy when you poke it with a finger. That means the yeast is happy and ready.
Q5. Can I freeze the dough before baking?
Yep, shape the buns, freeze ’em on a tray first, then transfer to bags. Bake straight from frozen adding a few extra minutes.
Q6. What’s the trick to a shiny bun crust?
Brushing the beaten egg before baking does the trick. You can add a pinch of salt to the egg for extra glossiness.
Danish Carnival Buns
Equipment
- 1 Mixing bowl Large
Ingredients
Main ingredients
- 500 g all-purpose flour
- 75 g granulated sugar
- 0.5 teaspoon salt
- 2 teaspoons ground cardamom
- 25 g fresh yeast or 7g dry yeast
- 300 ml whole milk lukewarm
- 75 g unsalted butter melted
- 1 egg
- 1 egg beaten, for brushing
- marzipan or custard filling
Instructions
Instructions
- Mix flour, sugar, salt, and cardamom in a large bowl.
- Dissolve yeast in lukewarm milk and pour mixture into the dry ingredients.
- Add melted butter and the egg, then knead into a smooth, slightly sticky dough.
- Cover the bowl and let dough rise in a warm place for about 60 minutes until doubled in size.
- Transfer dough to a floured surface and roll out to 1 cm thick.
- Cut into 4-inch squares and place spoonful of marzipan or custard in the center of each.
- Fold corners over filling and pinch to seal. Place seam-side down on a lined baking sheet.
- Cover and let rise for 30 more minutes.
- Preheat oven to 200°C (390°F).
- Brush buns with beaten egg.
- Bake for 12-15 minutes until golden brown.
- Cool on wire rack and enjoy warm.



